Advanced & SculptedNo. 8464 · The 2026 edition
Carve and Preserve the Ultimate Pumpkin
Transform a simple gourd into a lasting masterpiece with the right tools and a few preservation tricks.
Our own summary of the original — the full post and photos live at lifehacker.com.
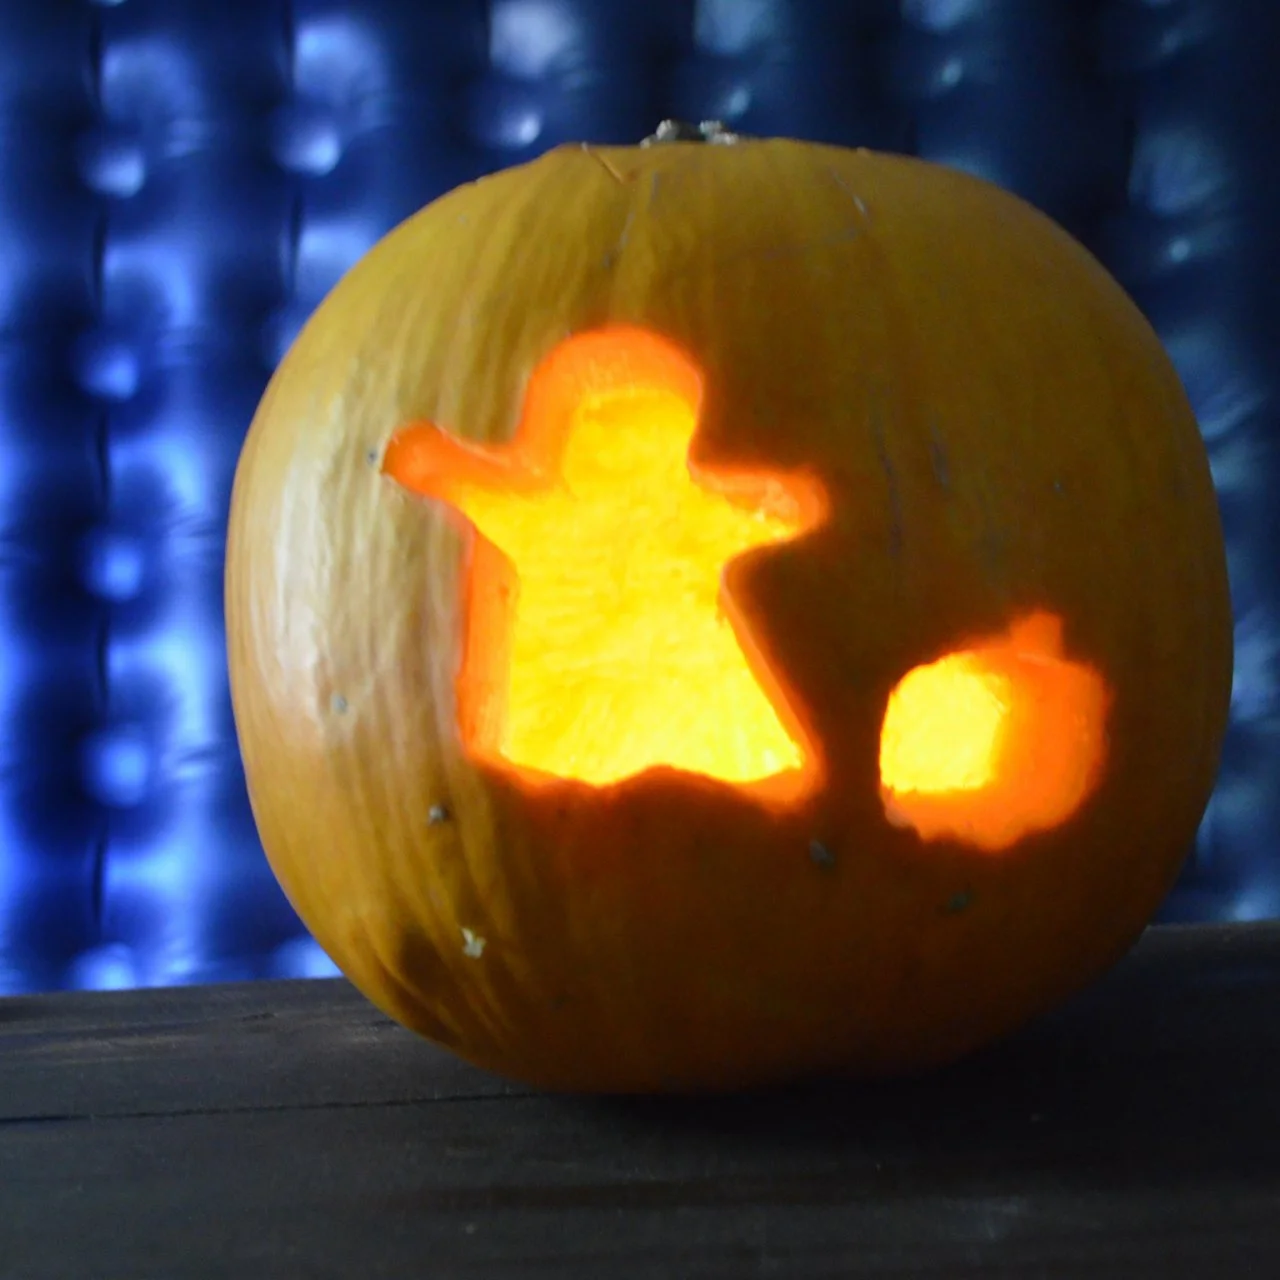
Learn how to choose the perfect pumpkin, gather essential carving tools, transfer your design, execute detailed cuts, and apply bleach treatments to keep your jack-o'-lantern fresh for weeks.
You'll need
Directions
- Select a pumpkin that has smooth, unblemished skin, no soft or mushy areas, and a flat bottom that sits securely on your work surface.
- Collect your carving kit from around the house and local shops, including serrated blades like bread or steak knives, ice cream scoops, cookie cutters, rotary tools with a 1/8th high-speed cutting attachment, hand-held jigsaws with long wood-saw attachments, drills with small bits, linoleum cutters, and graphite or blue transfer paper.
- Source a design from the web or adapt an existing image, then mark the pumpkin's surface by tracing the pattern with push pins or toothpicks, or by using the transfer paper to outline the shapes.
- Begin cutting into the pumpkin with your selected tools, utilizing a drill with a small bit to create keyholes for detailed sections that require extra maneuverability.
- Extend the life of your creation by spraying it with a bleach-based cleaner like Clorox Cleanup with Bleach to eliminate mold spores, or submerge the pumpkin in a cold water and bleach solution overnight if it begins to lose its firmness.
:max_bytes(150000):strip_icc()/la102831_1007_pumpkins_vert_2-a42fb7113abc47d3b079fedb38935b9c.jpg)