BackyardNo. 8119 · The 2026 edition
DIY Graveyard Outdoor Tombstone Display
Transform your yard into a spooky graveyard with this easy DIY tombstone project using printed fabric and wood!
Our own summary of the original — the full post and photos live at flamingotoes.com.
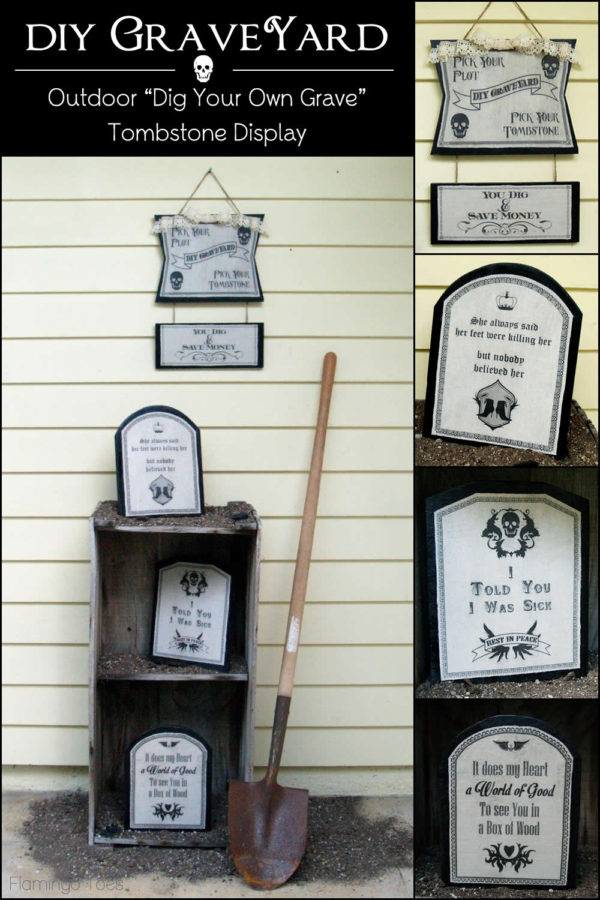
Learn how to create a weather-resistant outdoor tombstone display by printing designs onto fabric, adhering them to painted wood with Outdoor Mod Podge, and crafting a stiffened crochet lace bow for added flair.
You'll need
Directions
- Cut a square of light-colored linen and a matching sheet of freezer paper to roughly 9 1/2 by 12 inches, ensuring both are slightly larger than standard printer paper.
- Press the glossy side of the freezer paper firmly onto the fabric using a hot iron to bond them together.
- Trim the bonded fabric and paper down to exactly 8 1/2 by 11 inches using a standard sheet or cardstock as a guide, then load it into your printer with the fabric facing up.
- Print your chosen tombstone design directly onto the fabric surface.
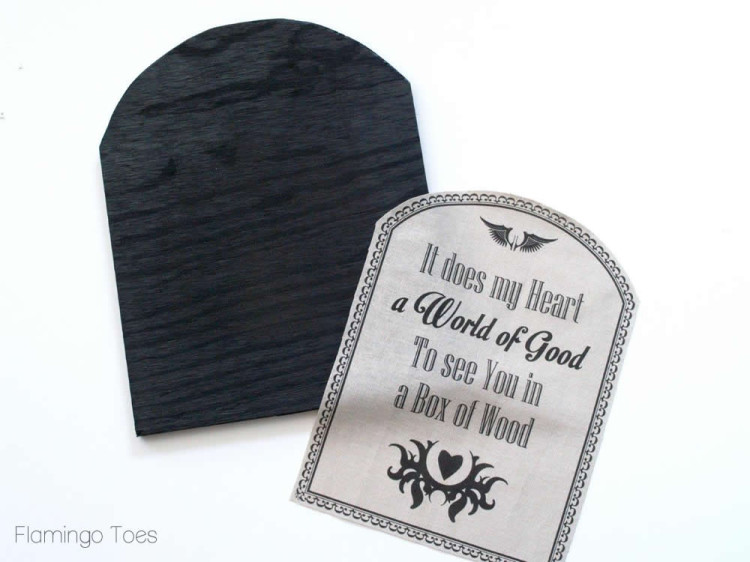
- Trace the printable outlines onto your plywood, making each wooden shape approximately one inch larger than the printed fabric for all components, then cut them out and apply black spray paint.
- Gently peel the freezer paper away from the fabric to reveal the printed design ready for application.
- Apply a thin, even layer of Outdoor Mod Podge across the entire surface of the wooden tombstone.
- Position the printed fabric in the center of the wood and carefully smooth it down, working from the middle outward to eliminate any air pockets.
- After the initial coat dries completely, brush on a second thin layer of Mod Podge over the entire piece to seal the fabric and ensure it withstands outdoor conditions.
- Follow the same application process for any additional wooden components you are creating.
- While the wood pieces cure, prepare the crochet lace by pouring Stiffy Fabric Stiffener onto a disposable plate and fully submerging the lace within it.
- Remove the lace from the stiffener and gently wipe away excess liquid without wringing, which would cause unwanted creases.
- Arrange the saturated lace into a bow shape on the shiny side of a fresh sheet of freezer paper, allowing the stiffener to set the form without sticking.
- Elevate the bow loops and tails using sharp objects to create natural ripples, then allow the structure to harden completely.
- Accelerate the drying time by using a hairdryer if your environment is humid or cool, as natural drying may take longer than standard instructions suggest.
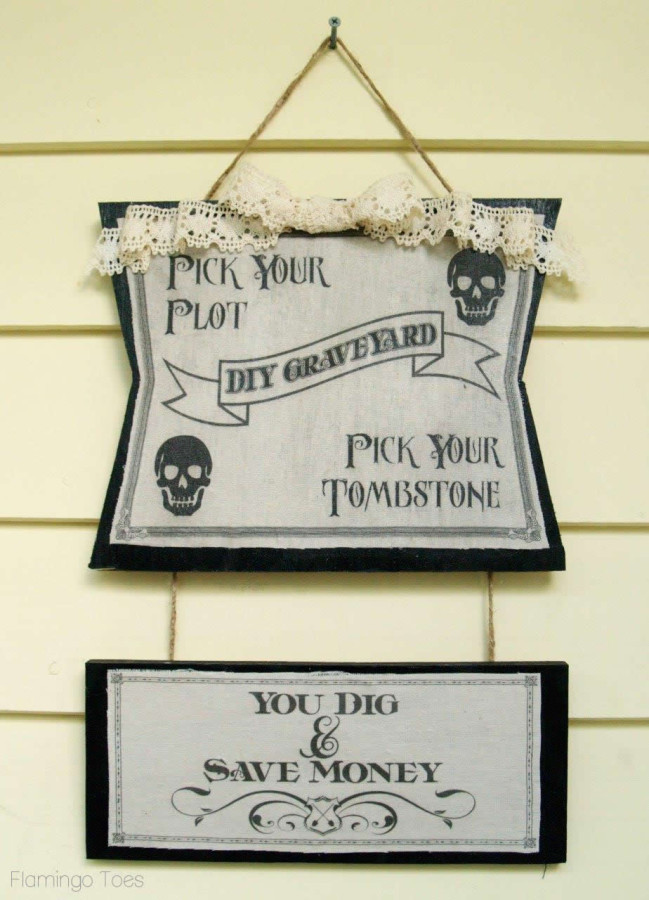
- Once all wooden signs and the lace bow are fully cured, attach short twine segments to link the signs together and a longer piece for hanging, securing them with hot glue to the back of the boards, then affix the bow to the top center of the main sign.
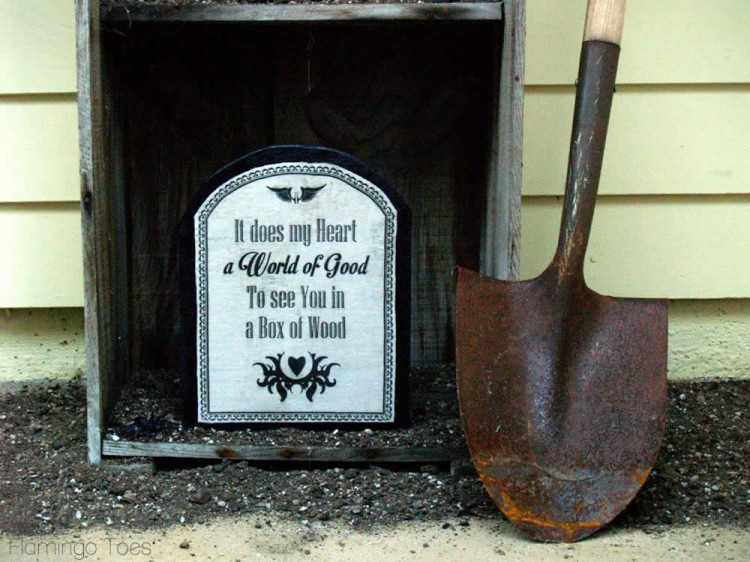
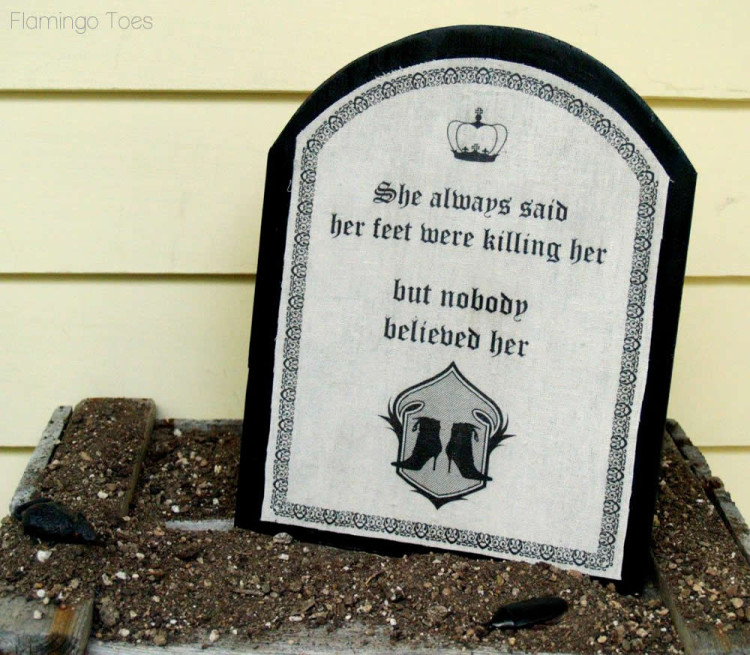
- Assemble your final display by placing the signs on a sturdy crate or stand, then arrange dirt, spider webs, and fallen leaves around the base for an authentic graveyard atmosphere.
- Add small plastic insects and a toy mouse to the scene for an extra touch of spooky detail.
More photos


Photos hosted by flamingotoes.com.

.JPG)
.JPG)