Painted PumpkinsNo. 8707 · The 2026 edition
How to Paint Pumpkins Tutorial
Our own summary of the original by LittleCooksReadingBooks.com — the full post and photos live at littlecooksreadingbooks.com.

You'll need
Directions
- Spread newspaper on table to cover and protect your work surface. (If you have paint shirts or smocks for the little ones, this is a great time to use them!)
- Gently wipe your pumpkins with a dry cloth to remove any dirt.
- Using a foam brush, apply Mod Podge Matte Sealer to the entire surface of each pumpkin. Allow to dry.
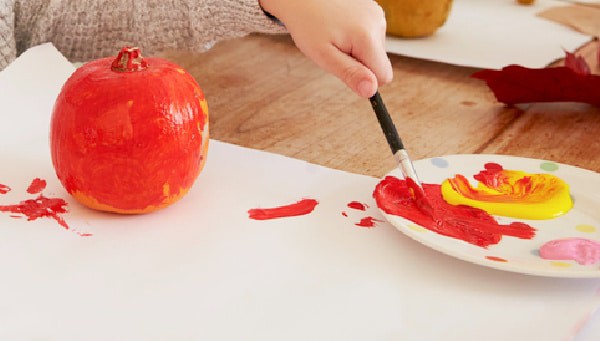
- Pour each color of paint into their own paper plate. Be sure to use a different foam brush for each color.
- Lay pumpkin on its side and start painting at the bottom and swiping up to the top of the pumpin (toward the stem). Continue painting the portion of the pumpkin that is facing up. Once the bottom is dry, sit pumpkin up and paint remaining areas. Allow to dry, 20-30 minutes or until dry to touch. (Drying time will vary based on brand and quality of paint.)
- Apply a second coat or touch up areas, if needed.
- When completely dry, apply the second sealing coat of Mod Podge Matte Sealer. Allow to dry.
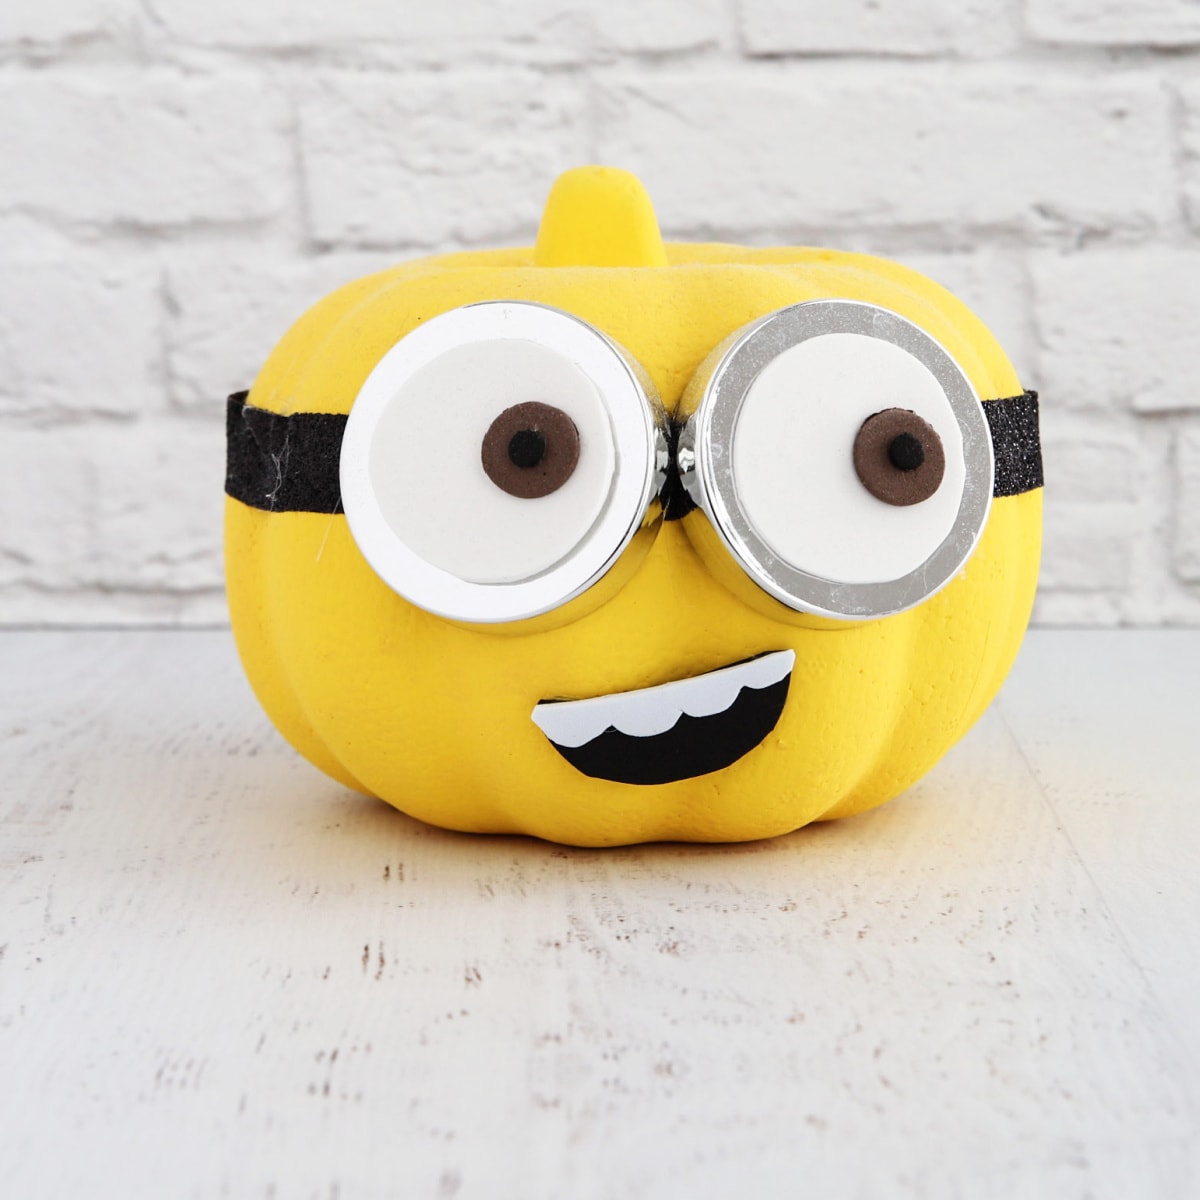
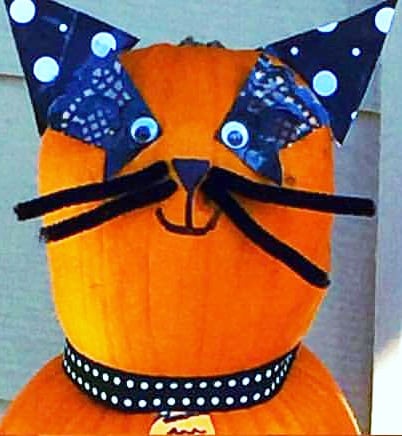
- Leave your pumpkin as a beautiful, plain painted pumpkin or add stencils, painted pumpkin faces, stickers, or more!
More photos

Photos hosted by littlecooksreadingbooks.com.