Paper CraftsNo. 6988 · The 2026 edition
Easy DIY Scary Outdoor Halloween Sign Decorations
Transform your yard into a haunted scene with these budget-friendly, handcrafted signs that look like they crawled out of a nightmare!
Our own summary of the original — the full post and photos live at thetiptoefairy.com.

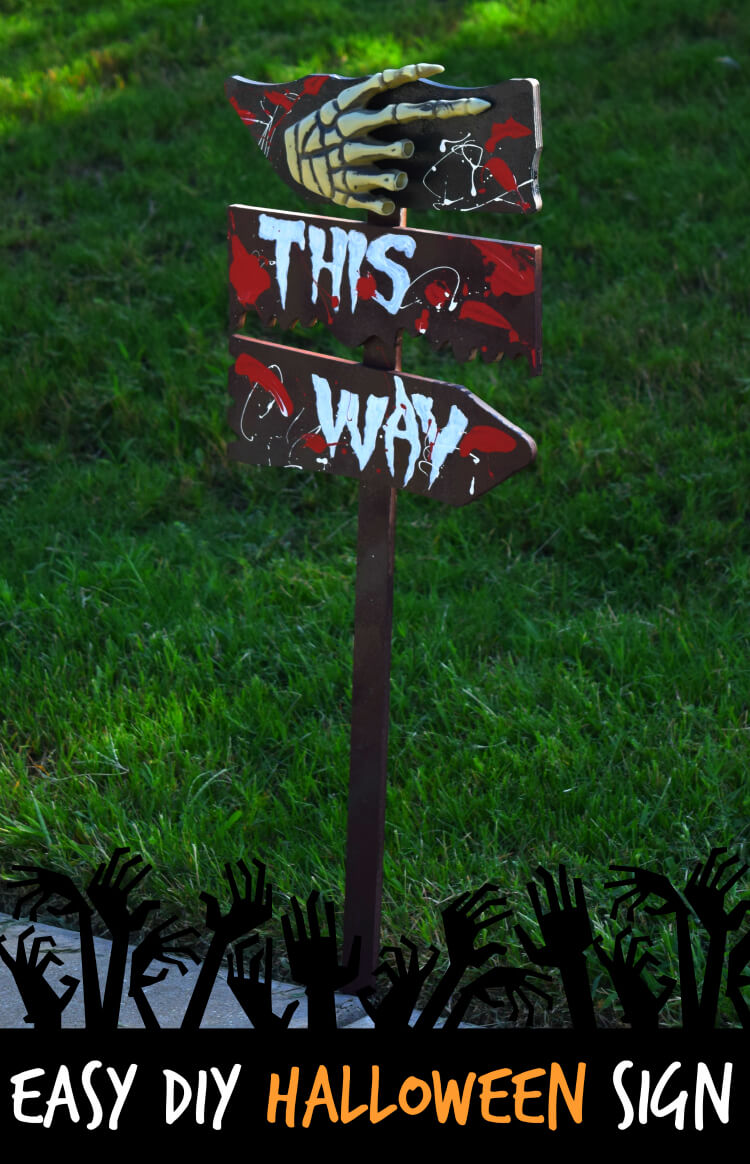
This project guides you through creating eerie outdoor decorations using affordable craft supplies. You will paint wooden bases and signs with layered colors, attach severed plastic fingers, add custom spooky lettering, and apply realistic splatter and drip effects using mixed paints. Finally, mount the finished pieces onto dowel rods at uneven heights for a chaotic, frightening display.
You'll need
Directions
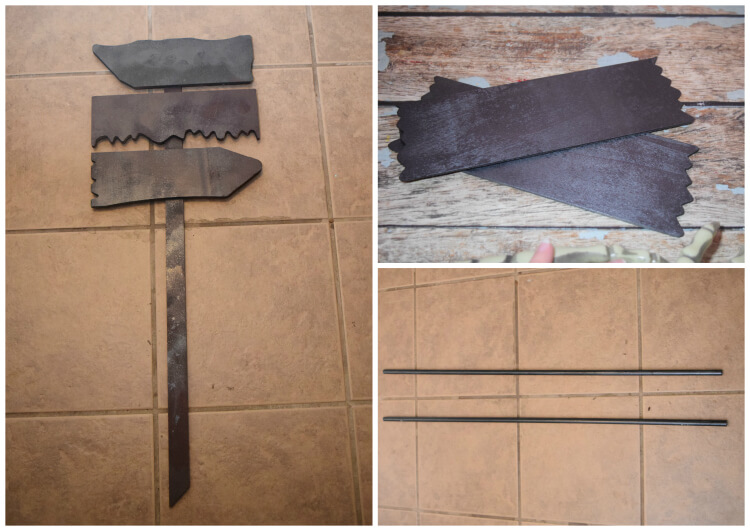
- Apply layers of brown and black spray paint to your wooden dowels, scrap wood pieces, and the pre-made sign to build depth and texture. Let everything dry completely.
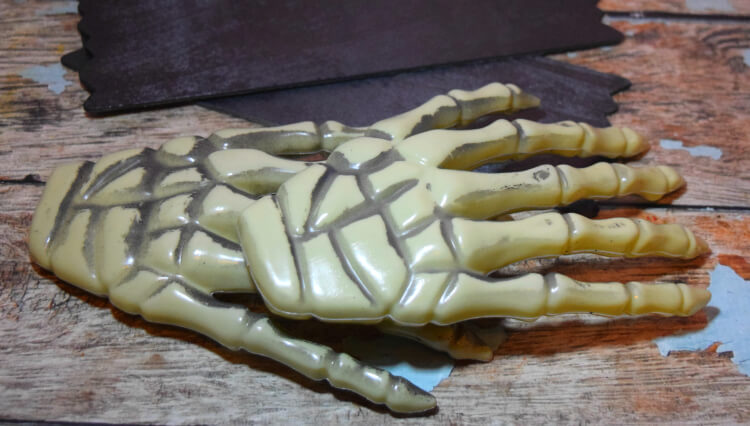
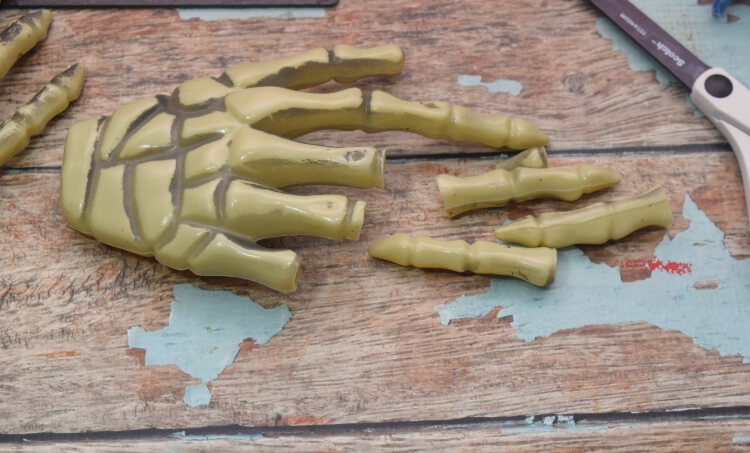
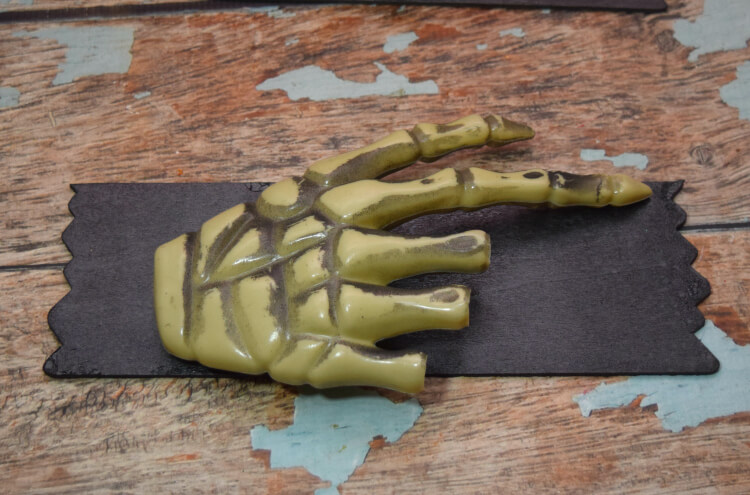
- Take the plastic skeleton hands and carefully snip off three fingers from each one.
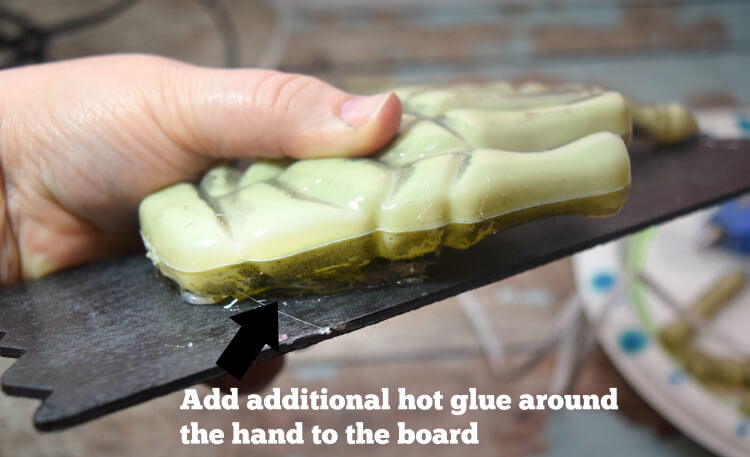
- Using a hot glue gun and sturdy glue sticks, firmly attach the modified hands to your painted wooden pieces, aiming them wherever you want them to point.
- If your sign includes text, print out your chosen phrase in a spooky typeface. Trace the letters with a pen, add an outline using a lighter pen, and fill them in with white acrylic paint.
- Combine your red and black craft paints together to achieve a dark, crimson shade resembling fresh blood.
- Load the back of a plastic spoon with white paint and flick it across the surface to create splatter effects. Repeat this process with your custom blood mixture, then place large blobs of the red paint on the sign and drag them outward with your fingers for a dripping look.
- After the painted details have set, use plenty of hot glue to mount the finished signs onto the dowel rods. Position them at varying heights to achieve a chaotic, unsettling arrangement.
More photos
Photos hosted by thetiptoefairy.com.