Wood ProjectsNo. 1899 · The 2026 edition
Fall Decorating - DIY Reclaimed Wood Pumpkins
Turn scrap wood into charming fall decor with these step-by-step reclaimed wood pumpkins.
Our own summary of the original — the full post and photos live at findinghomefarms.com.

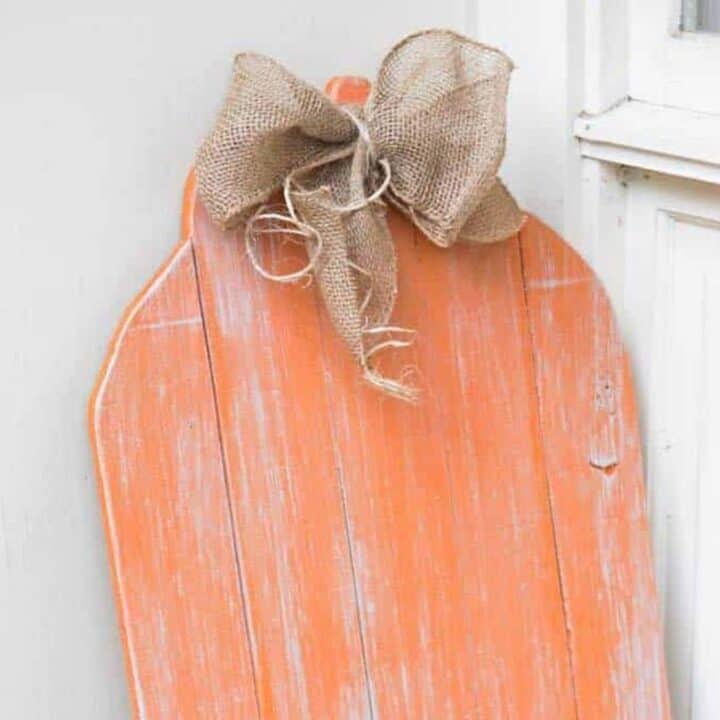
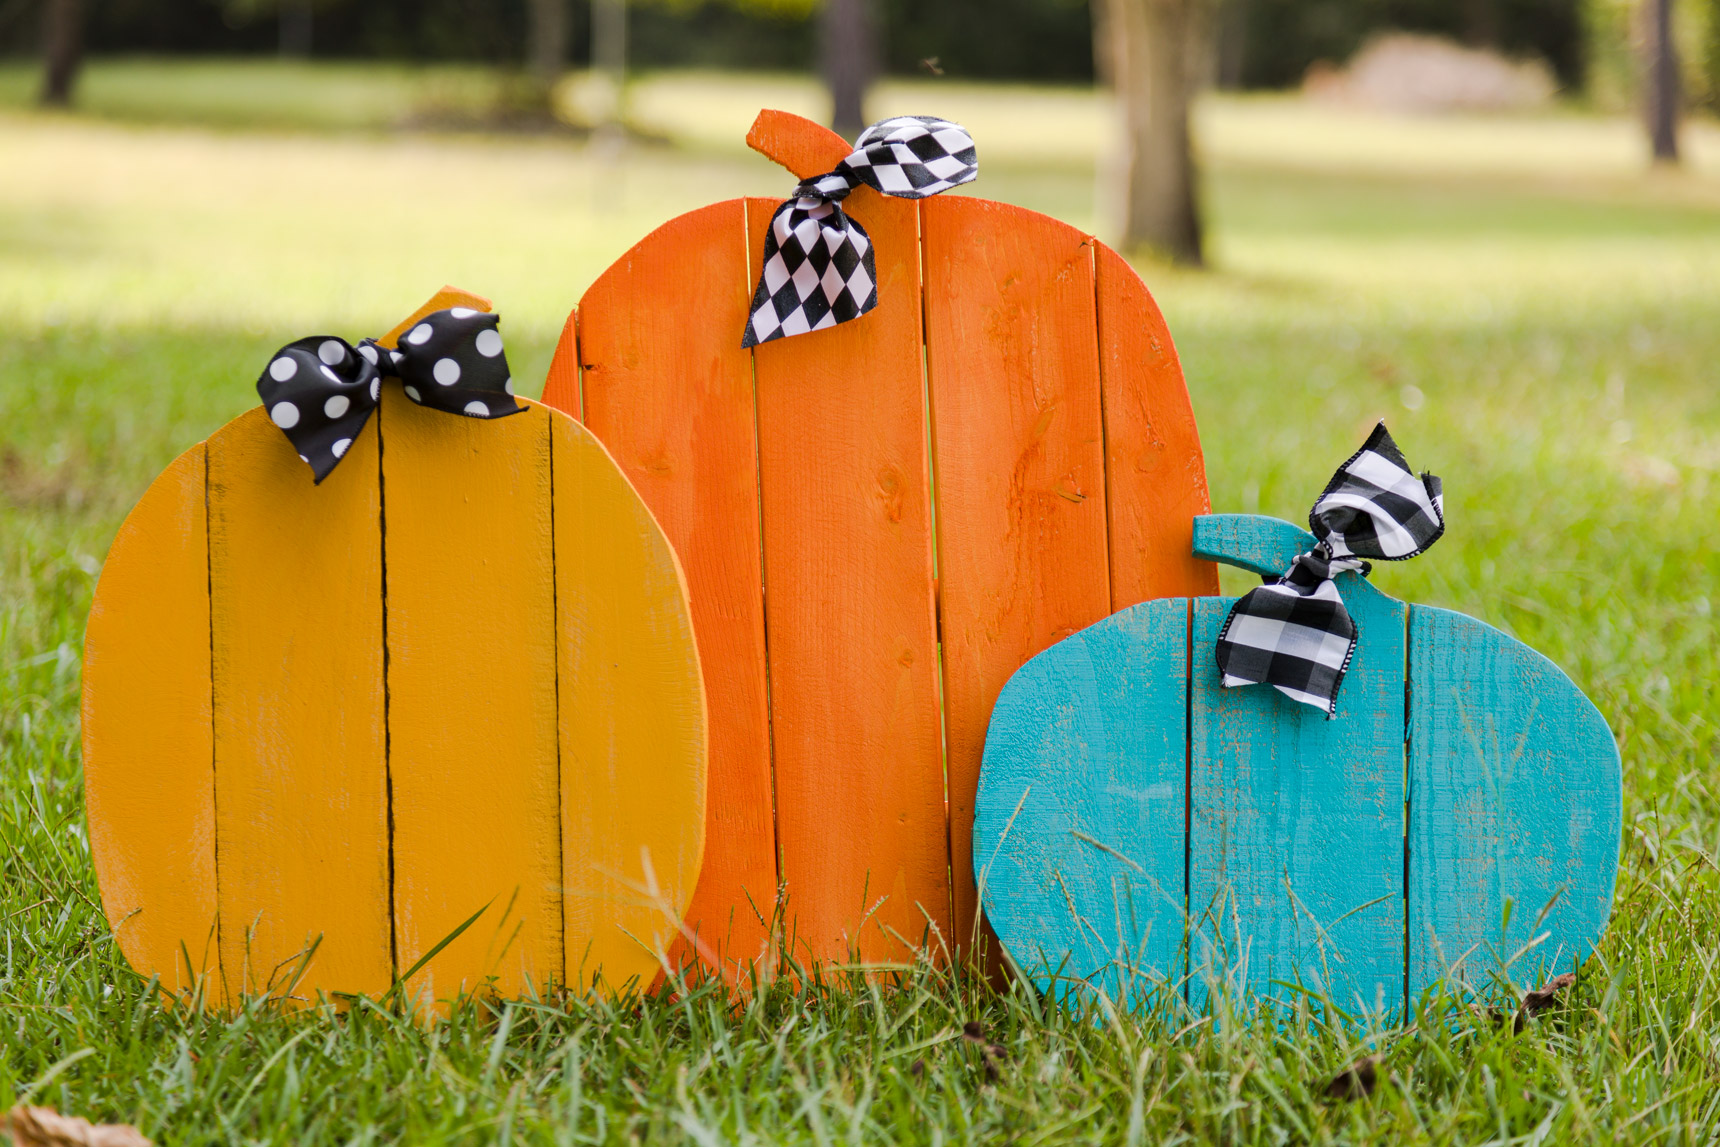
Create rustic fall decorations using salvaged wood and a few basic tools. This DIY project guides you through cutting a plywood template, attaching reclaimed planks, and shaping them into a pumpkin. Finish with a stained and sealed look for outdoor durability.
You'll need
Directions
- Draw a pumpkin shape on your quarter-inch plywood, then cut out the shape using a jigsaw.
- Using a miter box or chop saw, cut your reclaimed wood planks about an inch longer than the pumpkin on all sides. Arrange them side by side over the plywood pumpkin (tongue and groove is fine but not necessary). Place another piece of plywood on top—this is just for stability, don't attach it. Flip the whole stack over so the extra plywood is on the bottom and your pumpkin cutout is on top. Apply wood glue to the front of the plywood pumpkin, then press it onto the back of the planks. Secure with small brad nails through the plywood into the planks, spacing them evenly. Add a few small screws at the edges for extra hold, being careful not to go through the front. Place a heavy weight on top and let dry overnight or several hours.
- Now use the plywood pumpkin as a template. Trace its outline onto the stacked planks, then cut through them with the jigsaw following that shape.
- Sand all rough edges with a palm sander—it goes quickly. Also soften the front edges around the pumpkin's perimeter.
- Drill a hole at the top of the pumpkin where you want the stem, making sure it's big enough for a hanger bolt. Cut a small branch for the stem (use your miter box or chop saw) and drill a hole in it as well. Screw the hanger bolt into the pumpkin first using pliers, then attach the branch by hand. If the branch doesn't sit flush, sand its bottom slightly. From your scrap pieces, attach a board at the bottom using wood screws, drilling pilot holes first to avoid splitting.
- Optionally apply a light coat of dark stain all over and wipe it off quickly to unify the look. Then add a coat of clear wax for a nice finish. Because this pumpkin will be outdoors, seal it with a spray clear coat—this also prevents the wax from melting in heat.
More photos


Photos hosted by findinghomefarms.com.