Banners & SignsNo. 8625 · The 2026 edition
Free Printable Halloween Signs
Create your own spooky signs with these free printable Halloween designs and simple woodworking steps.
Our own summary of the original — the full post and photos live at eighteen25.com.
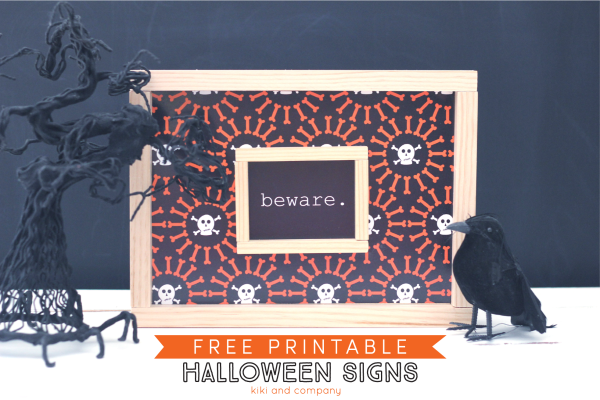
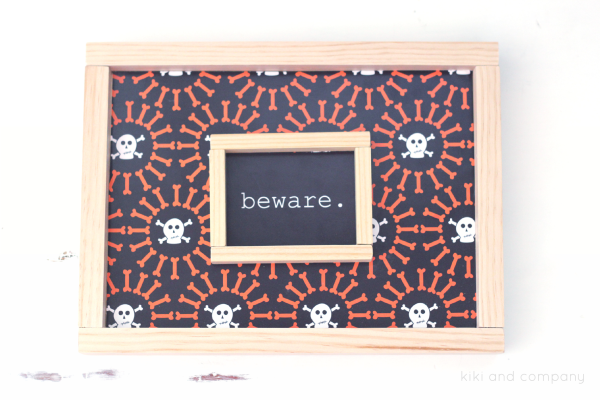
This project shows you how to turn free Halloween printables into wooden signs using spray adhesive, trim pieces, and a brad nailer. Choose a background and a word, adhere them to a board, then frame everything with two sizes of trim. In nine easy steps, you'll have a custom decoration ready to display or give as a gift.
You'll need
Directions
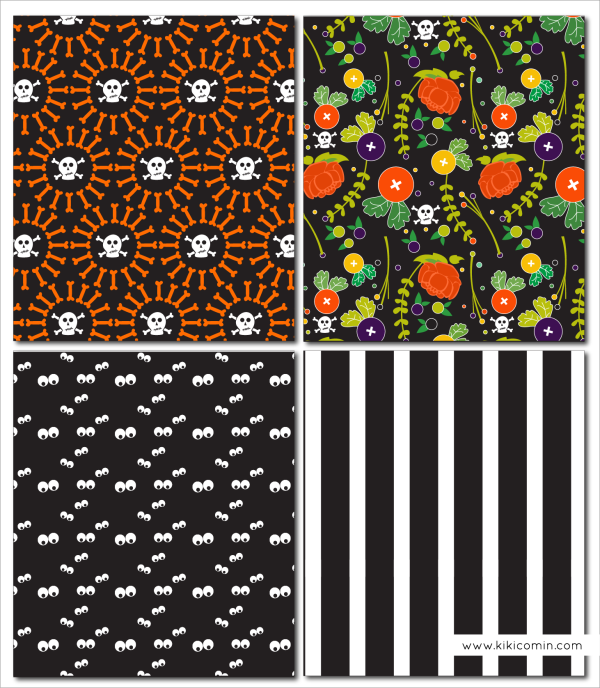
- Get the free printable files from the download link.
- Pick your favorite background design from the set and print it on paper.
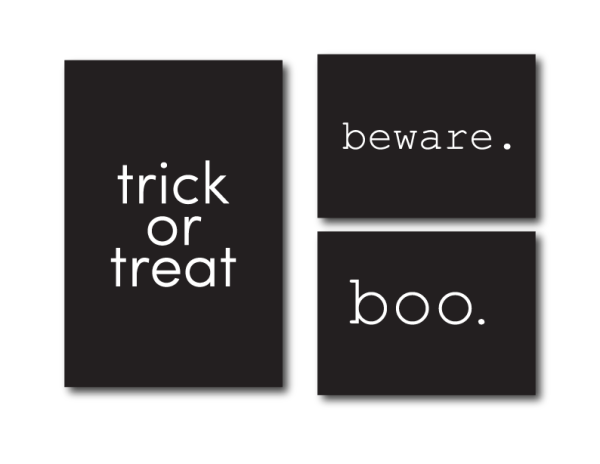
- Select a word or phrase, print it, then cut around the letters carefully.
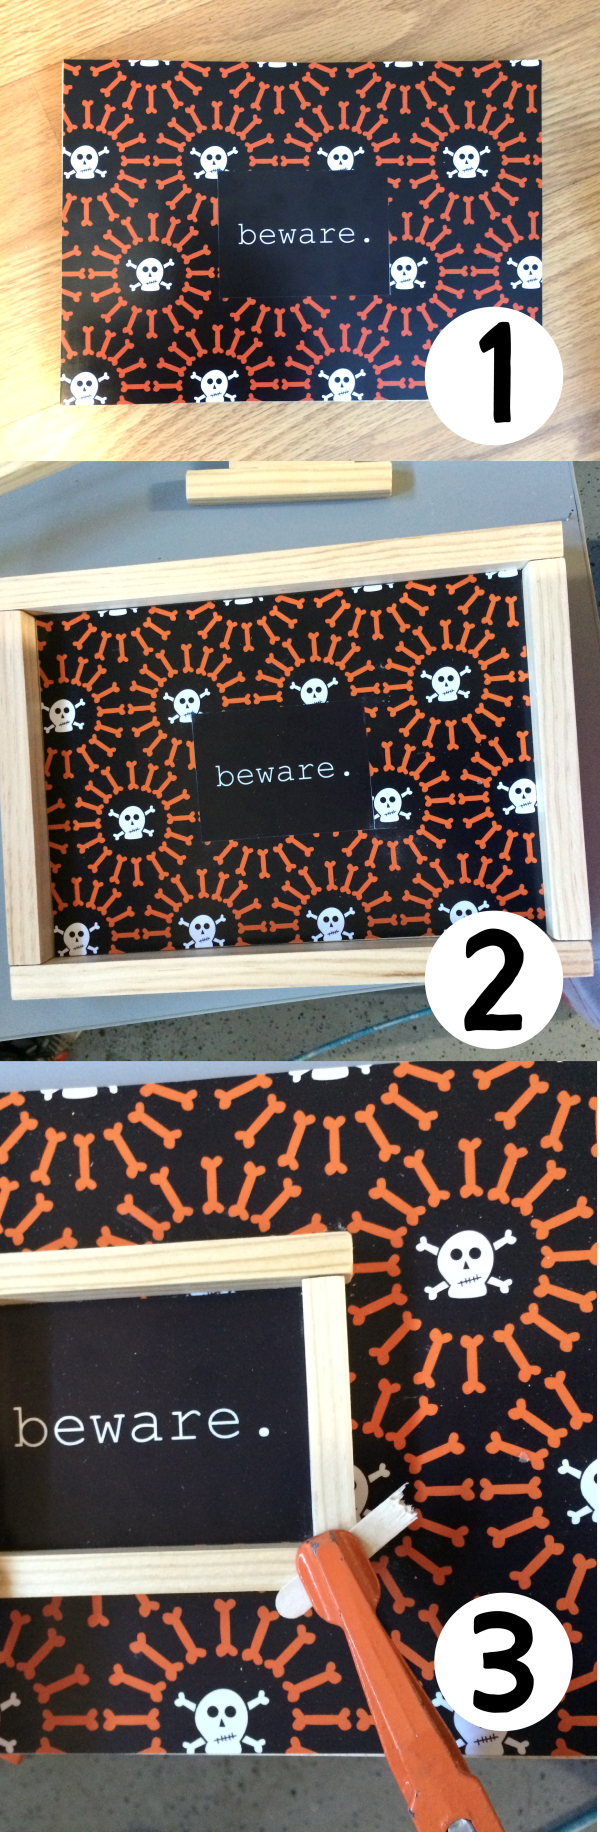
- Apply spray adhesive to the back of the background paper and stick it onto the wood board. Then do the same for the word, attaching it onto the background.
- Measure and cut the 1-inch by 2-inch trim pieces to frame the board. Lay each piece next to the board to mark the length, remembering to account for the trim's own width on two opposite sides so the frame fits snugly.
- For the inner accent, cut the 1/2-inch by 1/2-inch trim into lengths that will frame the word.
- Use a brad nailer to fasten the outer trim pieces to the edges of the board.
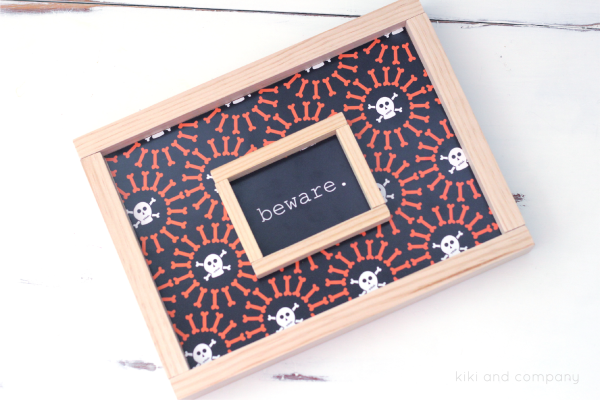
- Apply gorilla glue to the back of the smaller trim pieces and press them around the cutout word on the board.
- Your sign is complete! Display it proudly, or repeat the process to craft a set of four.
More photos

Photos hosted by eighteen25.com.