Haunted HouseNo. 7748 · The 2026 edition
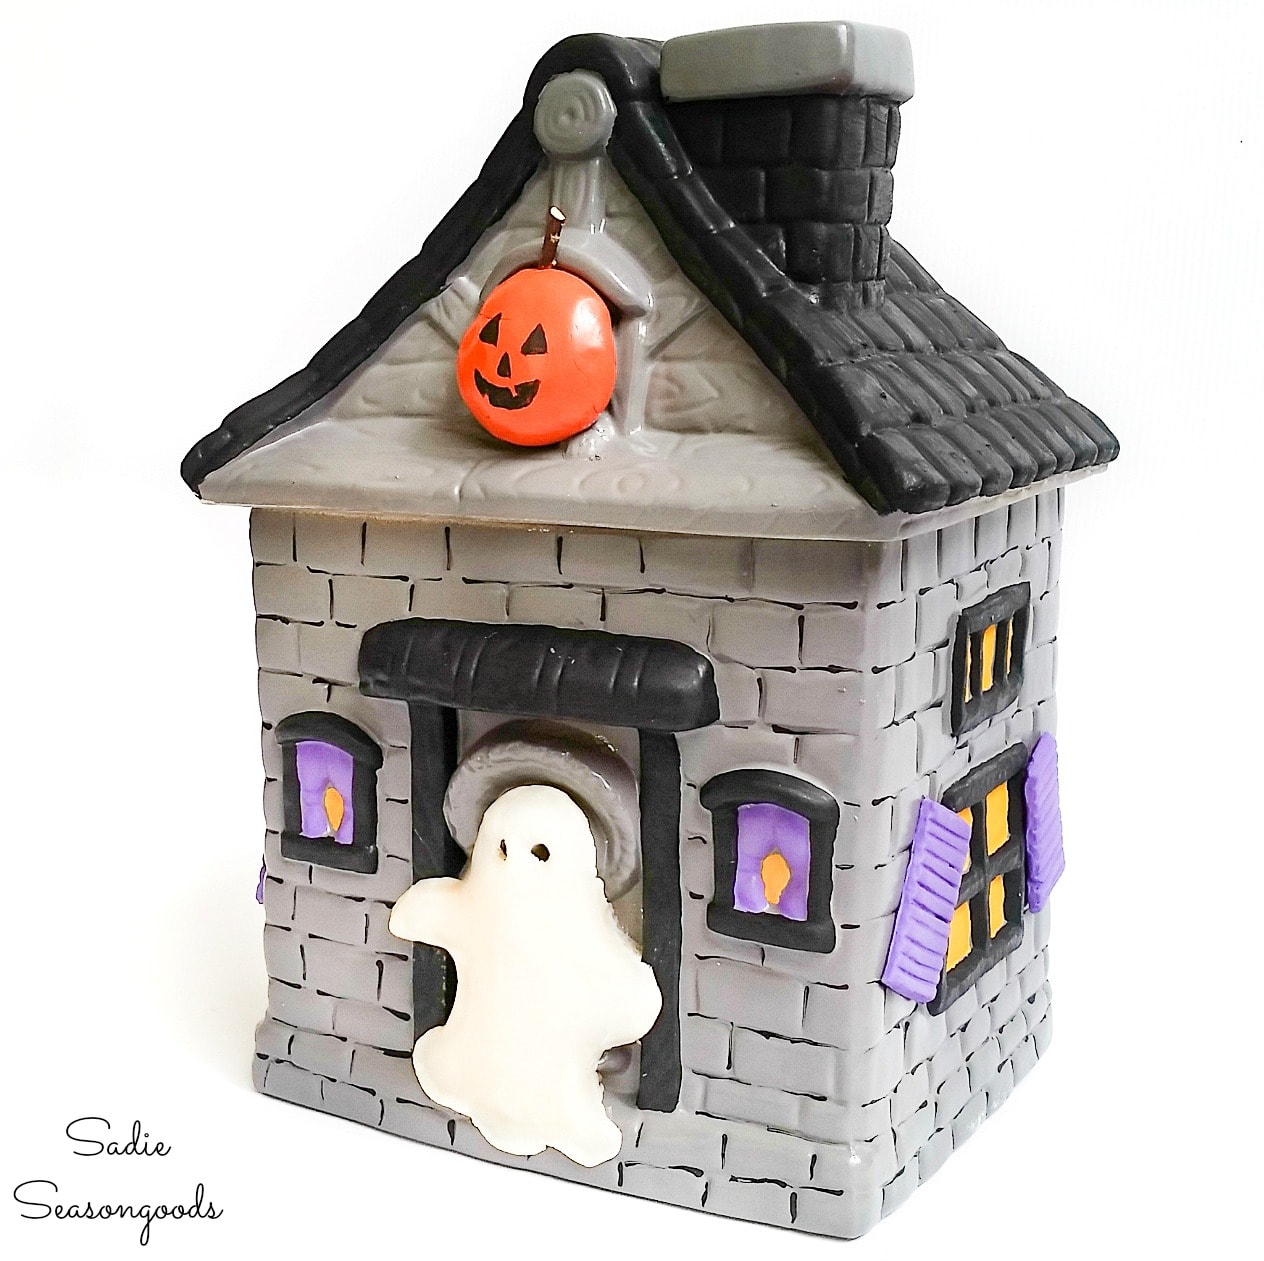
Haunted House Decor from a House Shaped Picture Frame
Transform a simple picture frame into a spooky seasonal display with this easy DIY project.
Our own summary of the original — the full post and photos live at sadieseasongoods.com.
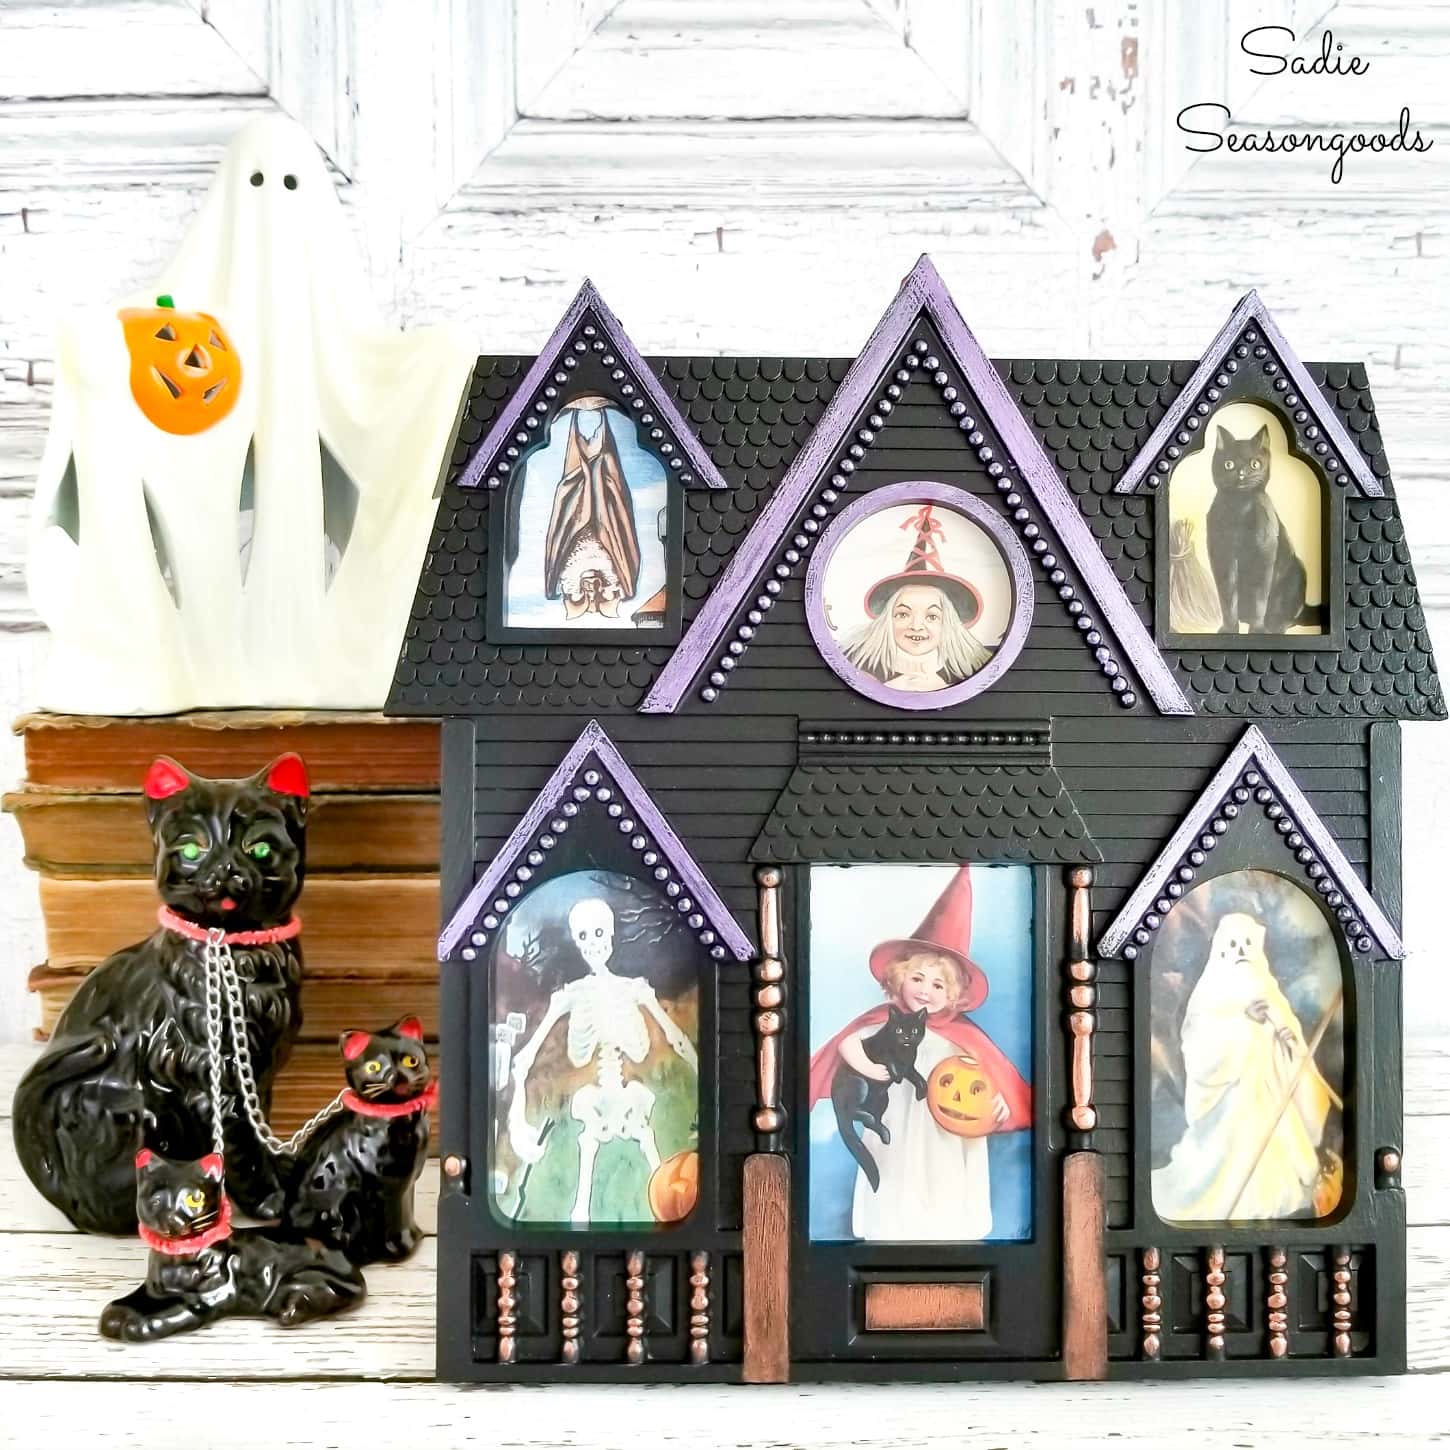
This guide walks you through painting a house-shaped frame black, adding metallic wax accents, and creating a custom insert using vintage Halloween postcards and parchment paper for a unique haunted house decoration.
You'll need
Directions
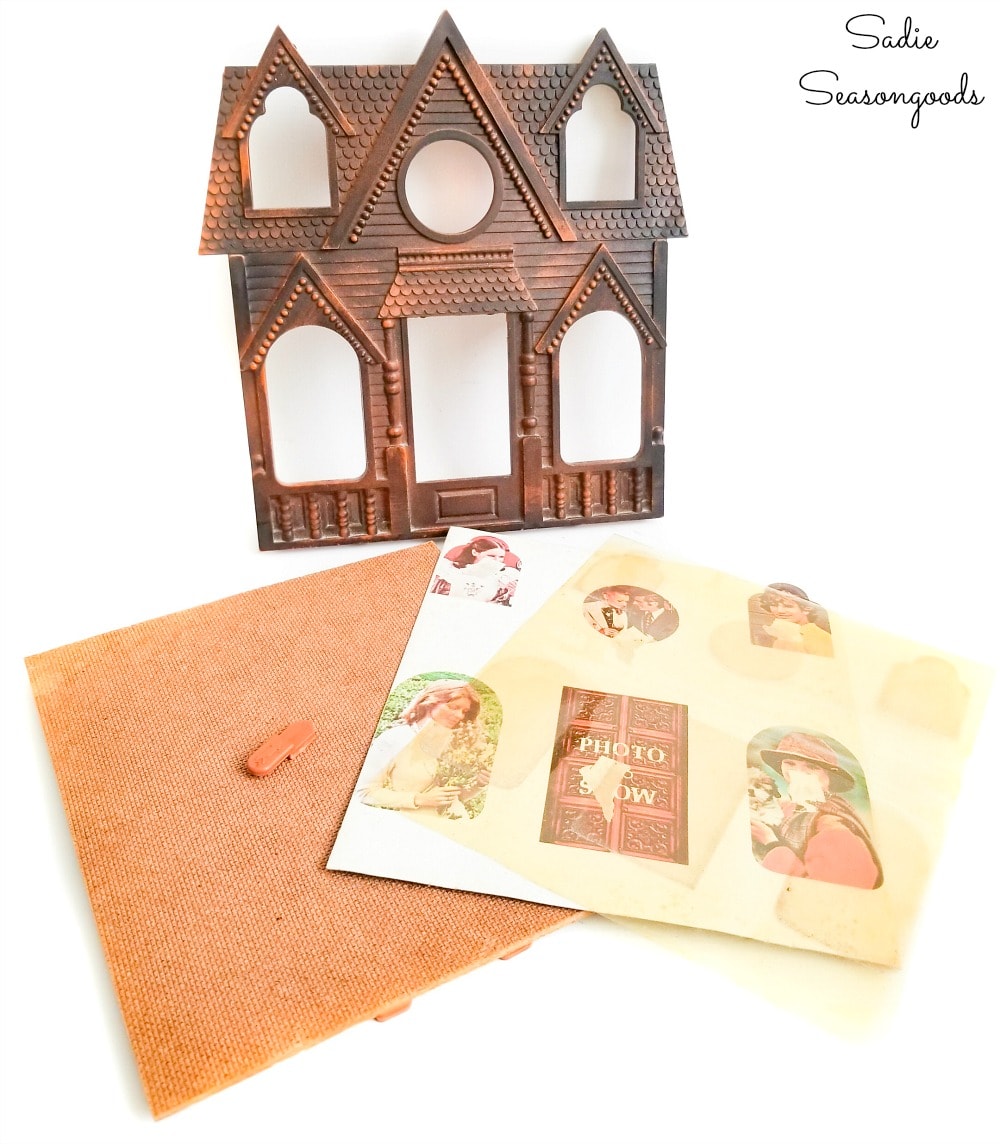
- Take apart the frame to remove the backing and the old photo insert so you can see the structure clearly.
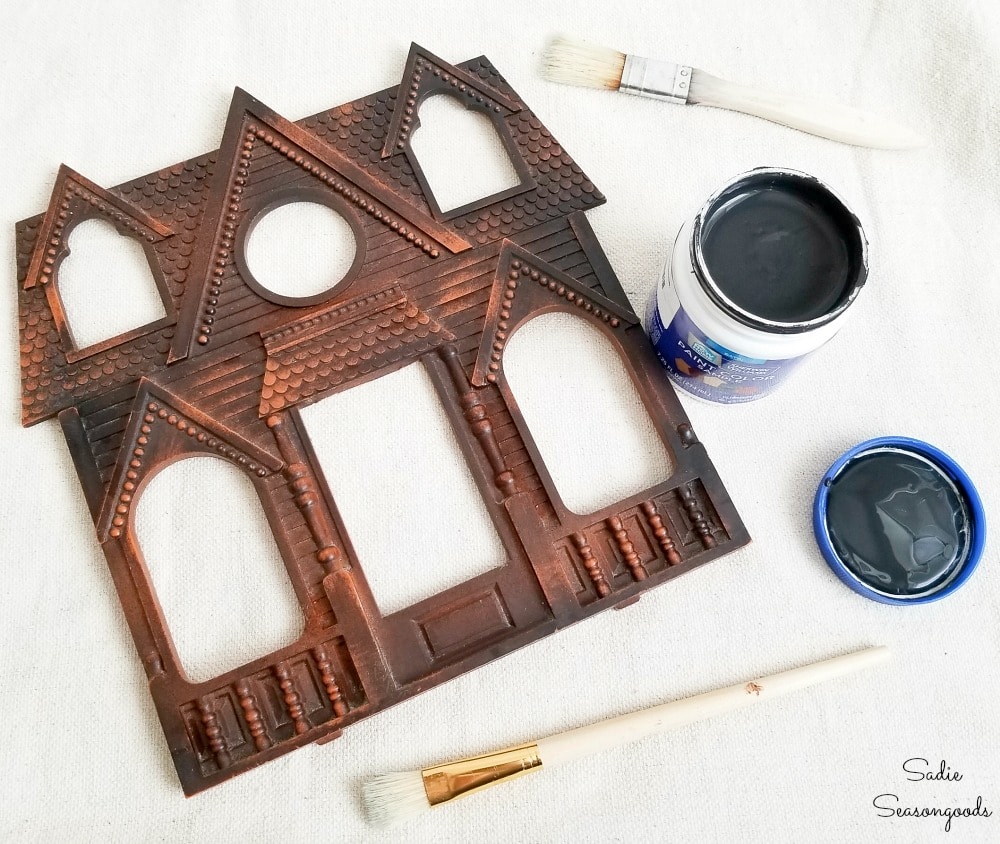
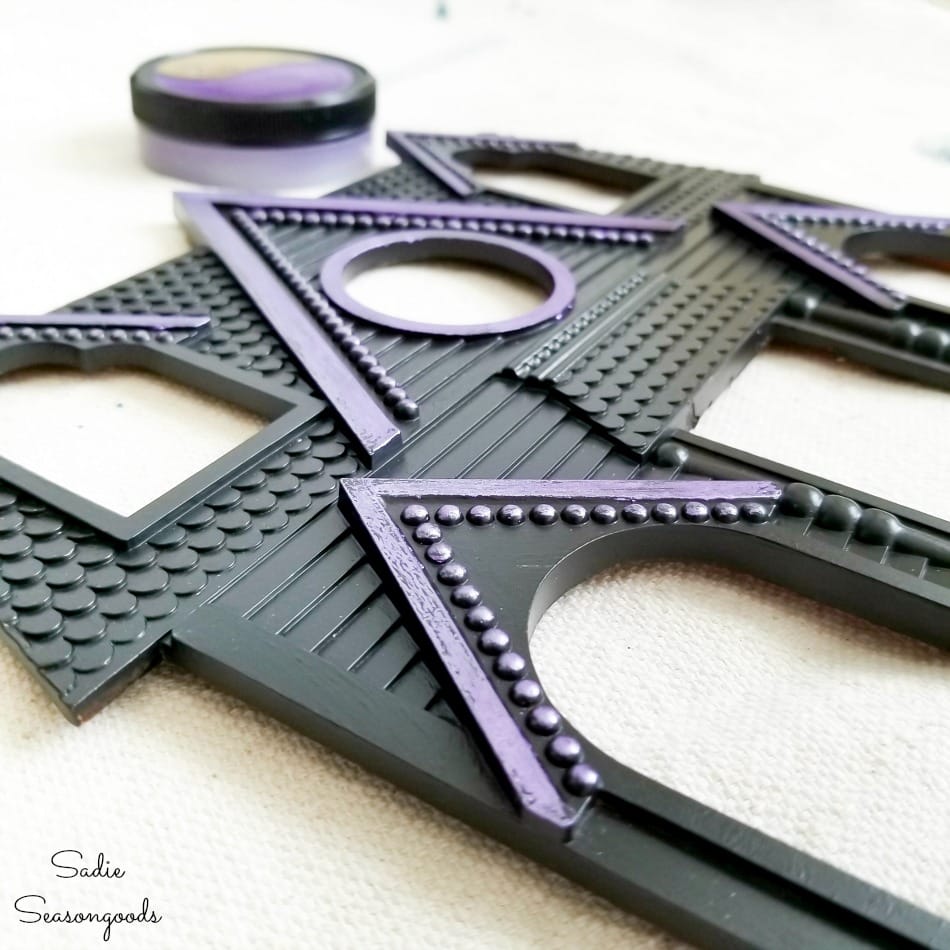
- Apply two layers of semi-gloss black latex paint to the entire frame, allowing each coat to dry before adding the next.
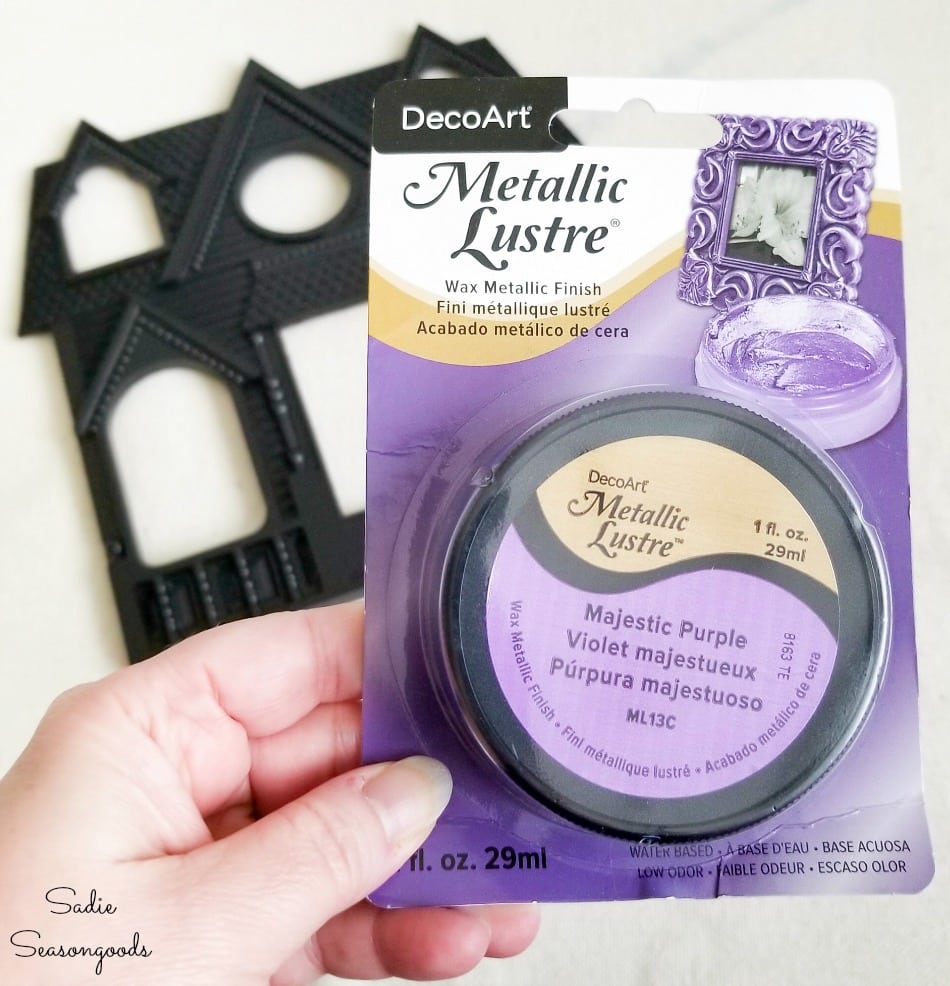
- Dab purple metallic wax onto the dormer windows and decorative dots with your finger, then gently buff the surface with a paper towel to blend the color.
- Press copper wax onto the porch spindles and door columns using just your fingertip for a subtle metallic accent.
- Draw the outlines of the window shapes onto a sheet of white parchment paper.
- Trace the full outline of the cardboard insert onto white card stock, then cut out the window shapes you traced earlier from the parchment paper.
- Align your cut parchment paper windows with scanned images of vintage Halloween postcards to plan the layout.
- Reassemble the insert by securing the vintage postcard images onto the card stock backing using double-sided tape.
- Slide the finished insert back into the painted frame to reveal your completed haunted house decoration.
More photos
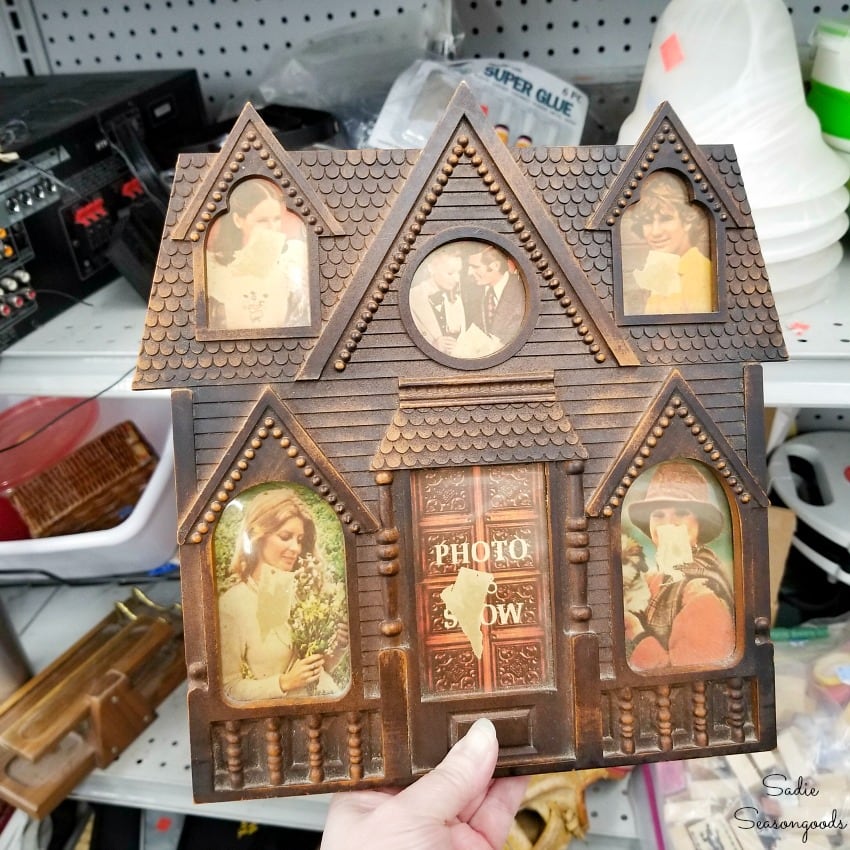
Photos hosted by sadieseasongoods.com.