Charcuterie & Snack BoardsNo. 5632 · The 2026 edition
How to Make a Skeleton Cookie Charcuterie Board for Halloween
Create a spooky skeleton cookie charcuterie board with bone-shaped cookies, white chocolate details, and a bounty of Halloween candies.
Our own summary of the original — the full post and photos live at hgtv.com.

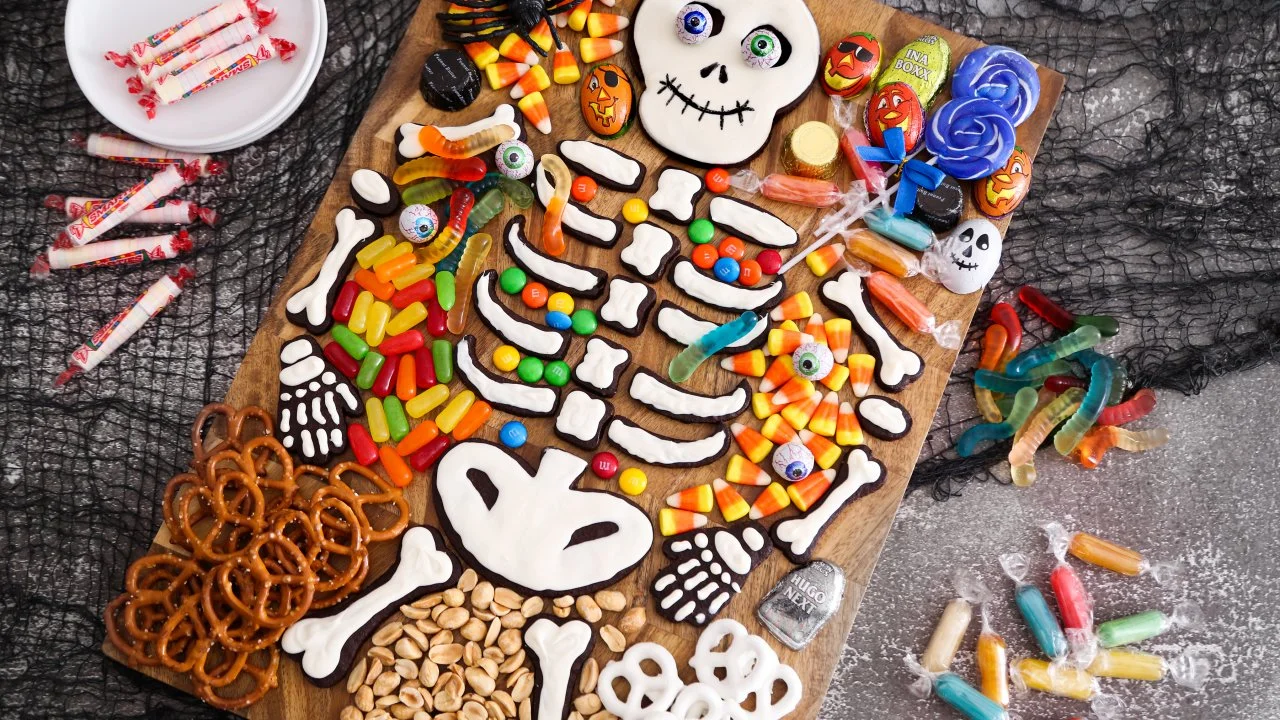
This Halloween charcuterie board features homemade cocoa bone cookies decorated with white chocolate to look like a skeleton. After baking and chilling, the cookies are piped with melted white chocolate, then detailed with a black marker for the skull's face. Arrange the cookies on a platter and fill the empty spaces with your favorite Halloween treats for a festive, shareable dessert.
Ingredients
Directions
- In a stand mixer using the paddle attachment, cream together the butter and sugar until just combined. Be careful not to overmix, or the cookies may spread too much in the oven.
- Add the egg and vanilla extract, mixing on low speed. Stop the mixer as needed to scrape down the sides of the bowl for even incorporation.
- In a separate bowl, whisk the flour, cocoa powder, and salt together. Gradually add this dry mixture to the wet ingredients, mixing on low until a dough forms and no butter streaks remain. The dough will likely gather around the paddle—this is a sign of proper consistency.
- Line a baking sheet with parchment paper. Place the dough between two sheets of wax paper, then roll it into an oblong disc. Transfer the dough (still between wax paper) onto the prepared baking sheet, wrap tightly with plastic wrap, and refrigerate for 1 hour.
- Remove the top wax paper and roll the dough to a 1/4-inch thickness. If it feels sticky, lightly dust the surface with flour. The dough should not stick.
- Use bone-shaped cookie cutters to cut out pieces from the dough. Transfer the cutouts to the prepared baking sheets, taking care not to stretch them. Refrigerate for 30 minutes to help the cookies hold their shape while baking.
- Preheat the oven to 350°F. Bake the cookies for 15 to 20 minutes. Allow them to cool on the baking sheet for 5 minutes, then move to a wire rack to cool completely.
- Transfer the melted white chocolate to a piping bag fitted with a small round tip (e.g., Wilton #2 or #3). Outline and fill in each cookie with the chocolate. For skulls, leave two empty spots for eye holes. For hand bones, pipe short lines and dots with gaps between them to represent finger bones. Tap each cookie gently on the counter to smooth the chocolate. Let the cookies sit at room temperature for about 1 hour until the chocolate is set.
- Once the chocolate is firm, use a black food color marker to draw a nose and a smile on each skull cookie.
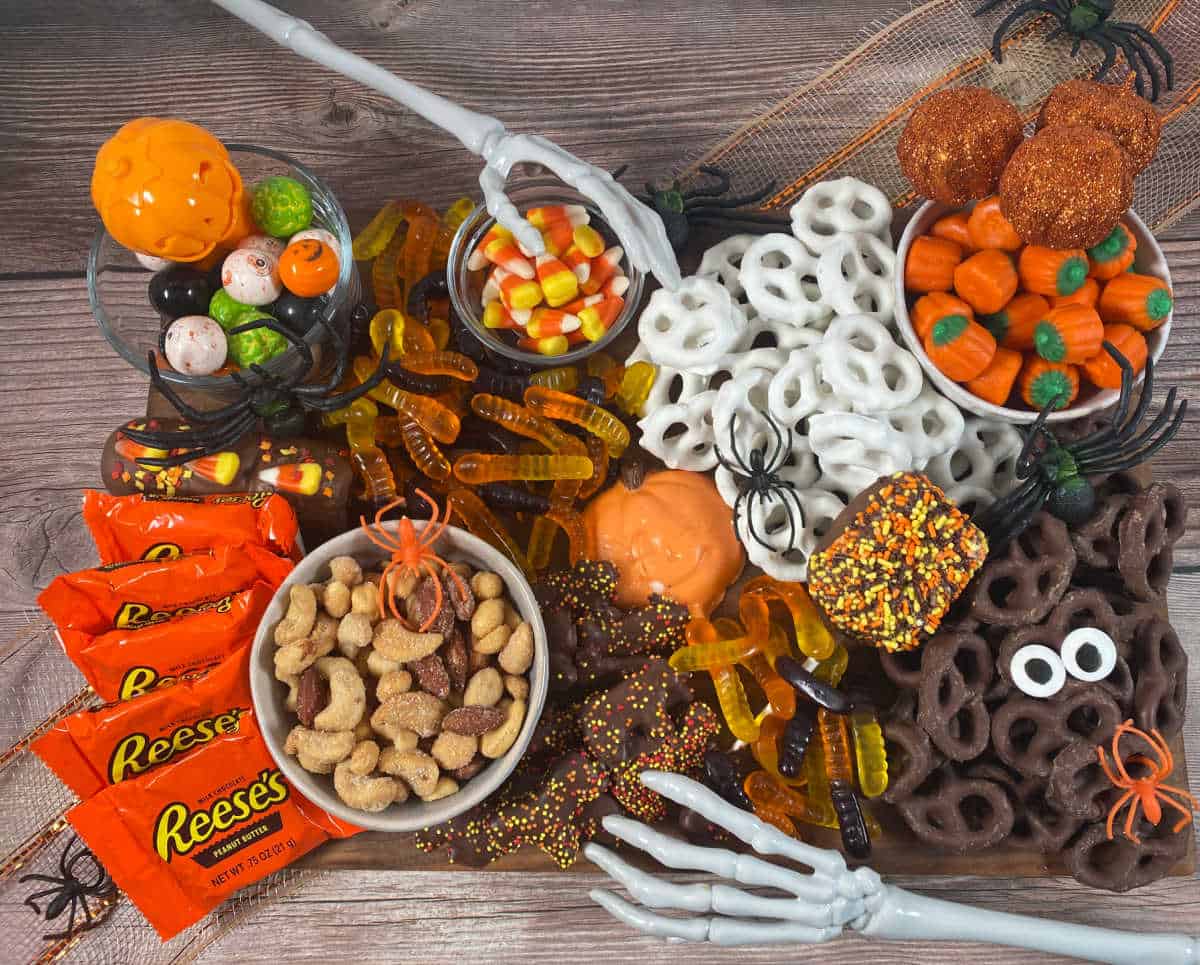
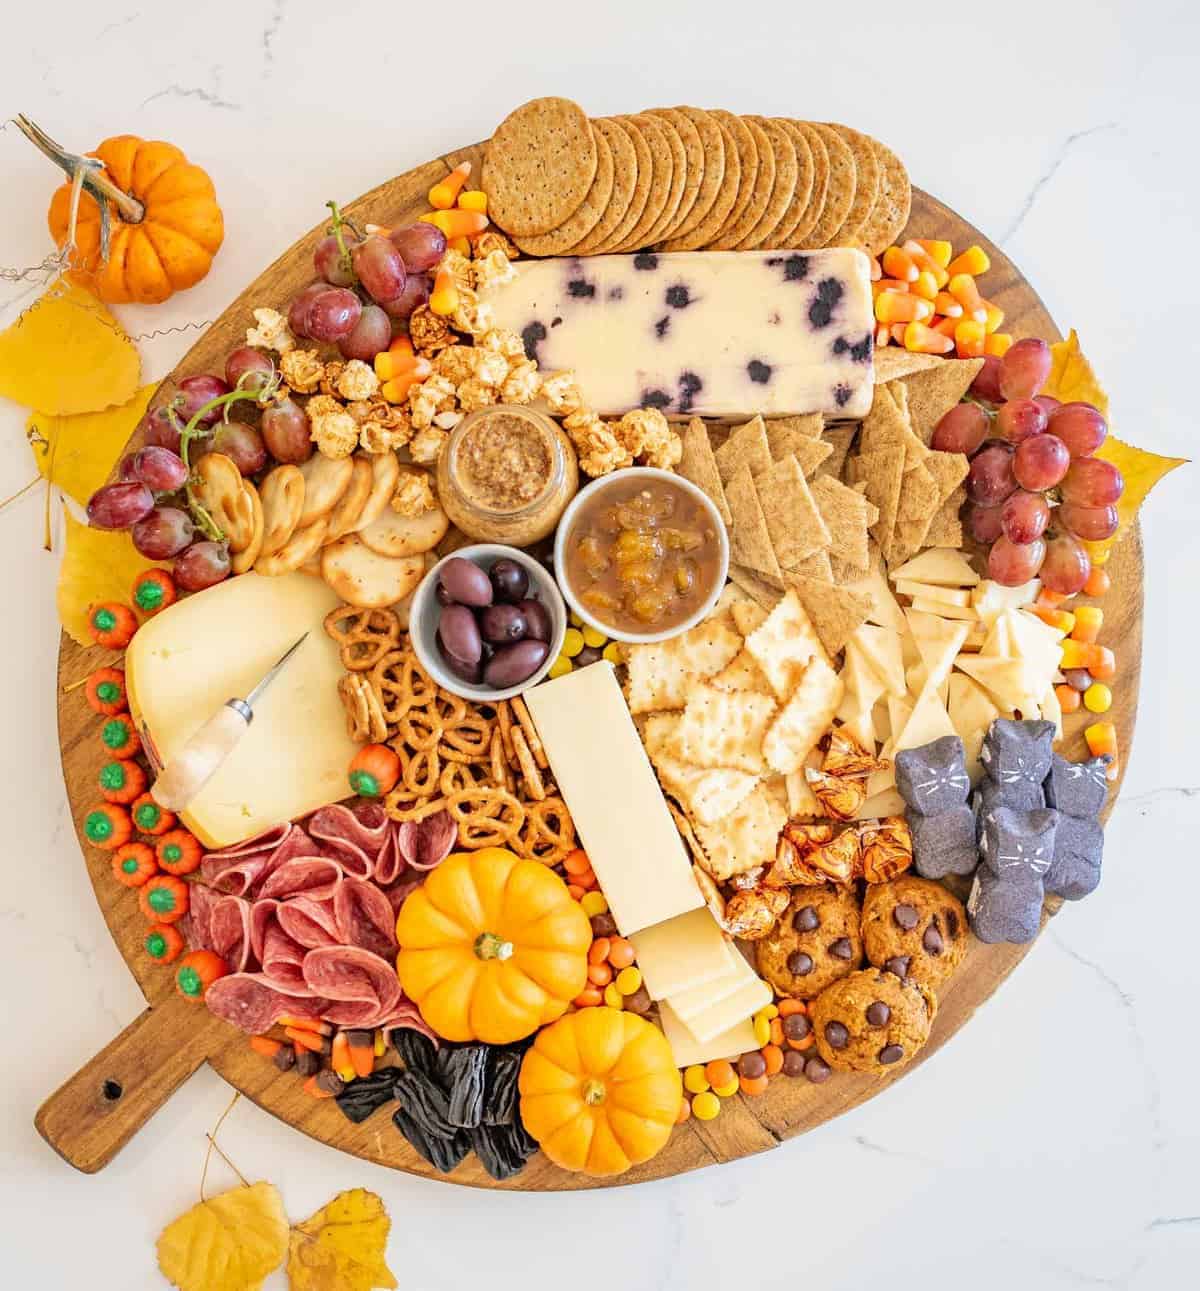
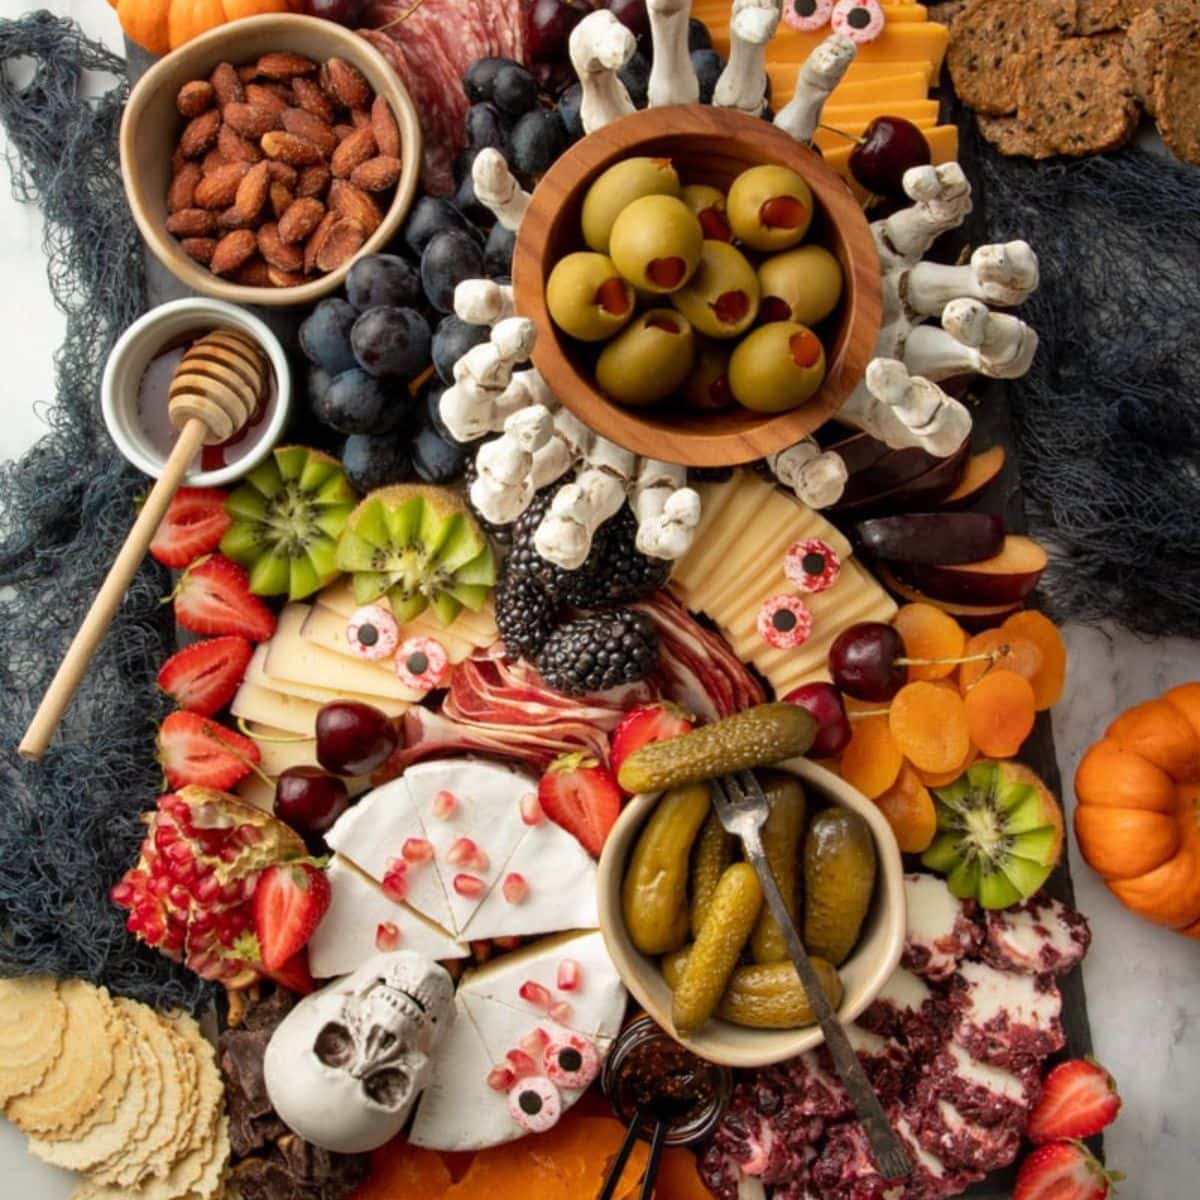
- Arrange the skeleton cookie pieces on a large board or platter. Fill the gaps and spaces around the bones with assorted Halloween treats such as candy corn, gummy worms, foil-wrapped chocolates, salted peanuts, pretzel twists, and lollipops. Assemble the board in its serving location to avoid moving it later.
More photos


Photos hosted by hgtv.com.