Paper CraftsNo. 8853 · The 2026 edition
Altered Halloween Books Tutorial, new and improved!
Transform a forgotten volume into a spooky, textured masterpiece with this updated guide to creating an altered Halloween book.
Our own summary of the original — the full post and photos live at betterafter.net.

This tutorial demonstrates how to decorate a book cover with plastic Halloween figures, paper towels, and adhesive to create a weathered, leather-like appearance. The process involves gluing decorations, applying a damp paper towel and sealant, painting the surface black, and finally highlighting the details with metallic paint for a dramatic finish.
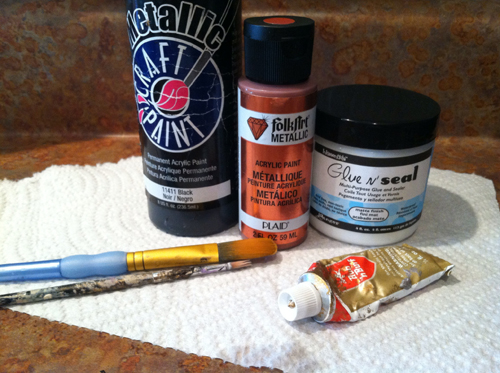
You'll need
Directions
- Begin by arranging your decorative items on the front cover of the book. Secure each piece firmly using a hot glue gun. For example, you might trim the wings from a plastic bat and adhere them first, then layer a skeleton figure on top. To add texture, you can also press thumbtacks into the corners of the cover. Use any small plastic Halloween figures you have on hand, such as spiders or bones.
- Take a paper towel and dampen it thoroughly, ideally separating it into a single layer. Lay this wet sheet over the entire cover, pressing it down so it conforms to the glued decorations. Apply a generous coat of Glue n' Seal over the damp paper towel. Embrace the wrinkles and folds; they create the desired aged, leather-like texture. Use a fine brush to work the adhesive deep into every nook and cranny.
- Allow the sealing layer to dry completely. Next, apply a full coat of black craft paint over the entire surface. At this stage, the project may appear dull and unimpressive, but this is a necessary part of the process.
- After the black paint has cured, apply metallic craft paint or Rub n' Buff to the raised details. Use your fingertip to dab a small amount of the metallic finish and gently rub it onto the elevated surfaces. This technique highlights the textures and makes the decorations pop.
More photos


Photos hosted by betterafter.net.