Glam Not GoreNo. 3912 · The 2026 edition
Easy Stamped Halloween Nail Art Tutorial
Transform your nails into spooky works of art with this simple stamped Halloween tutorial! Learn how to create metallic accents and fun patterns like bats and cats using just a few basic tools.
Our own summary of the original — the full post and photos live at thewonderforest.com.
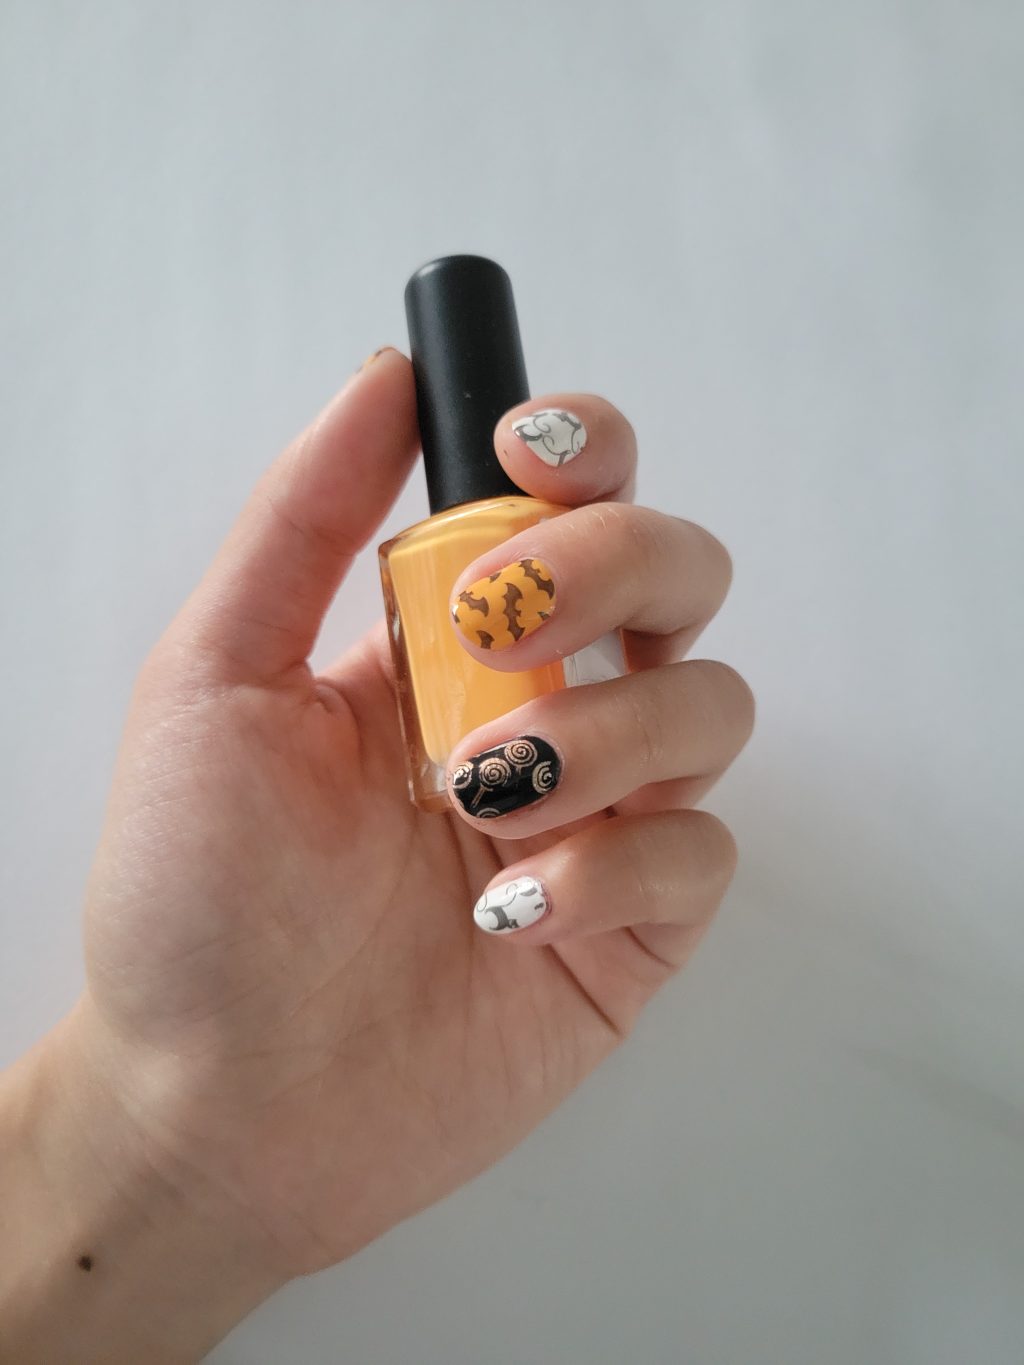
This tutorial guides you through creating easy stamped Halloween nail art. You will prep your nails with orange, white, and black base coats, use a black ring finger as an accent, and apply polish to a stamping plate. After scraping the design, you will transfer it to your nails using a stamping tool. The process is repeated with different color and pattern combinations, such as bats on orange or cats on white. Finally, clean up any excess polish and seal the design with a topcoat.
Directions
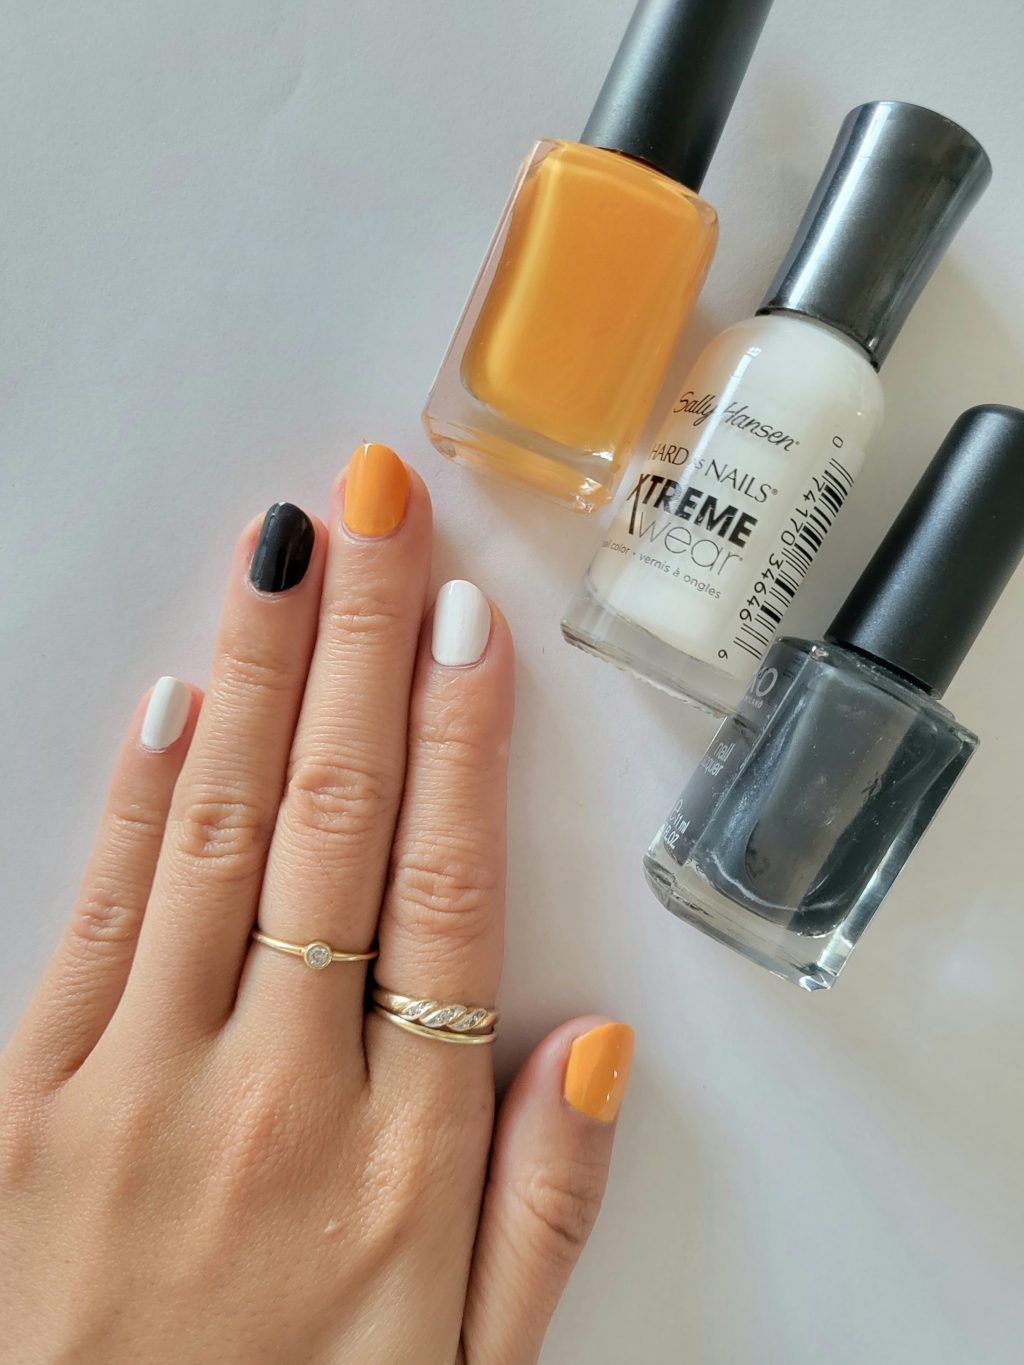
- Start by prepping your nails and applying base coats of orange, white, and black polish.
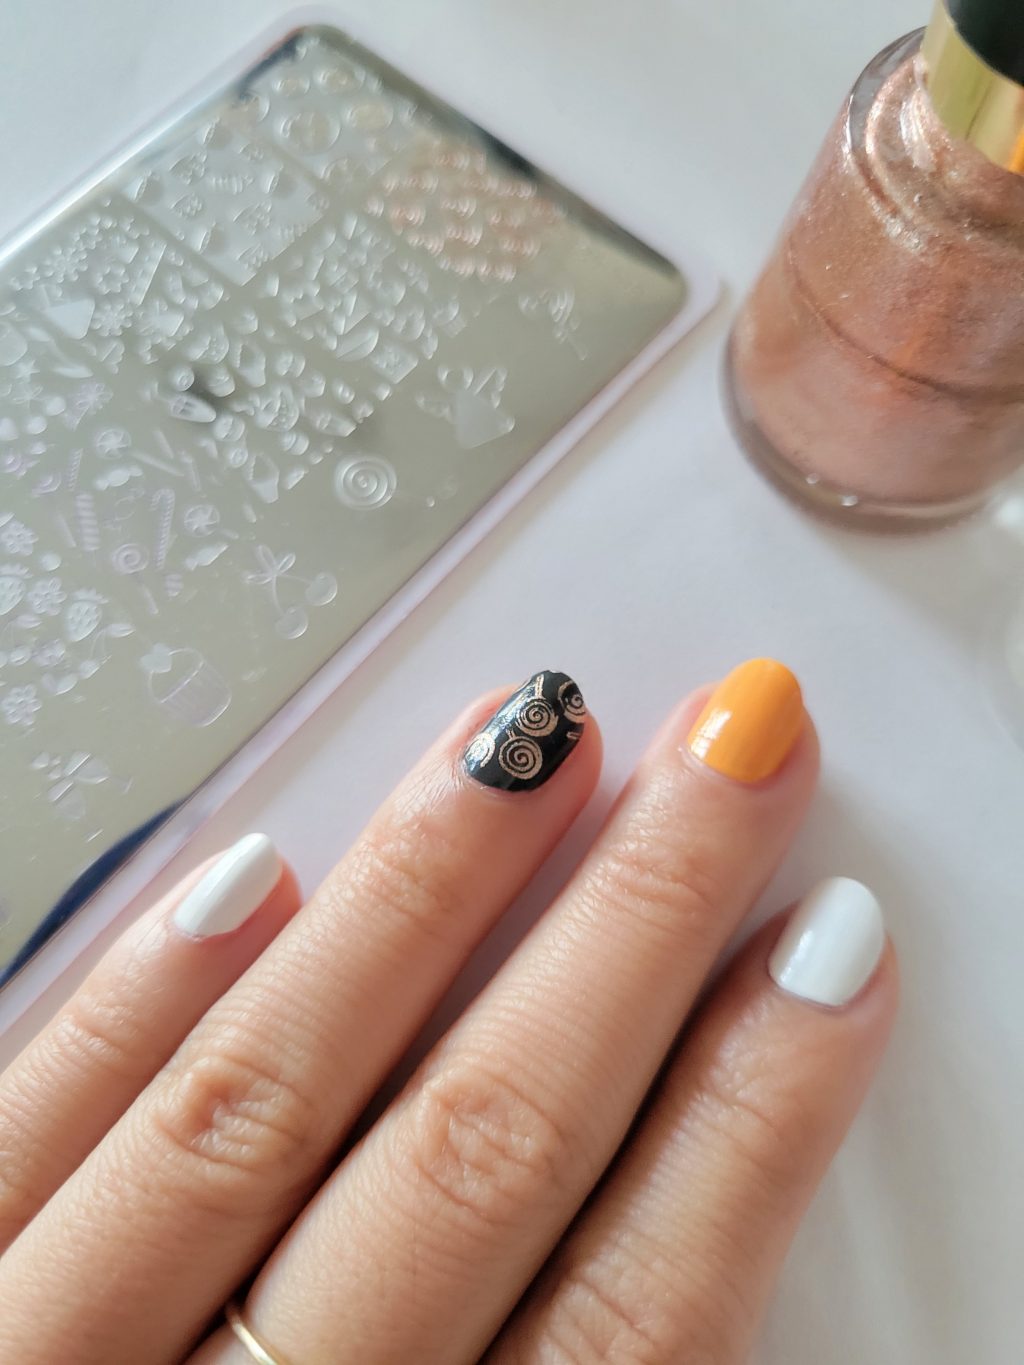
- Paint your ring finger black to serve as the accent nail for the metallic stamp.
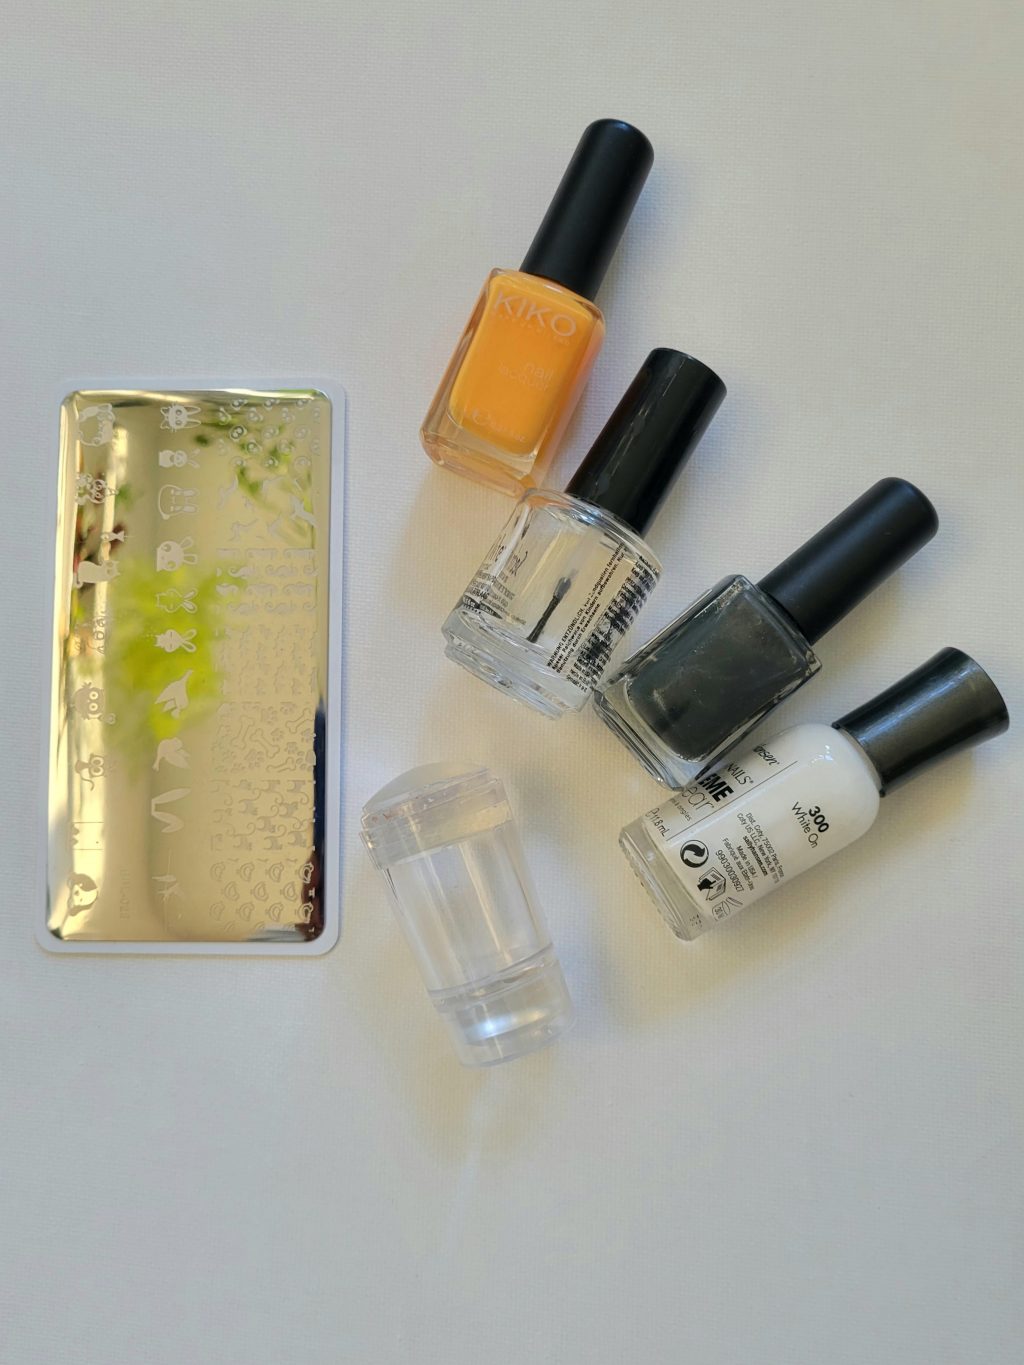
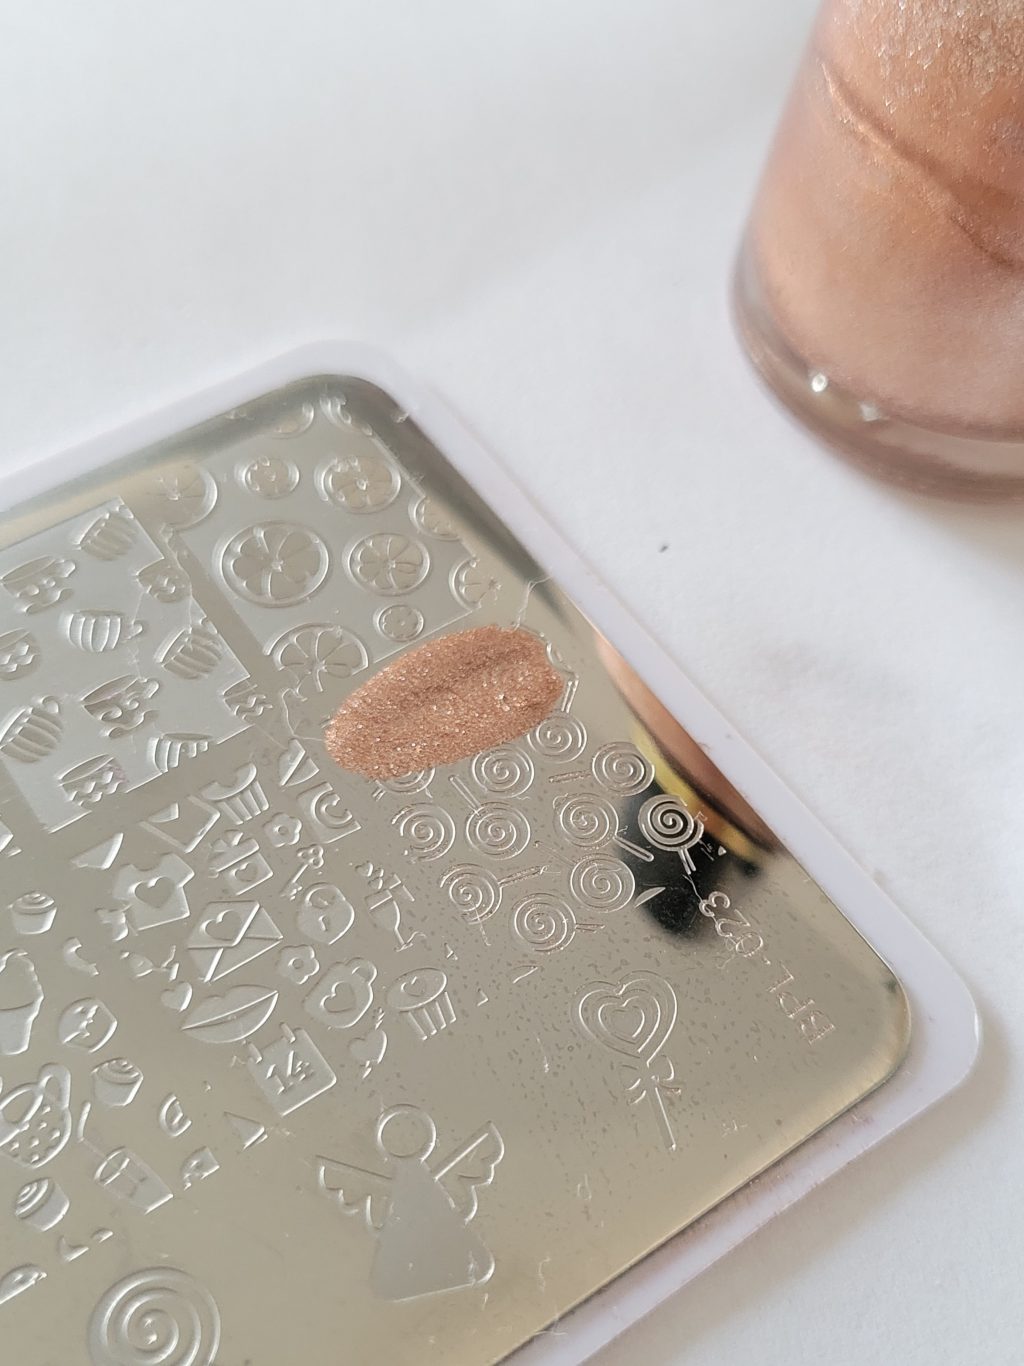
- Place a large amount of polish onto your stamping plate, making sure the entire design is covered.
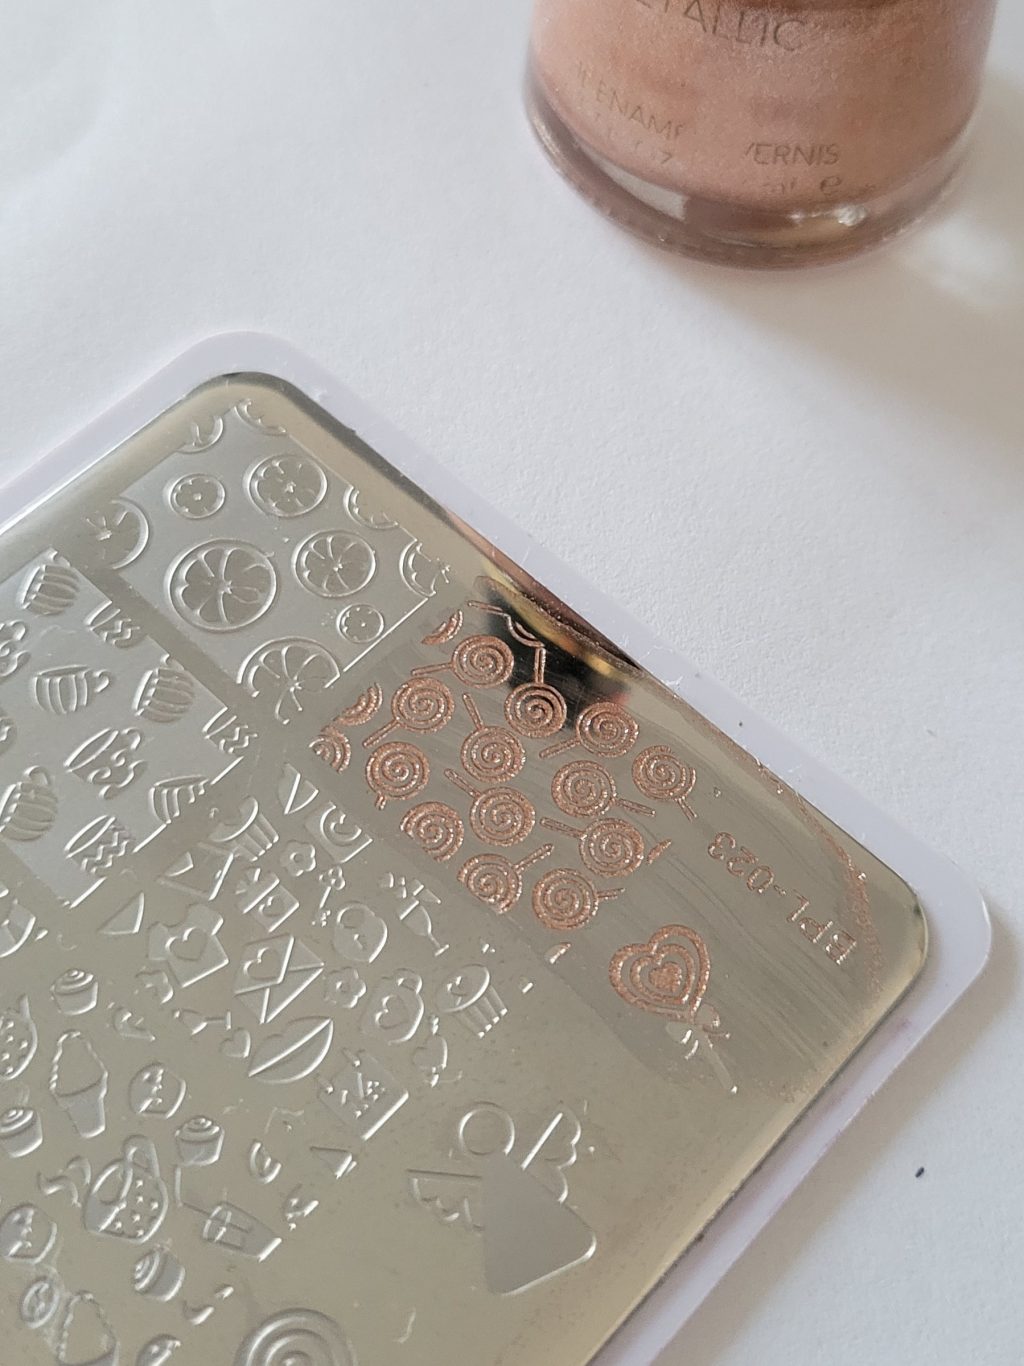
- Use a card to scrape firmly across the plate, filling the etched design with polish.
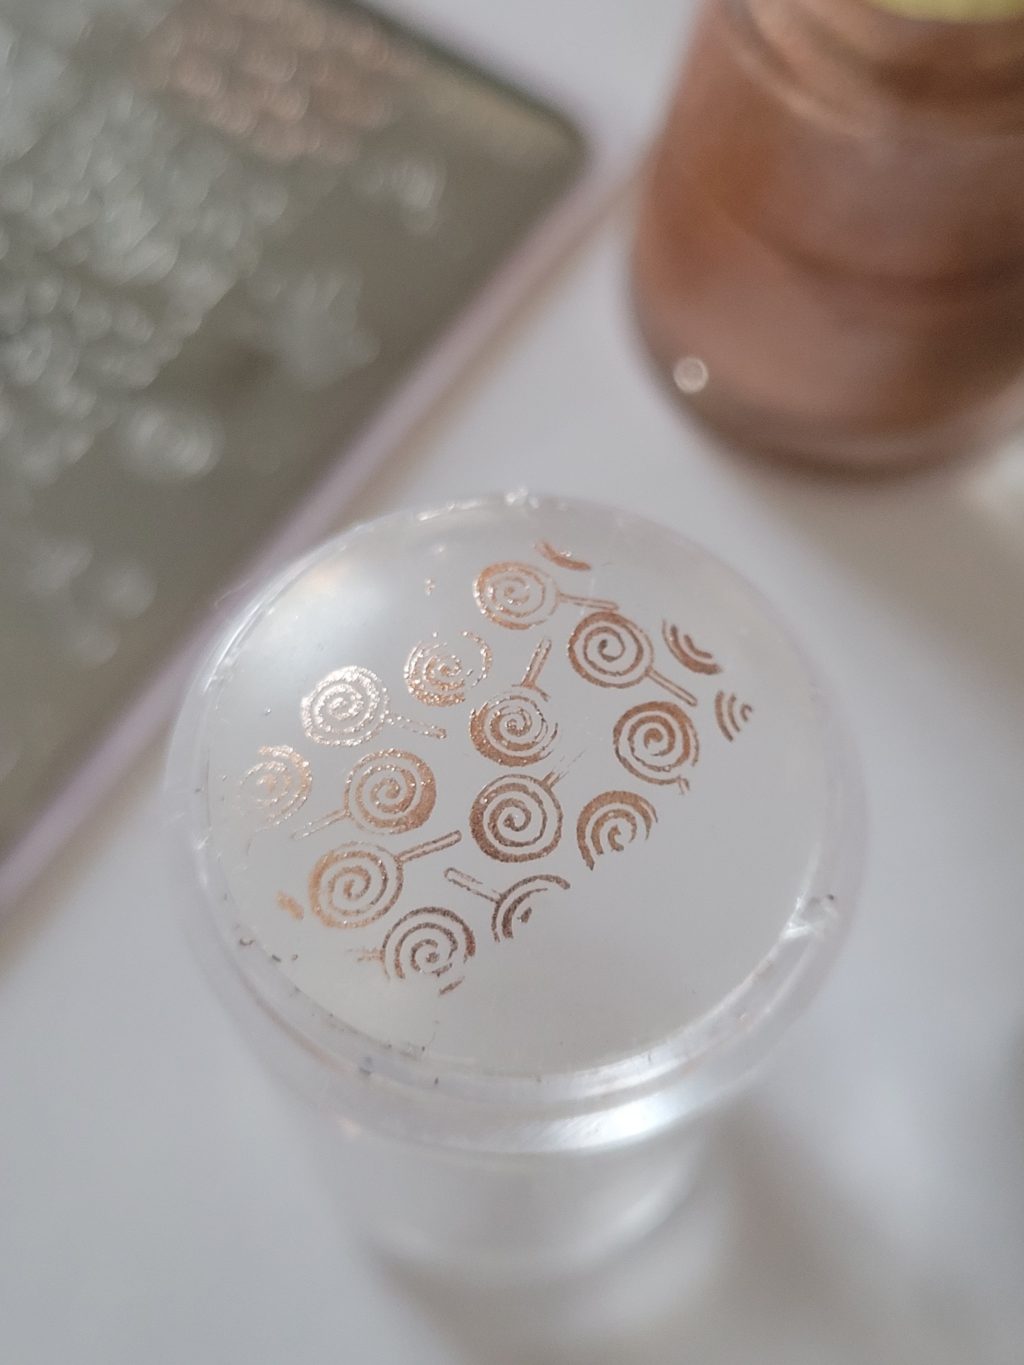
- Press the stamping tool onto the plate to pick up the design, then immediately press it onto your nail.
- Repeat the stamping process using various base colors and designs, such as a bat pattern on orange polish or a cat pattern on white polish.
- Remove any stray polish from your skin and nails using a cotton bud soaked in nail polish remover.
- Finish by applying a topcoat to seal and protect your stamped design.
More photos
Photos hosted by thewonderforest.com.