Paper CraftsNo. 1836 · The 2026 edition
Flying Bat Silhouettes
Make eerie flying bats for your Halloween decor with this easy vinyl-cutting project.
Our own summary of the original — the full post and photos live at thescrapshoppeblog.com.
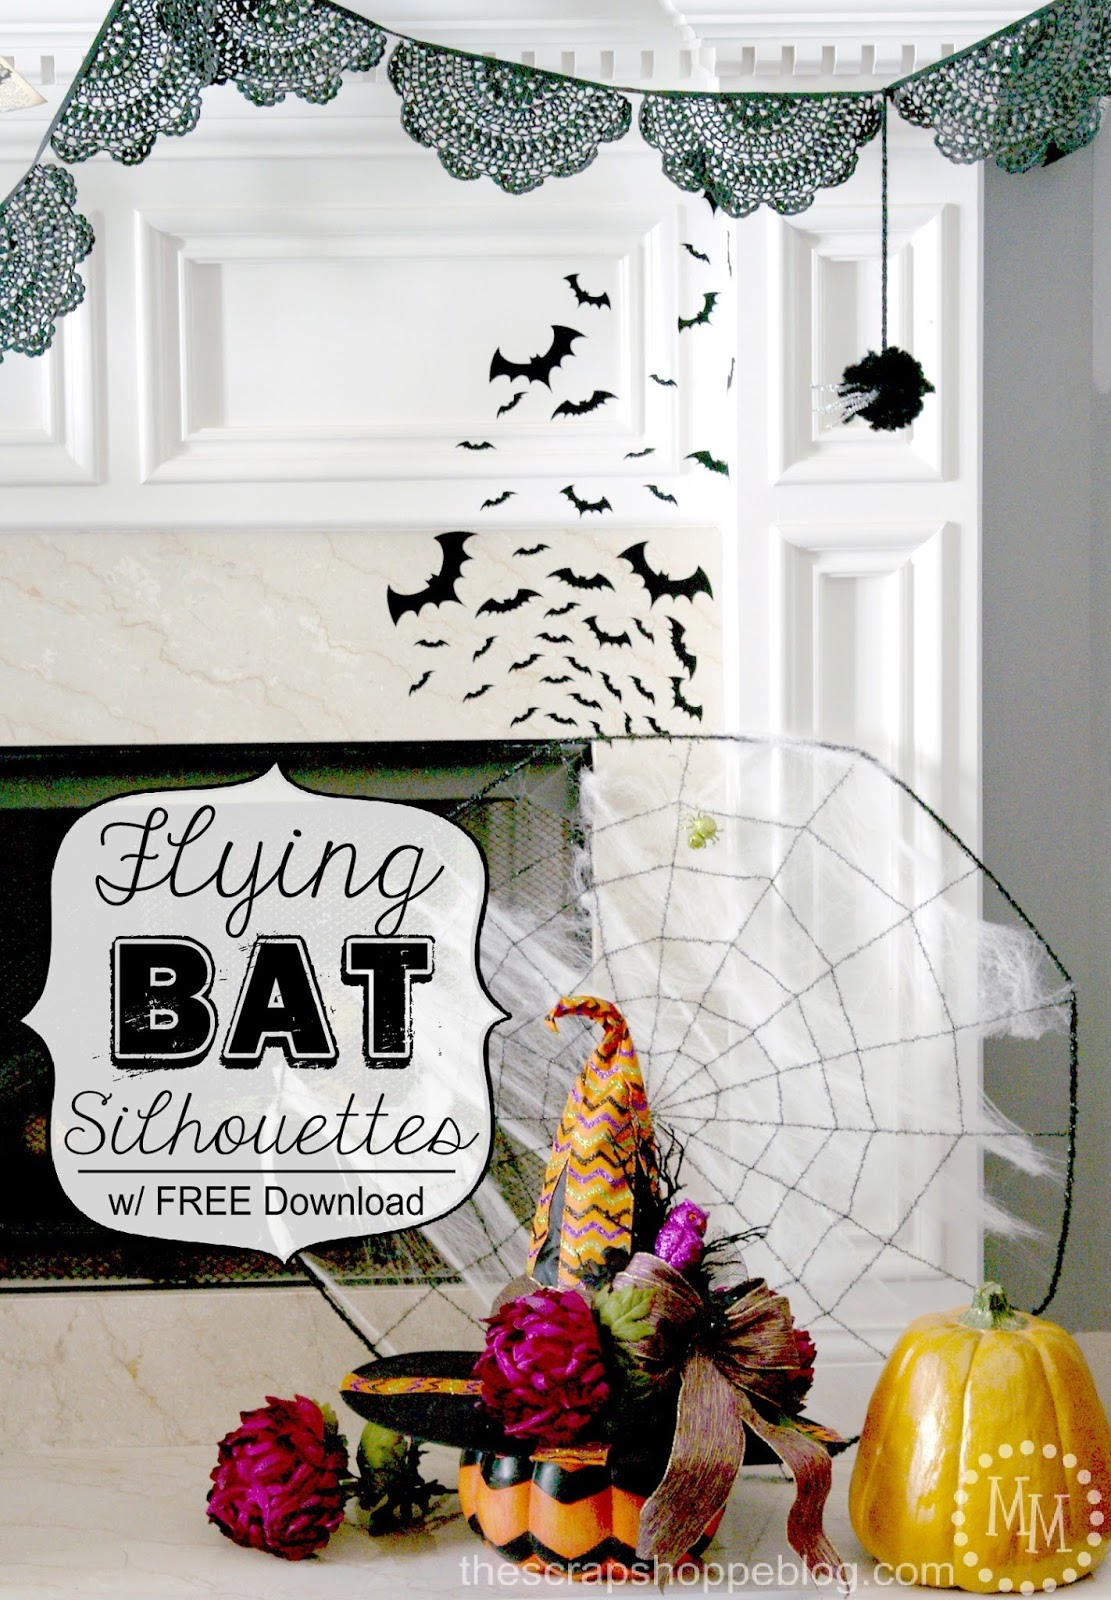
This project guides you through cutting bat silhouettes from black vinyl using a Silhouette or Cricut machine. After downloading the template and tracing the bats in the software, you cut them out and arrange them in size order for a dimensional effect. The result is a spooky flock of bats perfect for windows or walls.
You'll need
Directions
- Save the bat template file (JPG or SVG) to your computer after downloading it.
- Launch your Silhouette software and open the bats JPG file.
- Use the ROTATE function to turn the image 90 degrees.
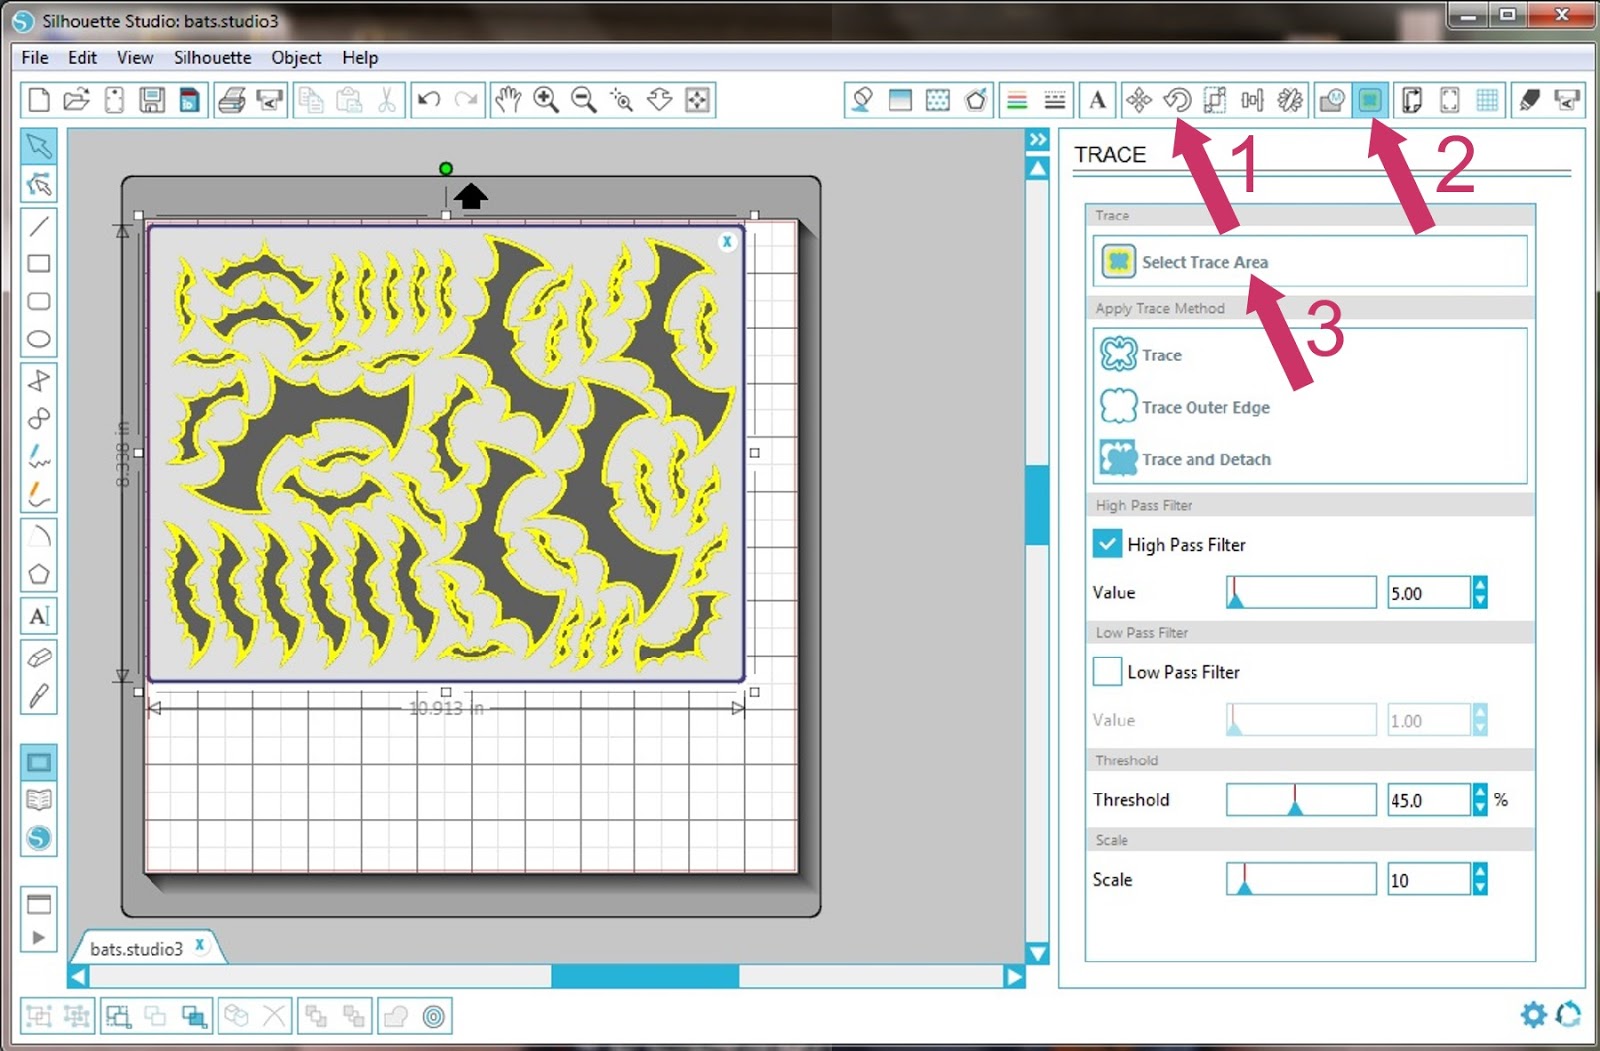
- Activate the TRACE tool by clicking its button.
- Choose SELECT TRACE AREA, then draw a bounding box around the bats so each bat's edge turns yellow.
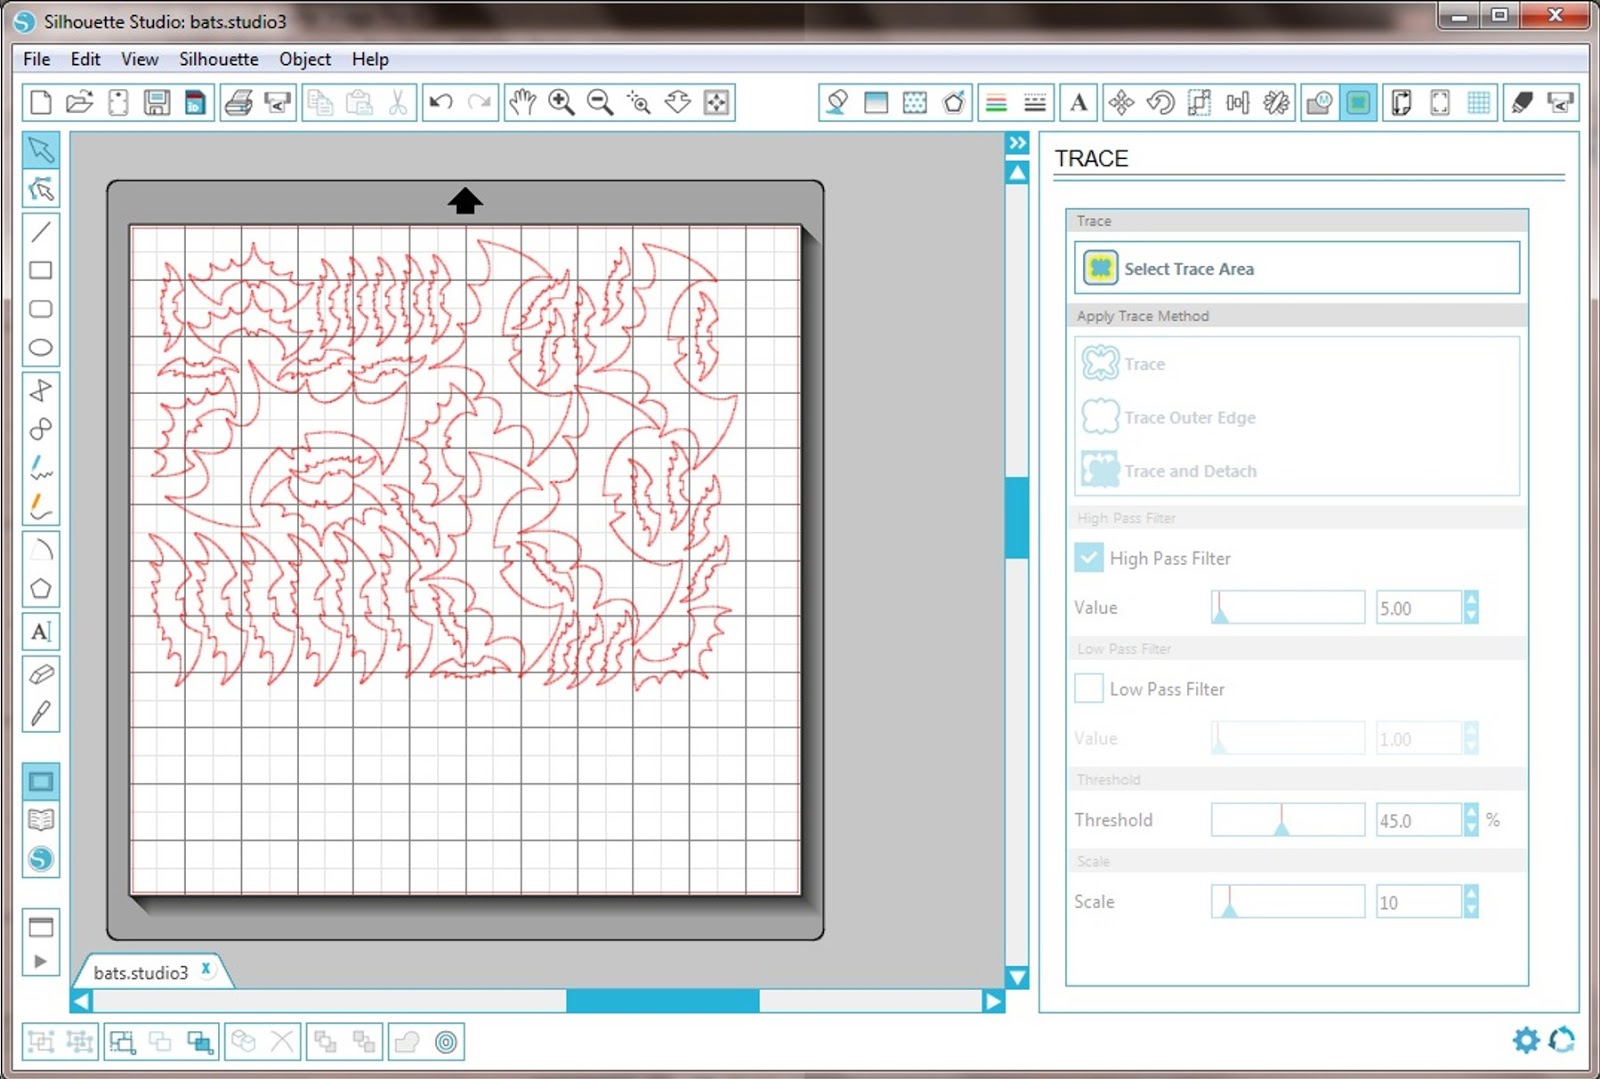
- Click TRACE OUTER EDGE to convert the yellow highlight to a thin red outline over the original image.
- Select and delete the original bats in the file, keeping only the red outlines.
- Hit the CUT button, set your material to vinyl, load the vinyl into the machine, and cut out the bats.
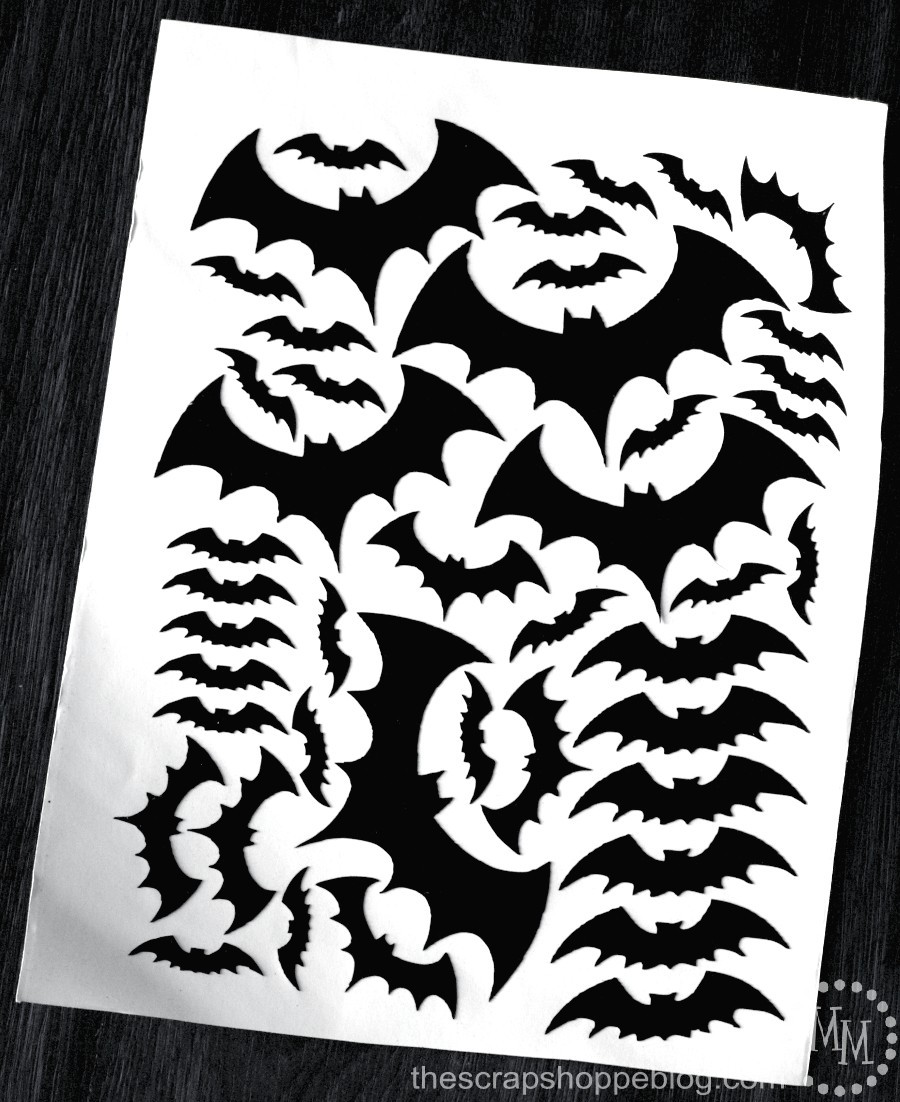
- Remove the excess vinyl so you're left with a sheet full of bats in various sizes.
- Position the bats on your desired surface from smallest to largest to create a sense of depth.
More photos

Photos hosted by thescrapshoppeblog.com.