Labels & TagsNo. 4395 · The 2026 edition
Free Printable Potion Bottle Labels
Create eerie potion bottles with free printable labels, perfect for Halloween décor.
Our own summary of the original — the full post and photos live at prudentpennypincher.com.
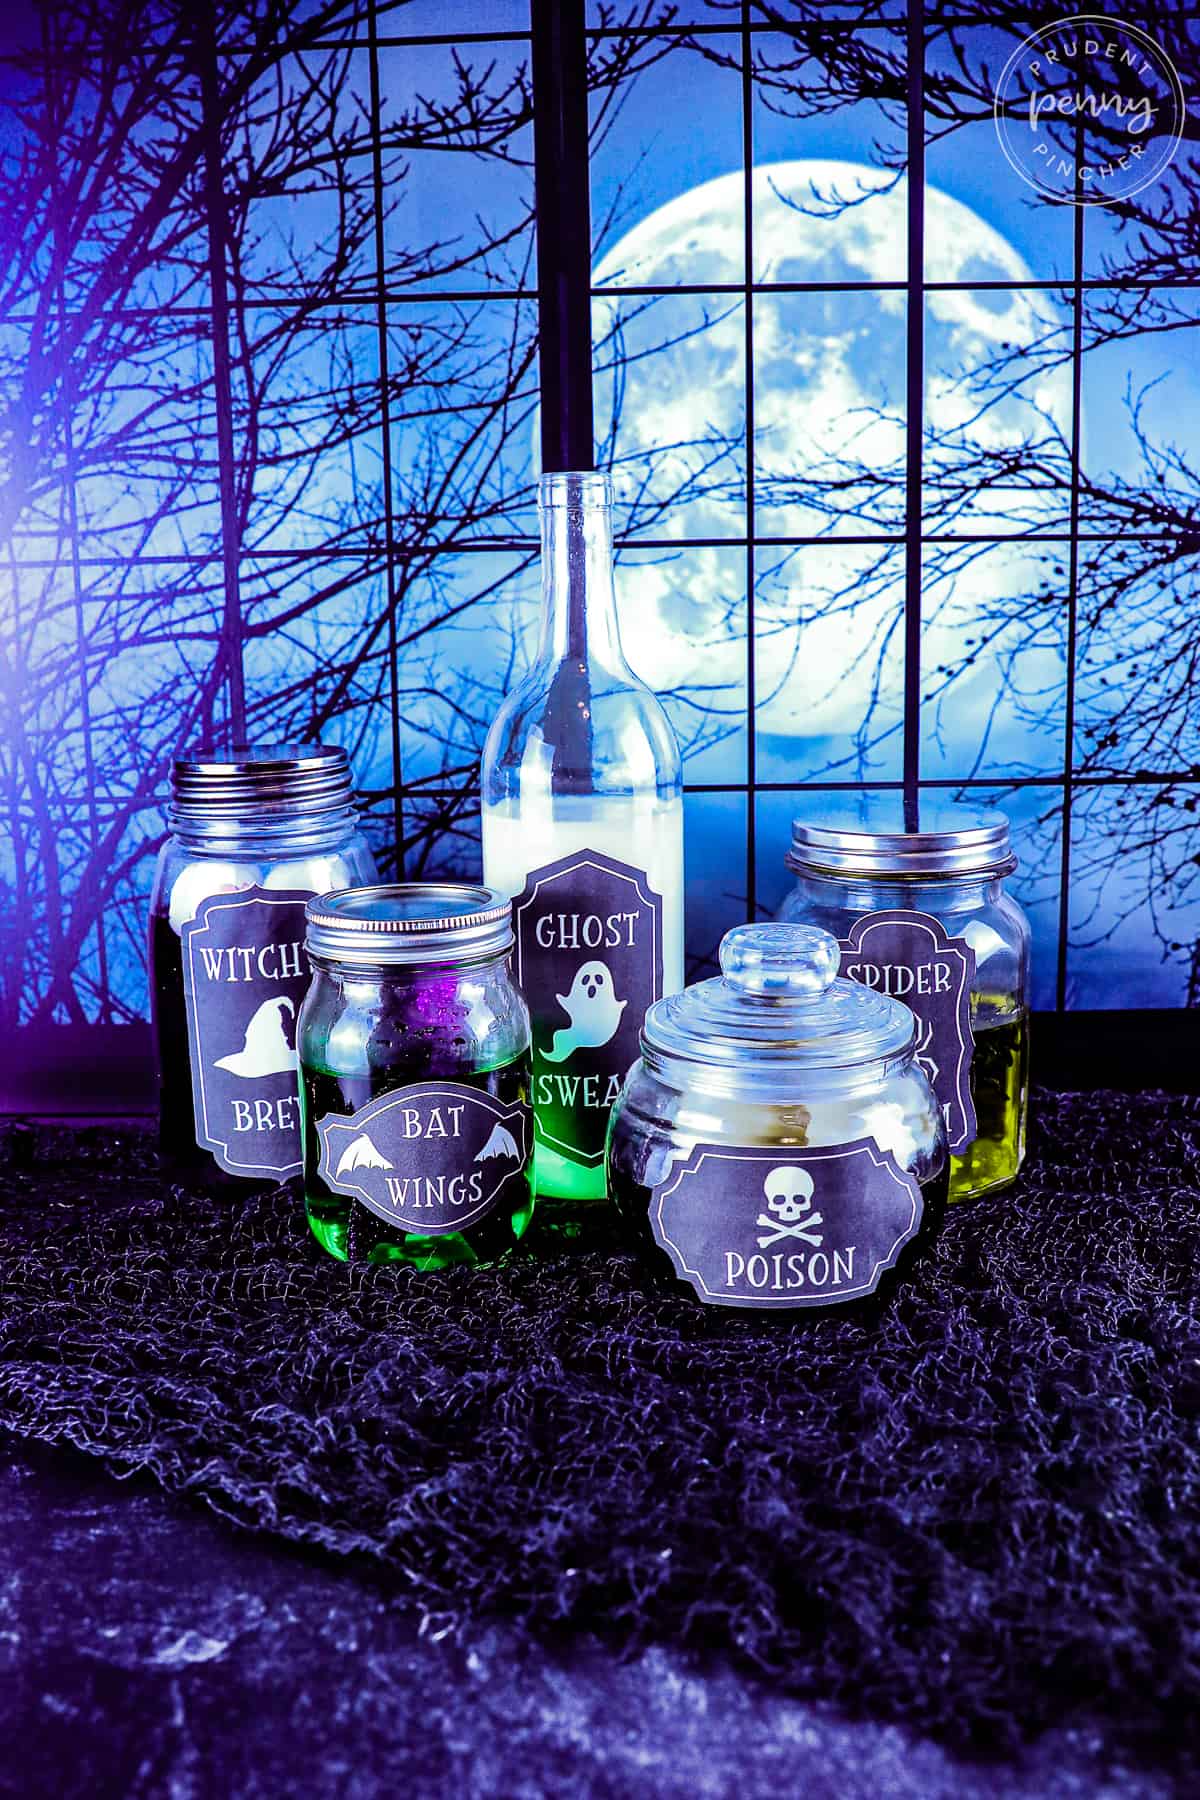
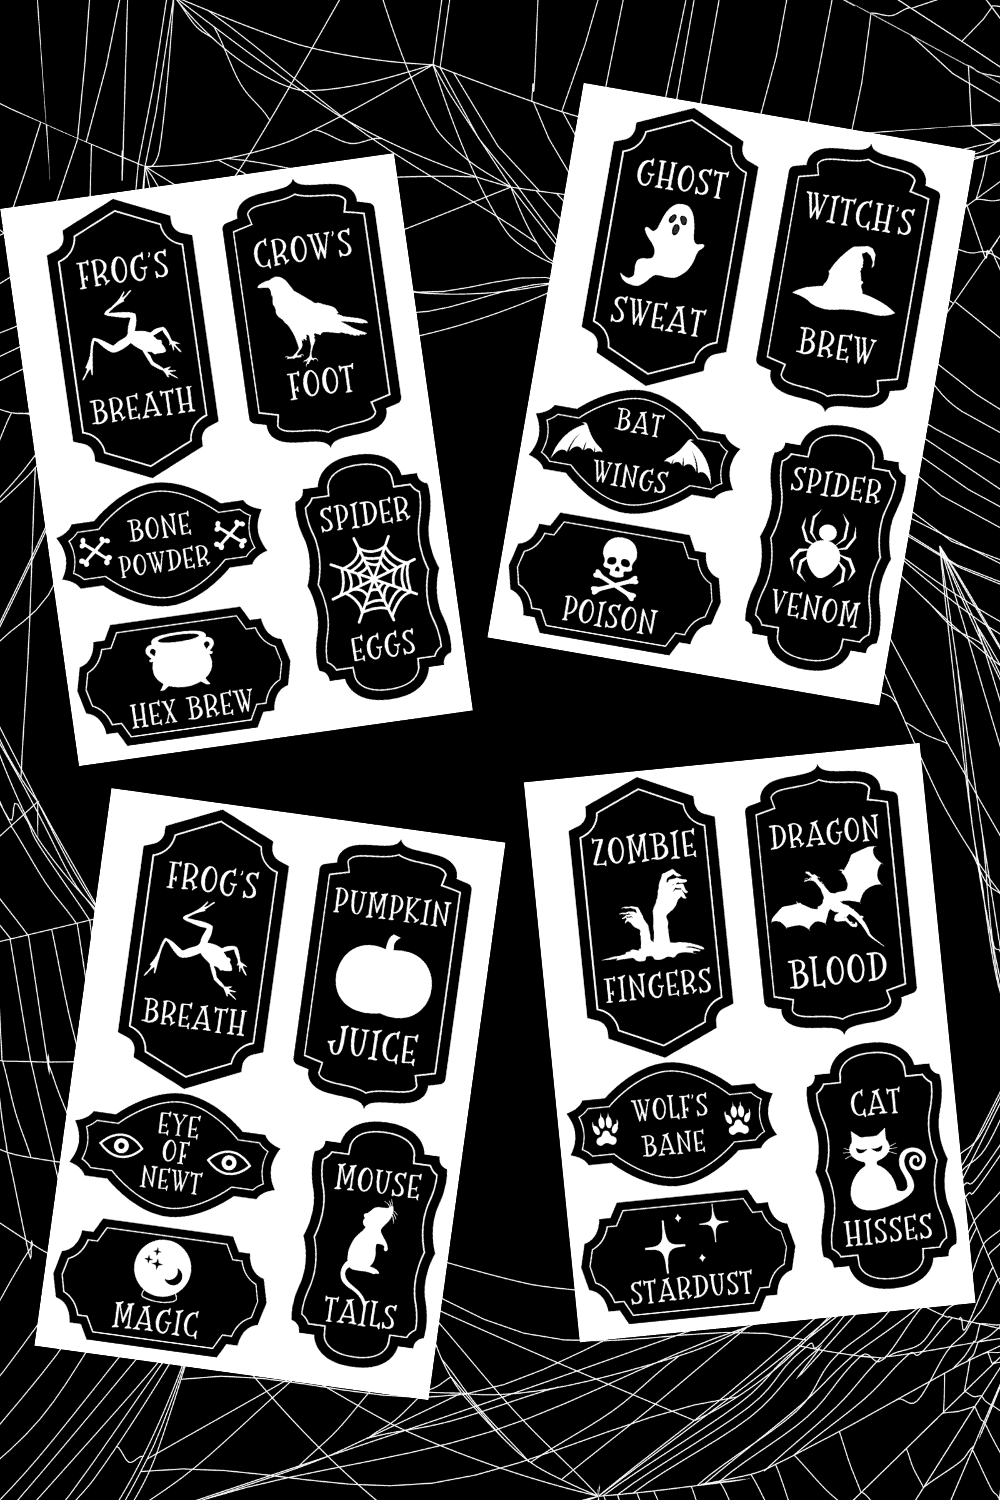
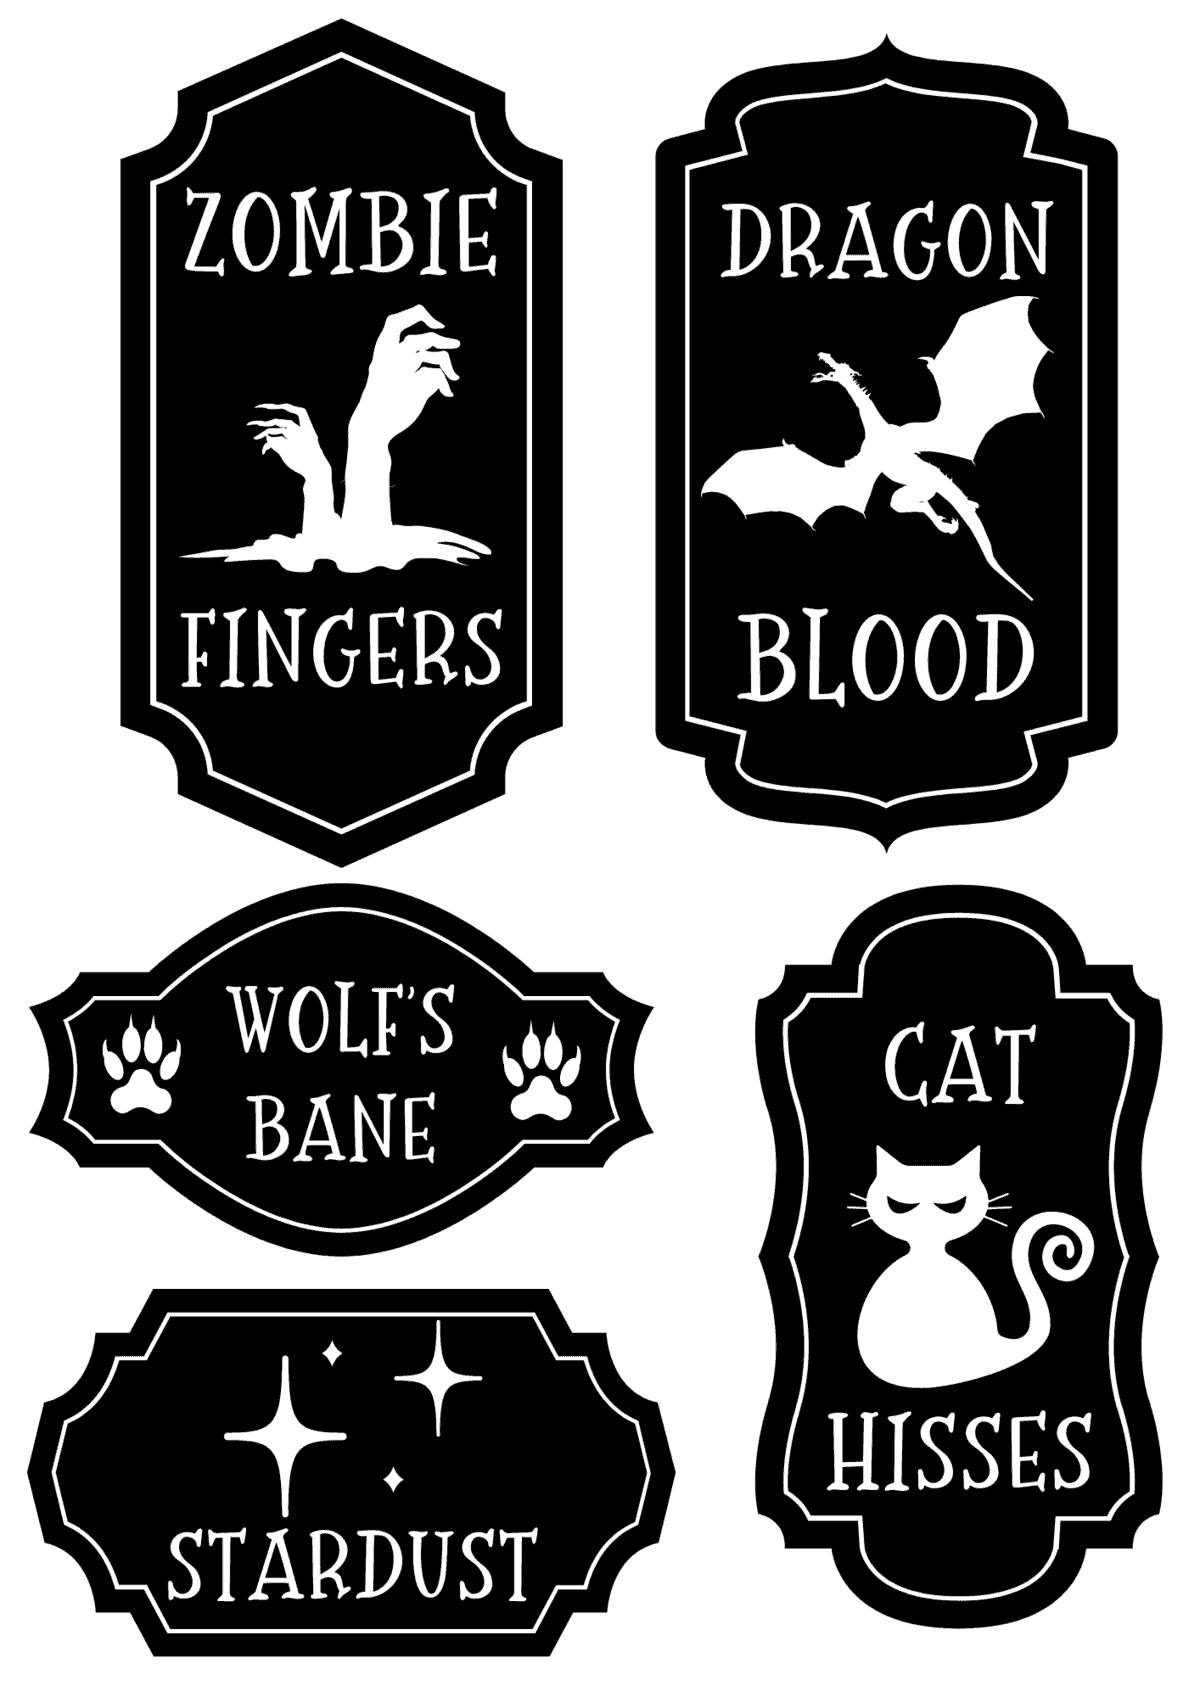
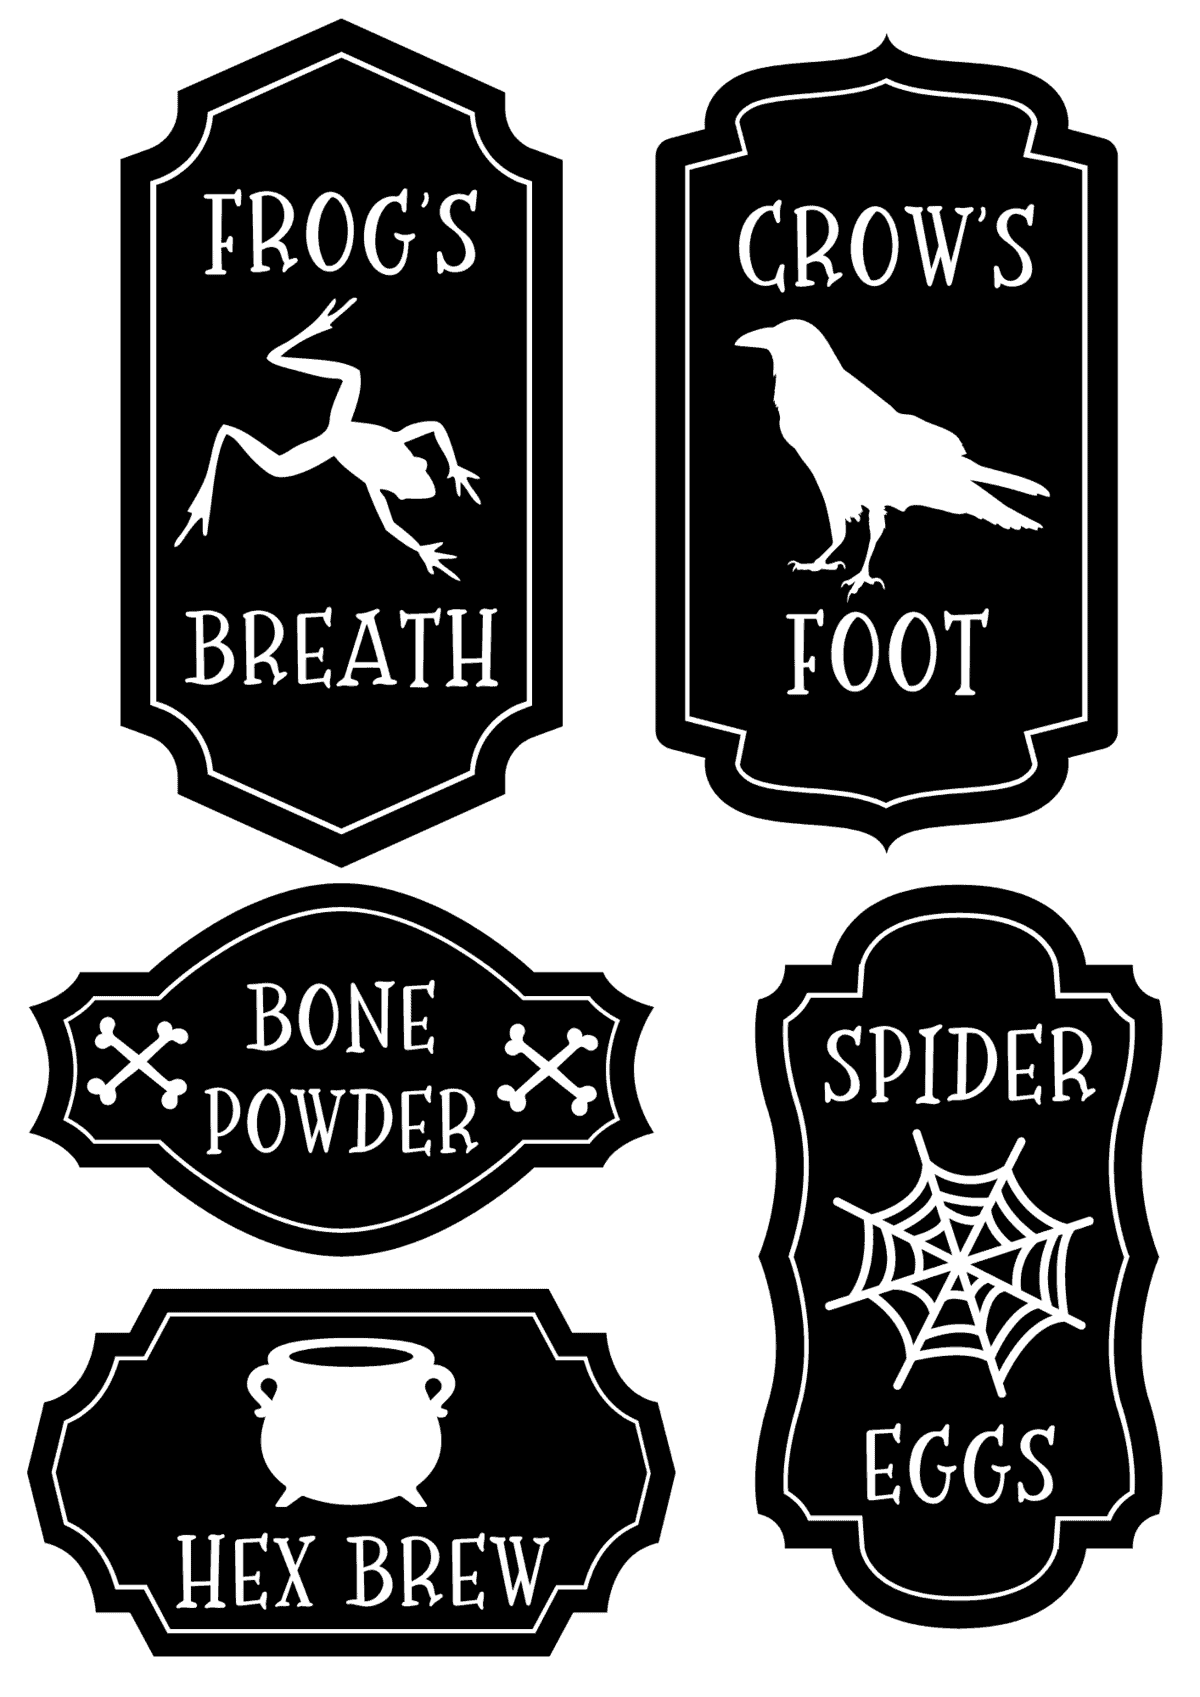
This guide walks you through downloading, printing, and applying custom potion labels using Cricut's Print Then Cut feature. You'll need matte sticker paper, glass bottles, and spooky fillers to complete the look. Follow 24 simple steps to transform ordinary jars into Halloween potion containers.
You'll need
Directions
- Press the PNG button above; it opens in Google Drive. Hit the download icon in the top right corner, and the file saves to your Downloads folder. Unzip the downloaded file.
- Put your matte sticker paper into the printer's paper tray. In the printer menu, choose the correct paper source. Usually, you load paper with the printable side facing down.
- Launch Cricut Design Space.
- Click on the New Project button.
- Tap the Upload button.
- Select Upload Image.
- Pick the PNG file you wish to print.
- Click Open.
- Choose the Complex image type, then click continue.
- The background is already transparent, so skip the background remover. Just press continue again.
- Select upload type option #2 (Print then Cut Image) and click upload.
- Add the image to your canvas by choosing it under recent uploads and clicking 'add to canvas'.
- If the image is too large, resize it to match your bottle sizes.
- Click the 'Make it' button.
- Under Print Setup, pick your printer, uncheck the 'add bleed' option, and click print.
- If it's your first time using print and cut, you might need to calibrate your printer for accurate cuts. Follow those instructions if prompted.
- Place your printed labels on the cutting mat and click continue.
- Set the material type to Printable Sticker Paper.
- Load the mat into the machine by pressing the load button.
- Press the go button on the machine to start cutting the labels.
- Take the sticker paper off the mat.
- Peel the labels from the paper backing.
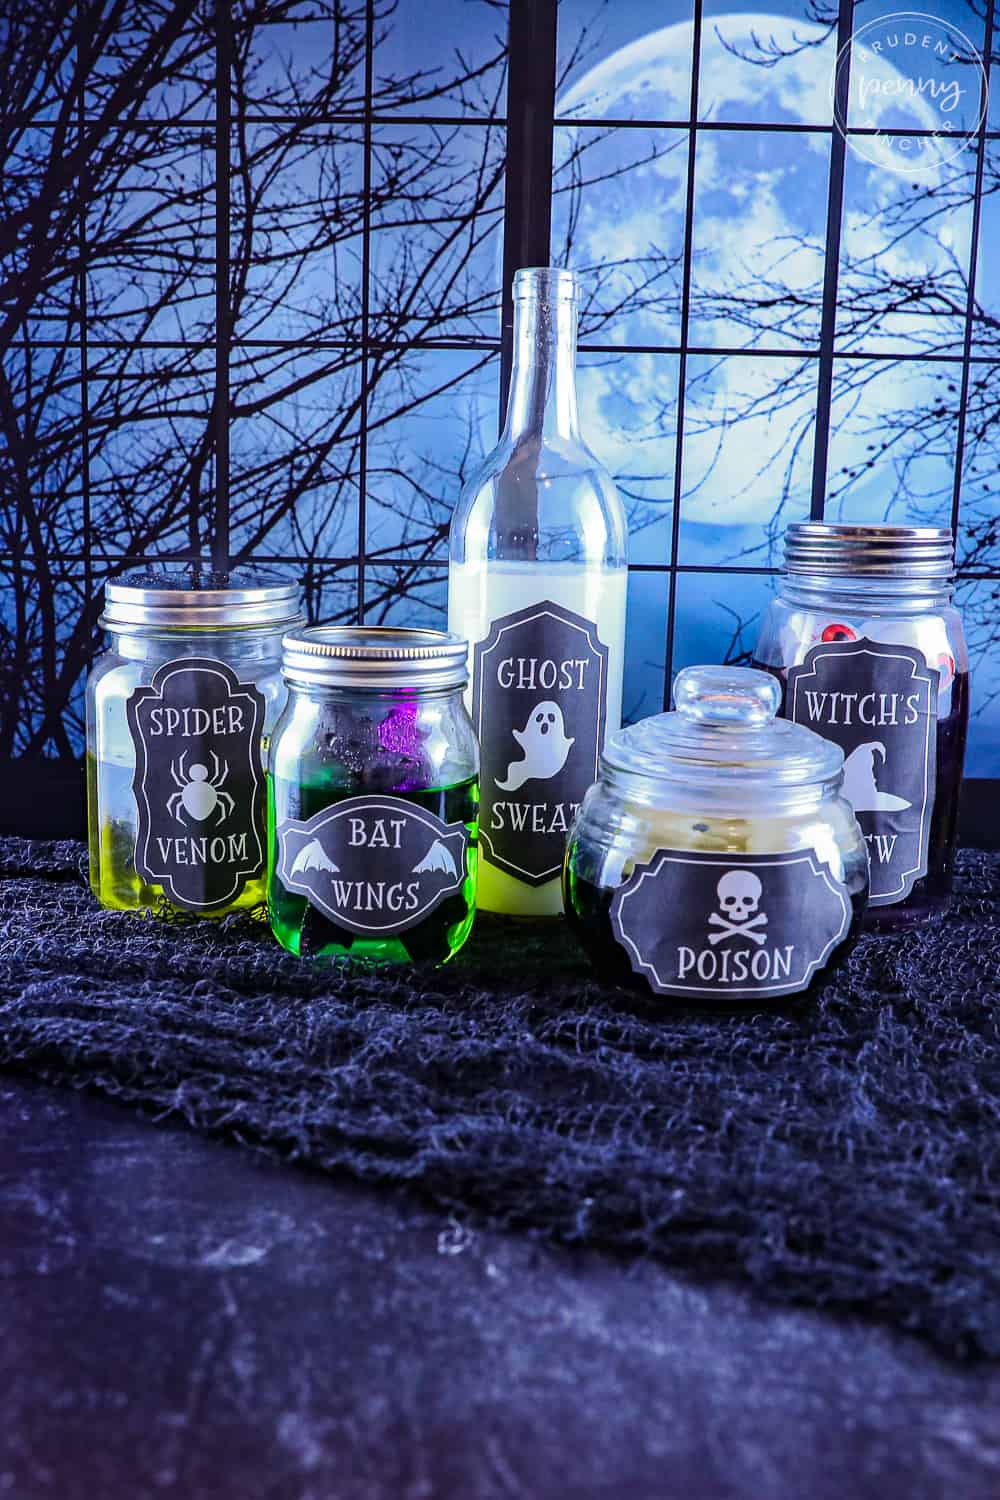
- Attach the labels to your glass jars or bottles.
- Fill your glassware with spooky items and/or a mix of food coloring and water.
More photos
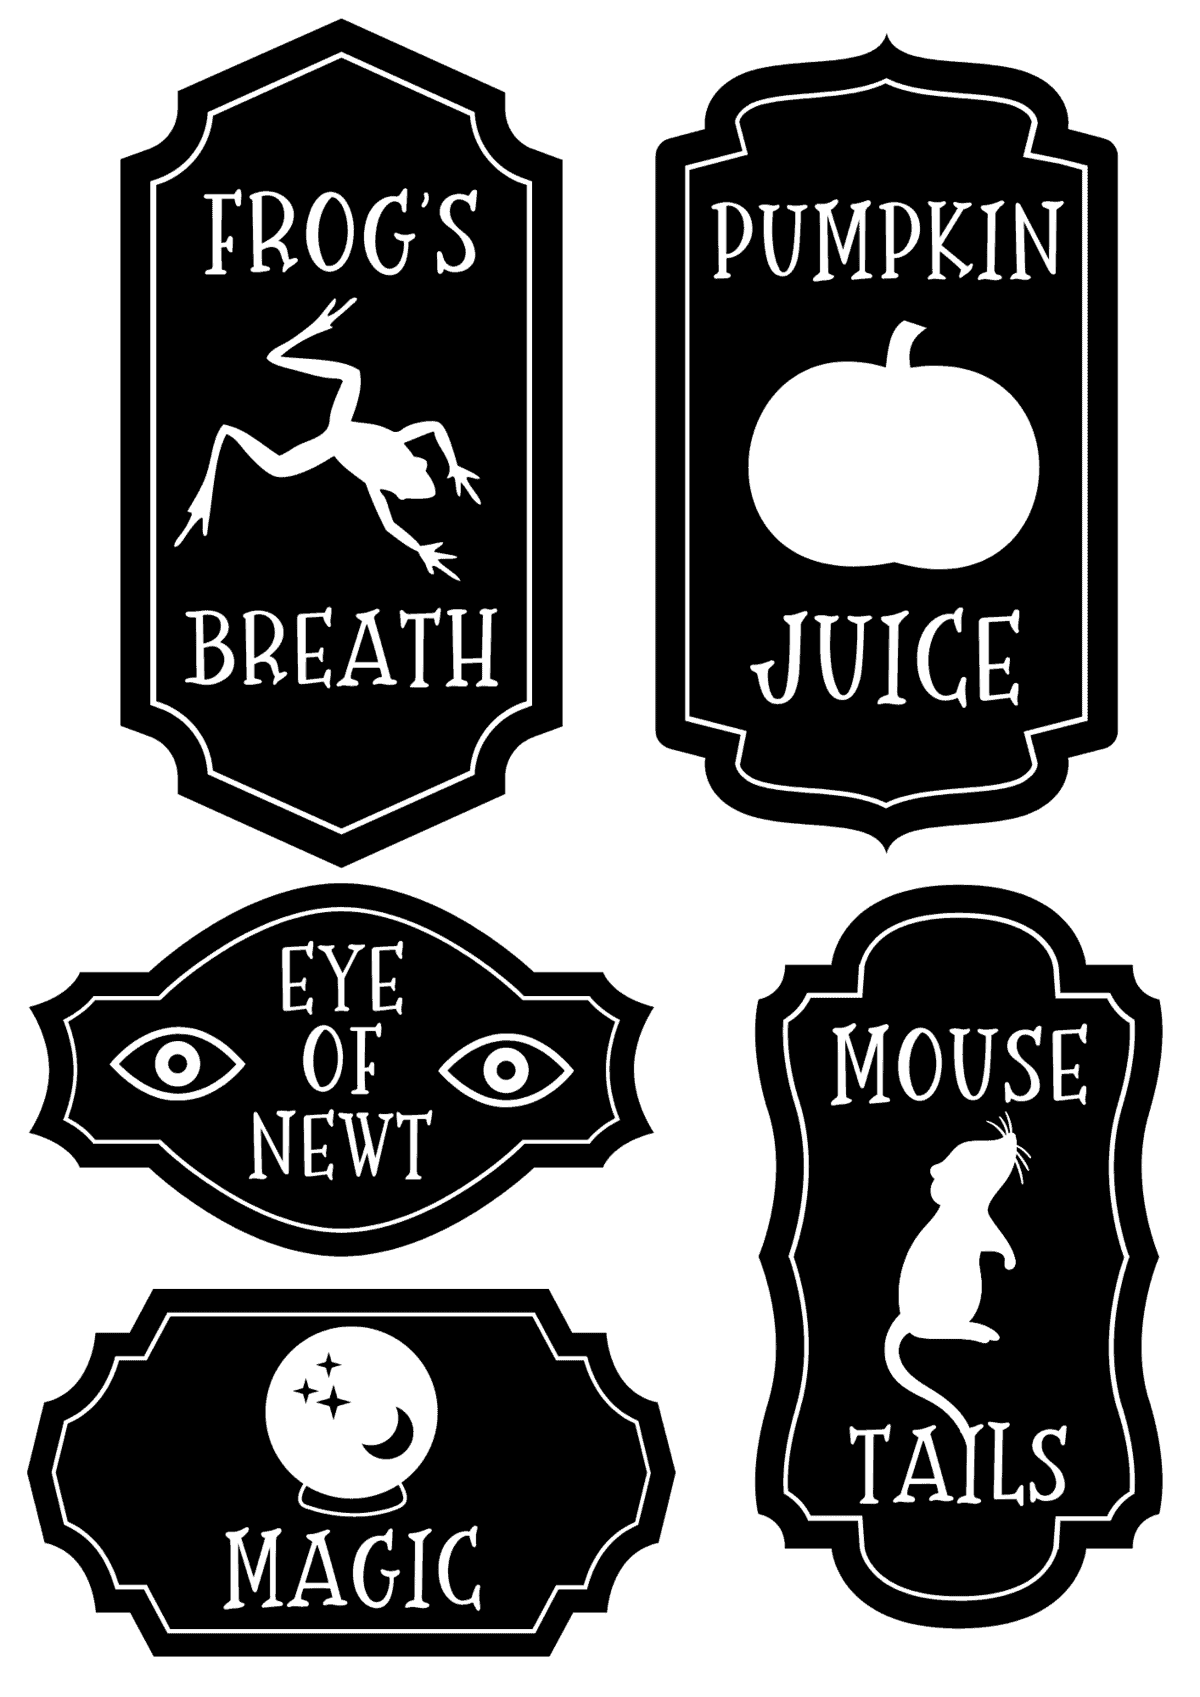
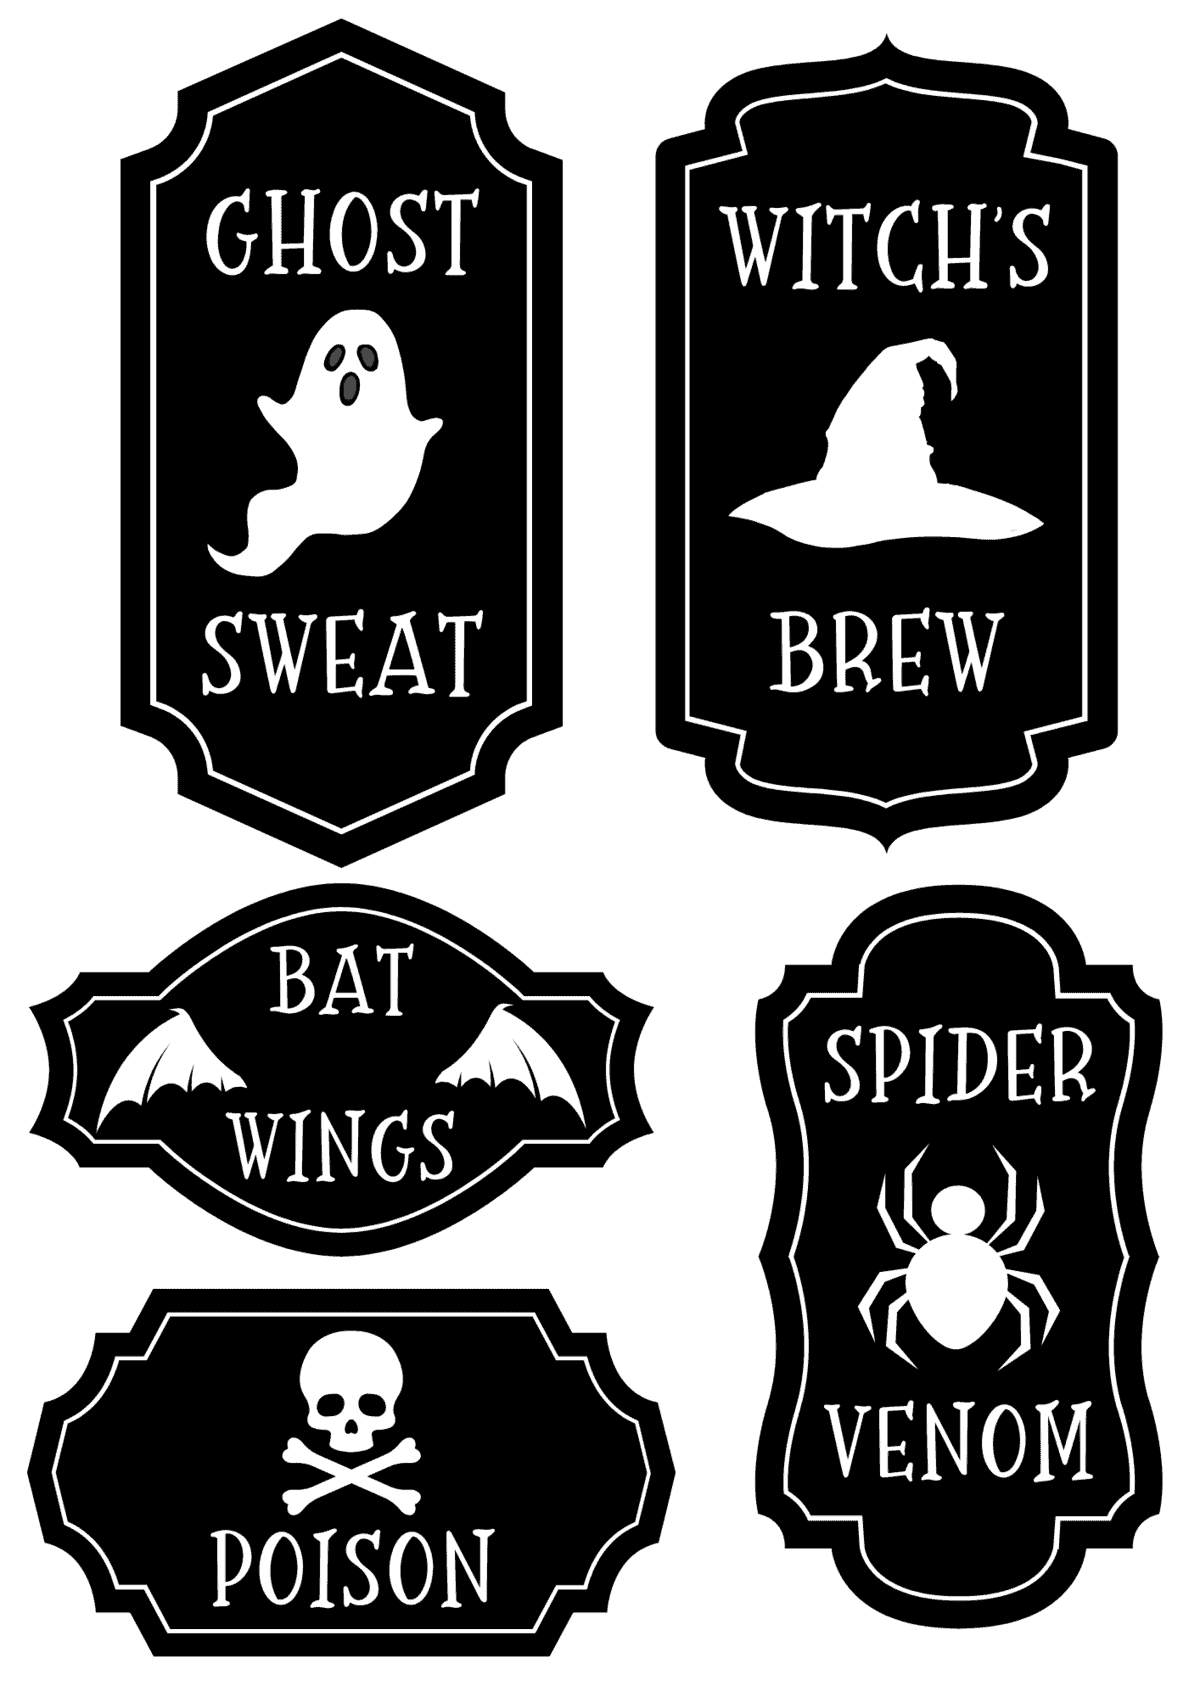
Photos hosted by prudentpennypincher.com.