Charcuterie & Snack BoardsNo. 8259 · The 2026 edition
Halloween Charcuterie Board
Impress your guests with this creepy-crawly Halloween charcuterie board featuring homemade chocolate skulls and spiders.
Our own summary of the original — the full post and photos live at findingzest.com.
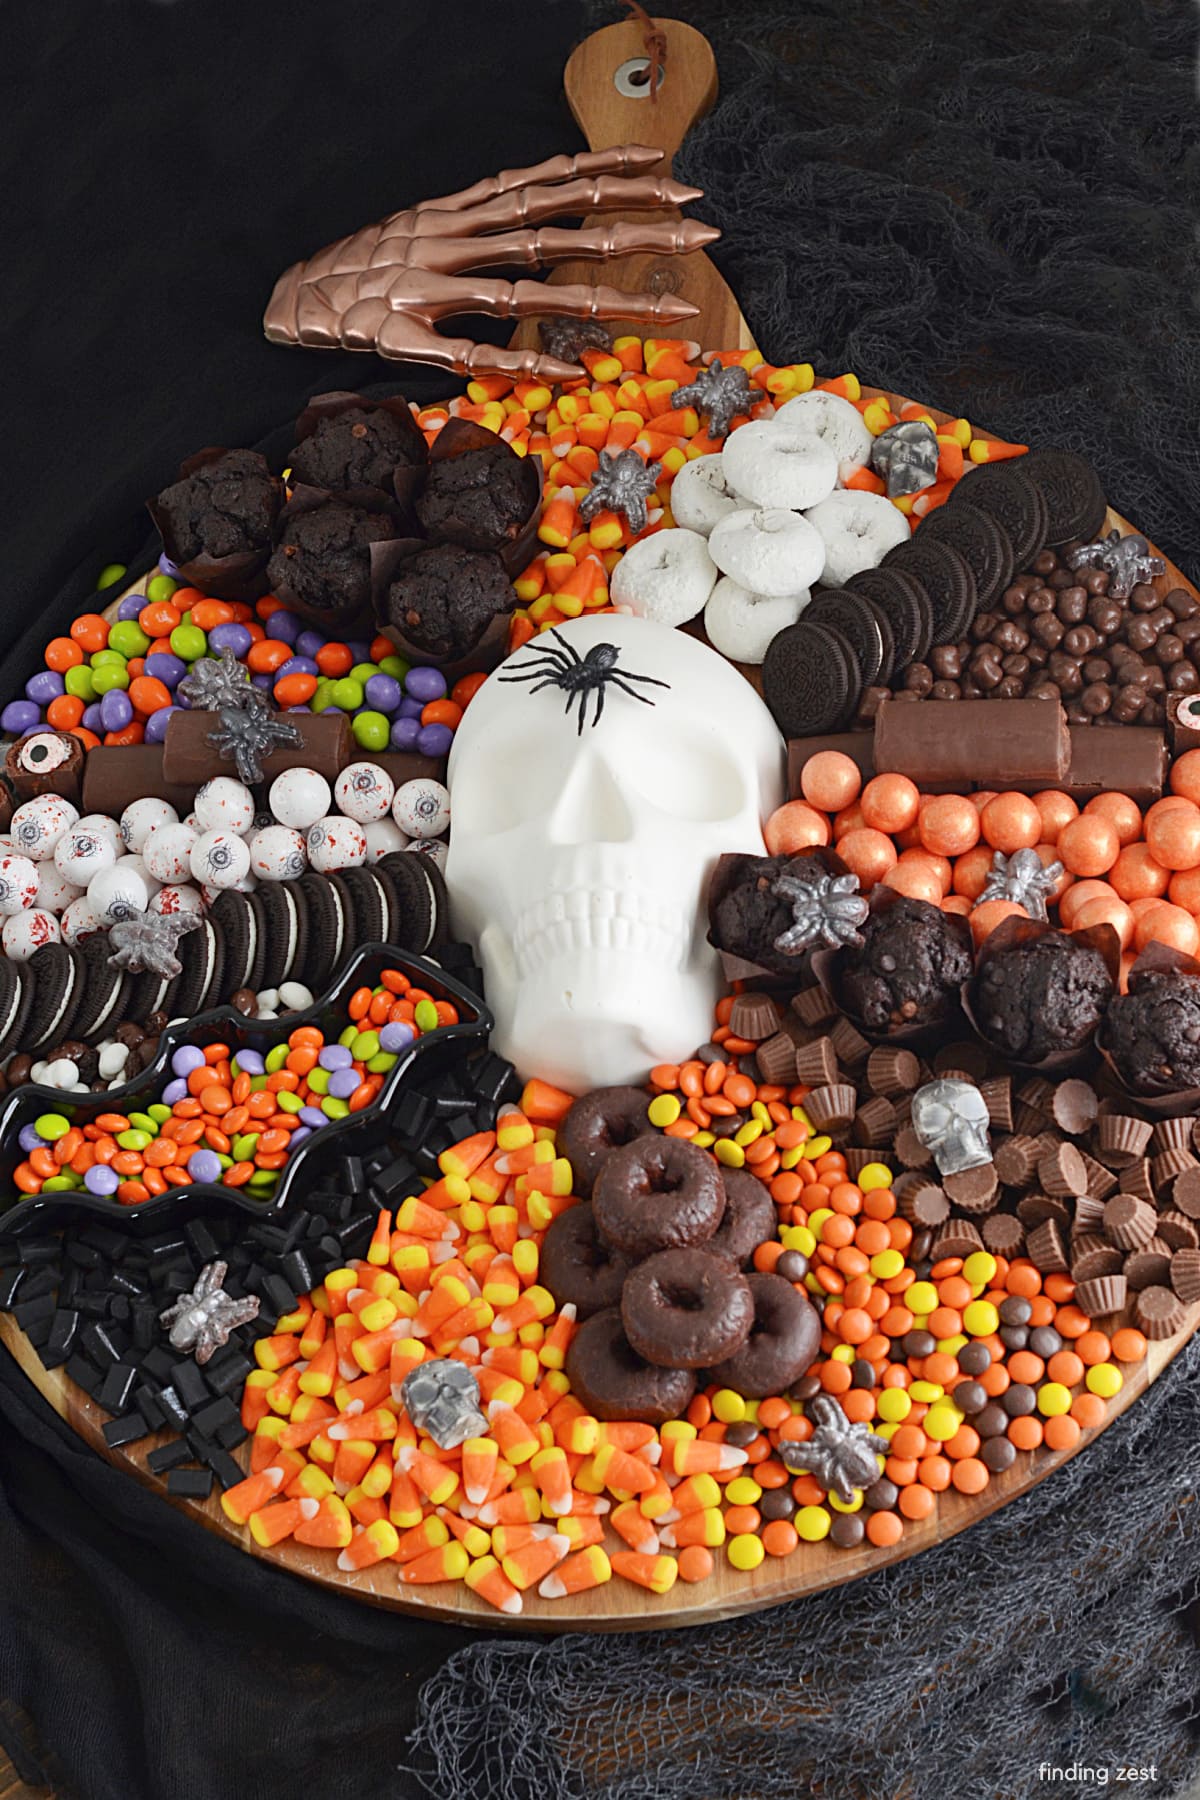
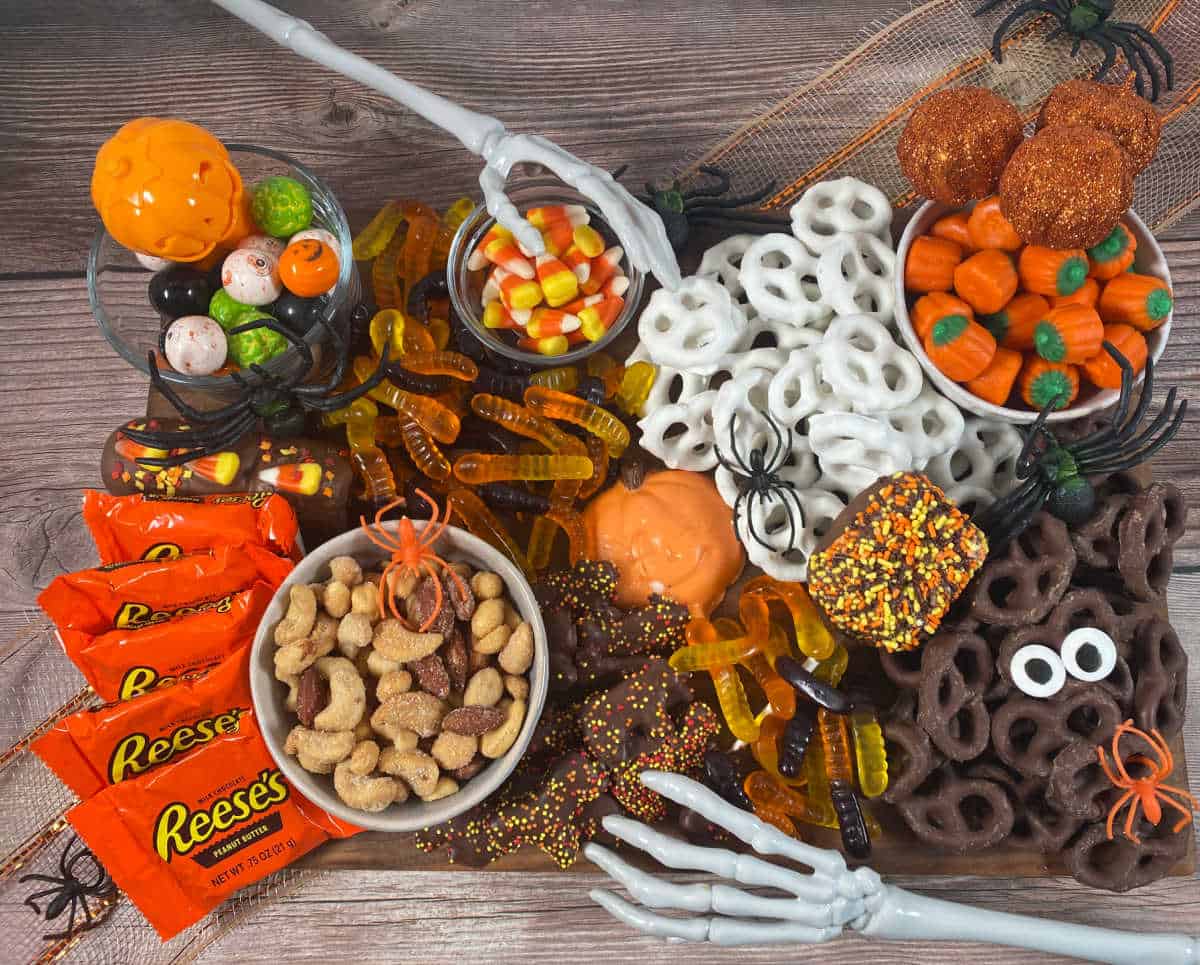
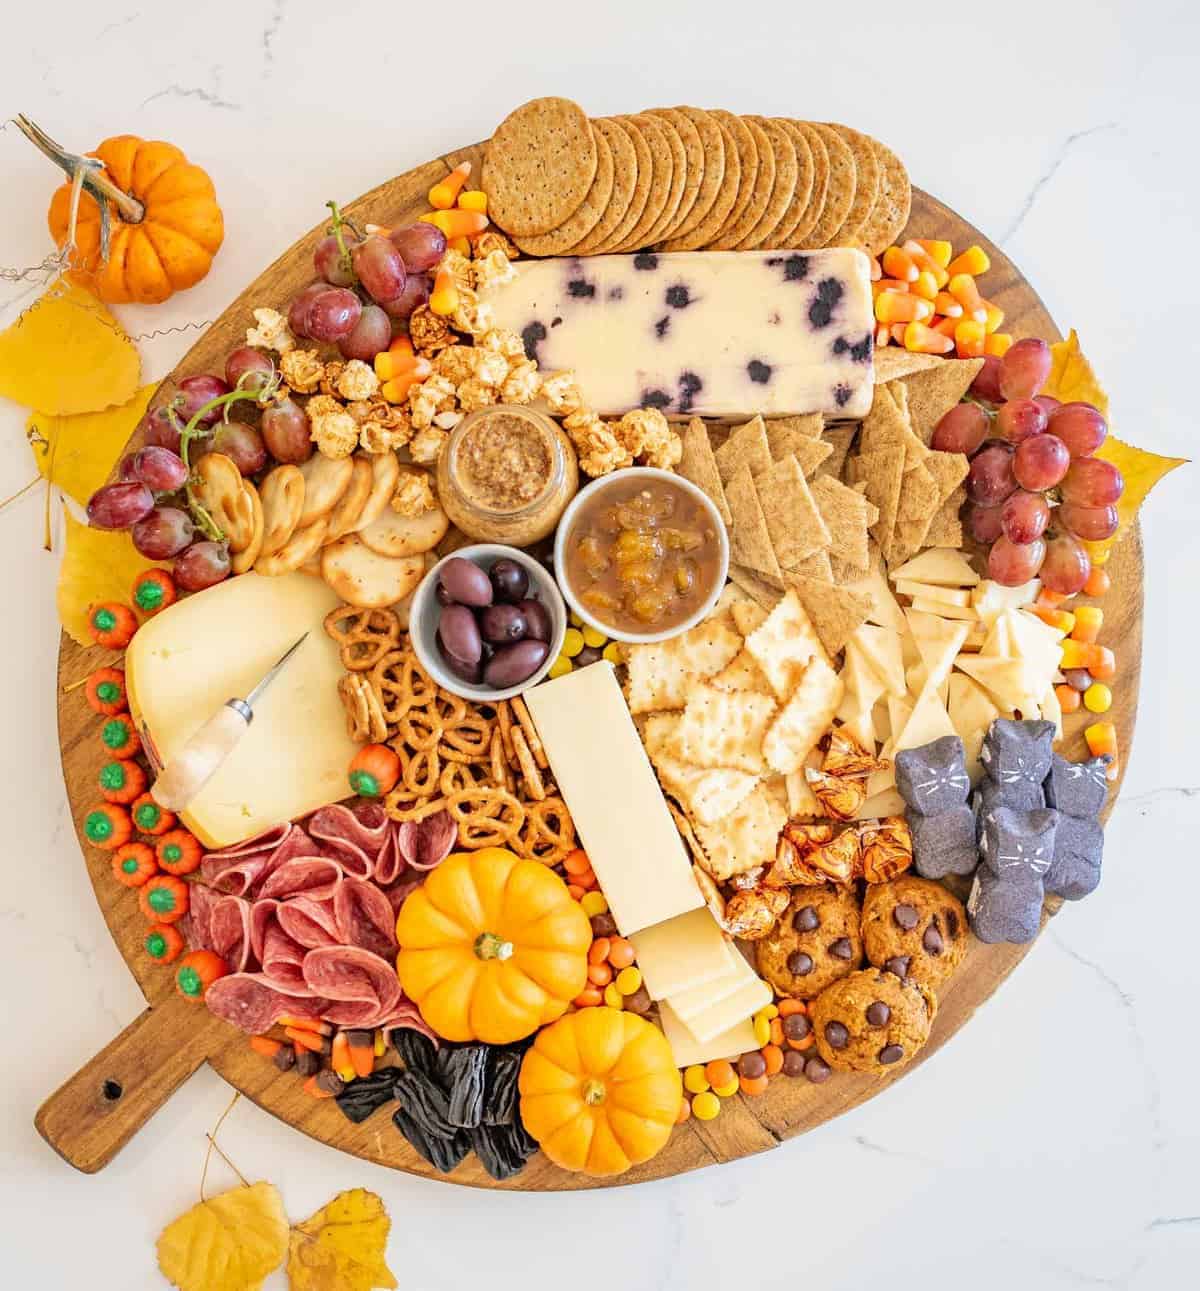
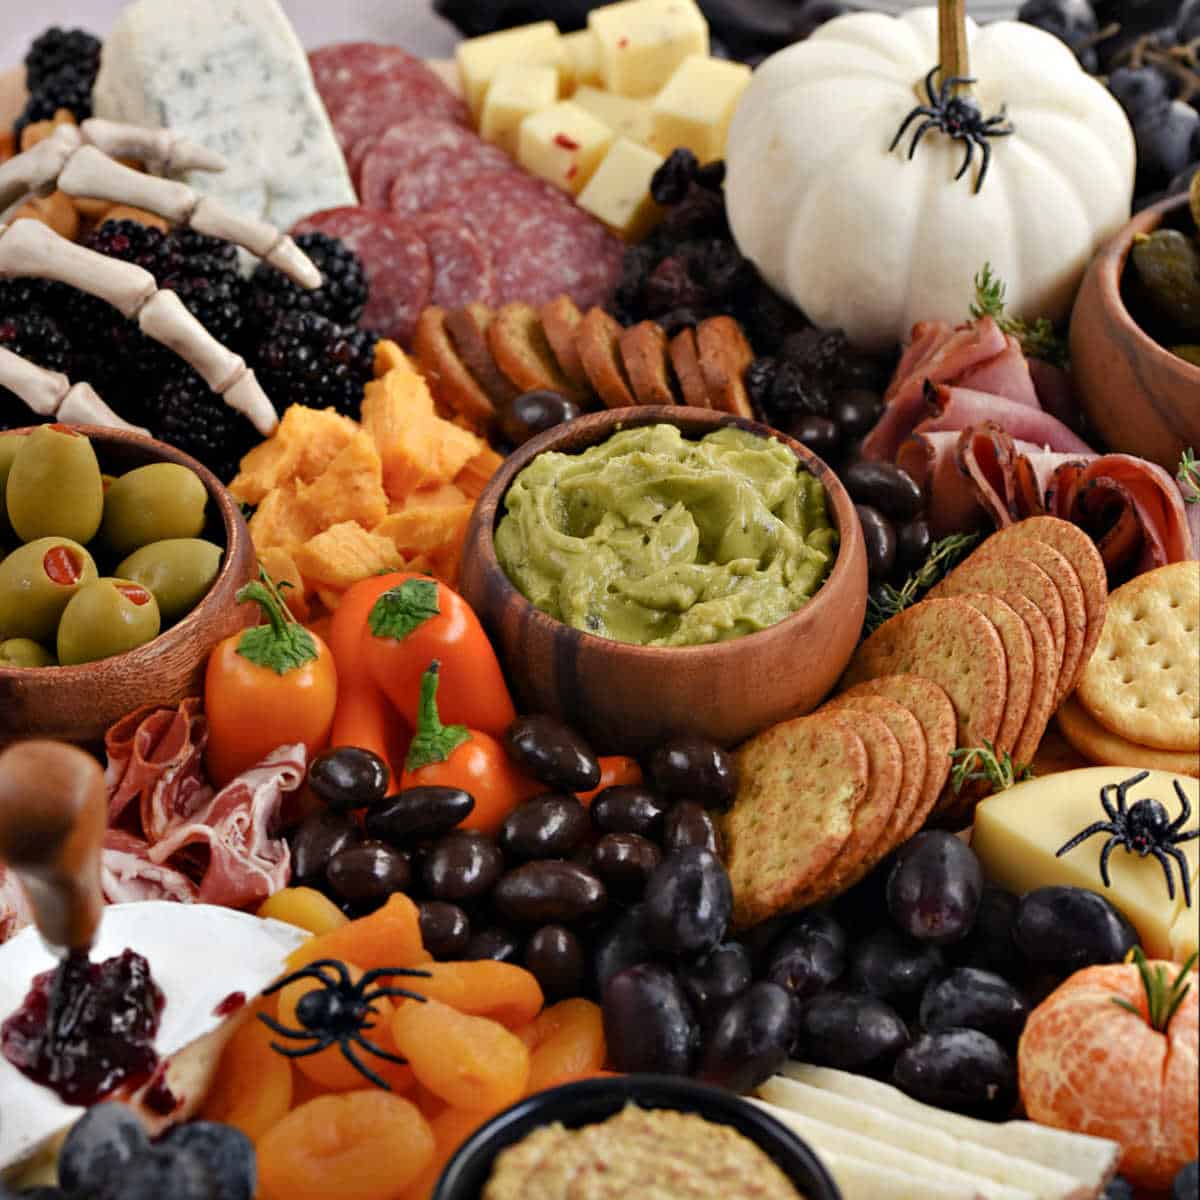
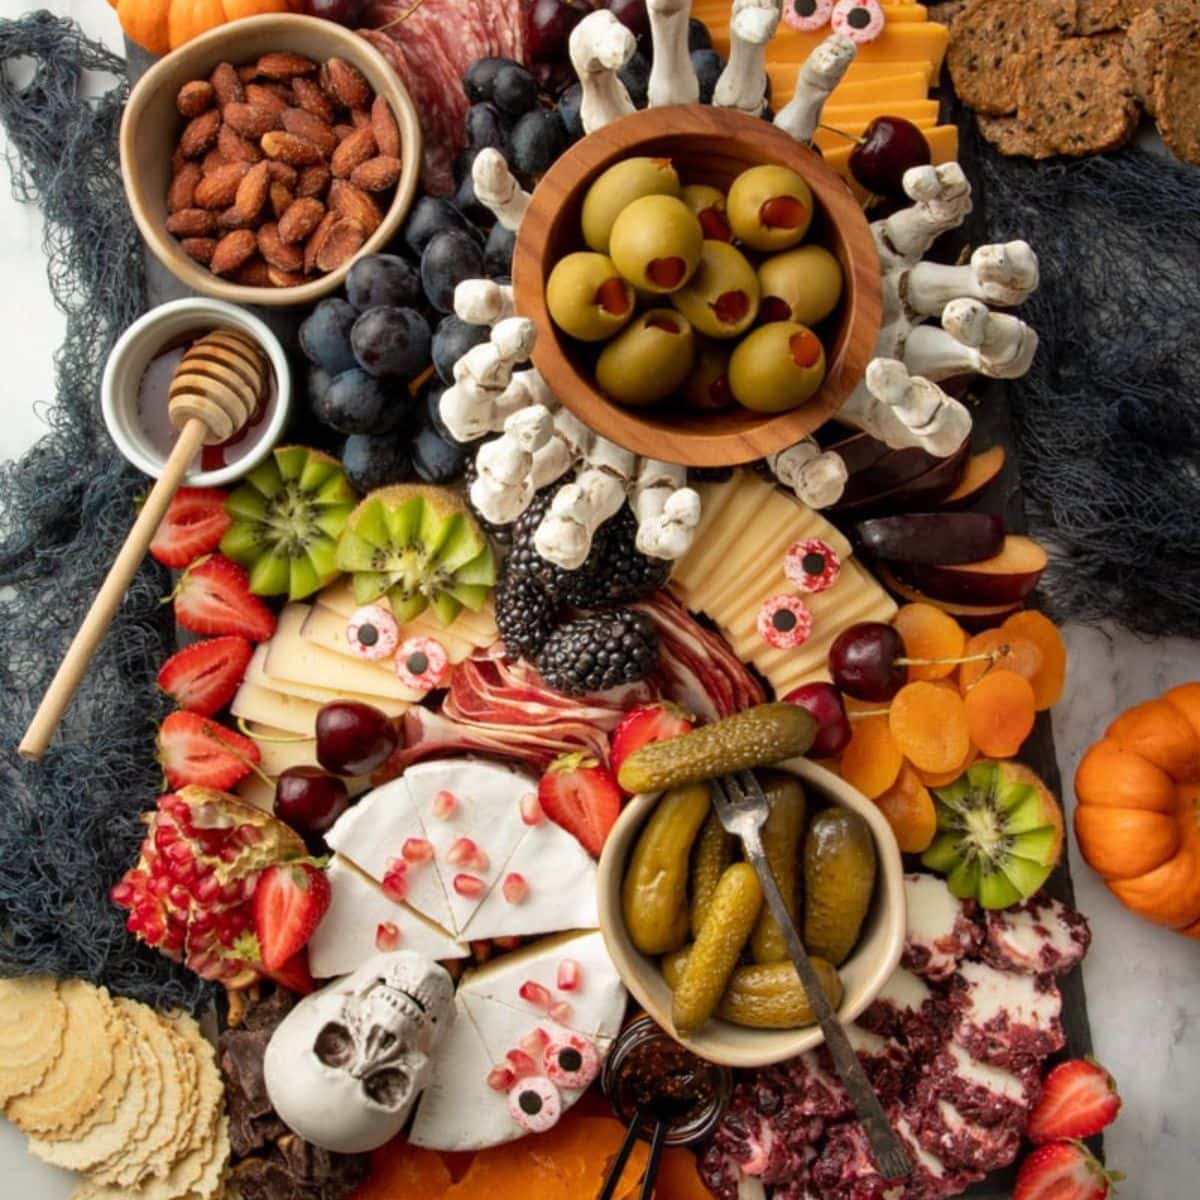
This Halloween charcuterie board centers on a homemade chocolate skull, surrounded by an array of spooky treats like chocolate spiders, candy corn, and ghostly M&Ms. The board includes both store-bought favorites and DIY chocolate decorations. It's an easy yet impressive centerpiece for any Halloween gathering.
Ingredients
Directions
- Place slightly more than half of one bag of white candy melts into a small microwave-safe bowl.
- Heat in 15- to 30-second bursts, stirring frequently. Avoid overheating. Mix in 1 teaspoon of canola oil or shortening to make the candy more fluid.
- Pour the melted candy into the skull mold, filling the face side.
- Use a spoon to spread the candy melt evenly, reaching the top and covering the edges.
- Lightly tap the mold on a countertop to release air bubbles. Set the mold on a baking sheet to keep it flat, then refrigerate for about 30 minutes until firm.
- Melt the rest of the candy melts and pour a second layer into the mold, repeating the spreading and tapping.
- Chill for another 30 minutes or until completely hardened.
- Carefully peel the silicone mold away from the candy skull. Flip the mold over onto a flat surface and slowly remove the silicone entirely.
- Warm a large skillet over low to medium-low heat. Put the skull face-up in the skillet and watch closely. Once the edges are even, take it off the heat. Flip the skull over and use a paper towel or gloved hand to smooth the top edge. Keep the skull in a gallon-size ziploc bag until needed.
- In a small microwave-safe bowl, heat about 1 cup of chocolate chips in 15- to 30-second intervals, stirring often; don't overheat. Using a spoon, drop chocolate into a plastic spider mold, filling to the top without spilling over. Start at the center and push chocolate outward to fill all crevices. Tap the mold on a hard surface to release bubbles. If needed, scrape the back flat with a metal spatula. Refrigerate for about 15 minutes until hard, then remove gently. Optionally, brush on edible shimmer dust.
- The chocolate spiders can be served plain or dusted with edible shimmer. For white skulls, use white candy melts and an ice cube mold, following the same method; add black edible dust if desired.
- Set the chocolate skull in the middle of the charcuterie board.
- Arrange larger treats around the skull in small stacks, rows, or piles, and place any bowls or serving dishes nearby.
- Fill in empty spaces with the remaining candies, using the smallest pieces to fill gaps. Also fill the serving dishes.
- Scatter small candies and decorative elements around the board for a final touch.
- Distribute the chocolate spiders and any extra skulls across the board, then add any last decorative items before serving.
More photos


Photos hosted by findingzest.com.