Paper CraftsNo. 4193 · The 2026 edition
How to Make 3D Paper Pumpkins
Transform simple paper circles into adorable 3D pumpkins with just glue and scissors!
Our own summary of the original — the full post and photos live at frugalfun4boys.com.
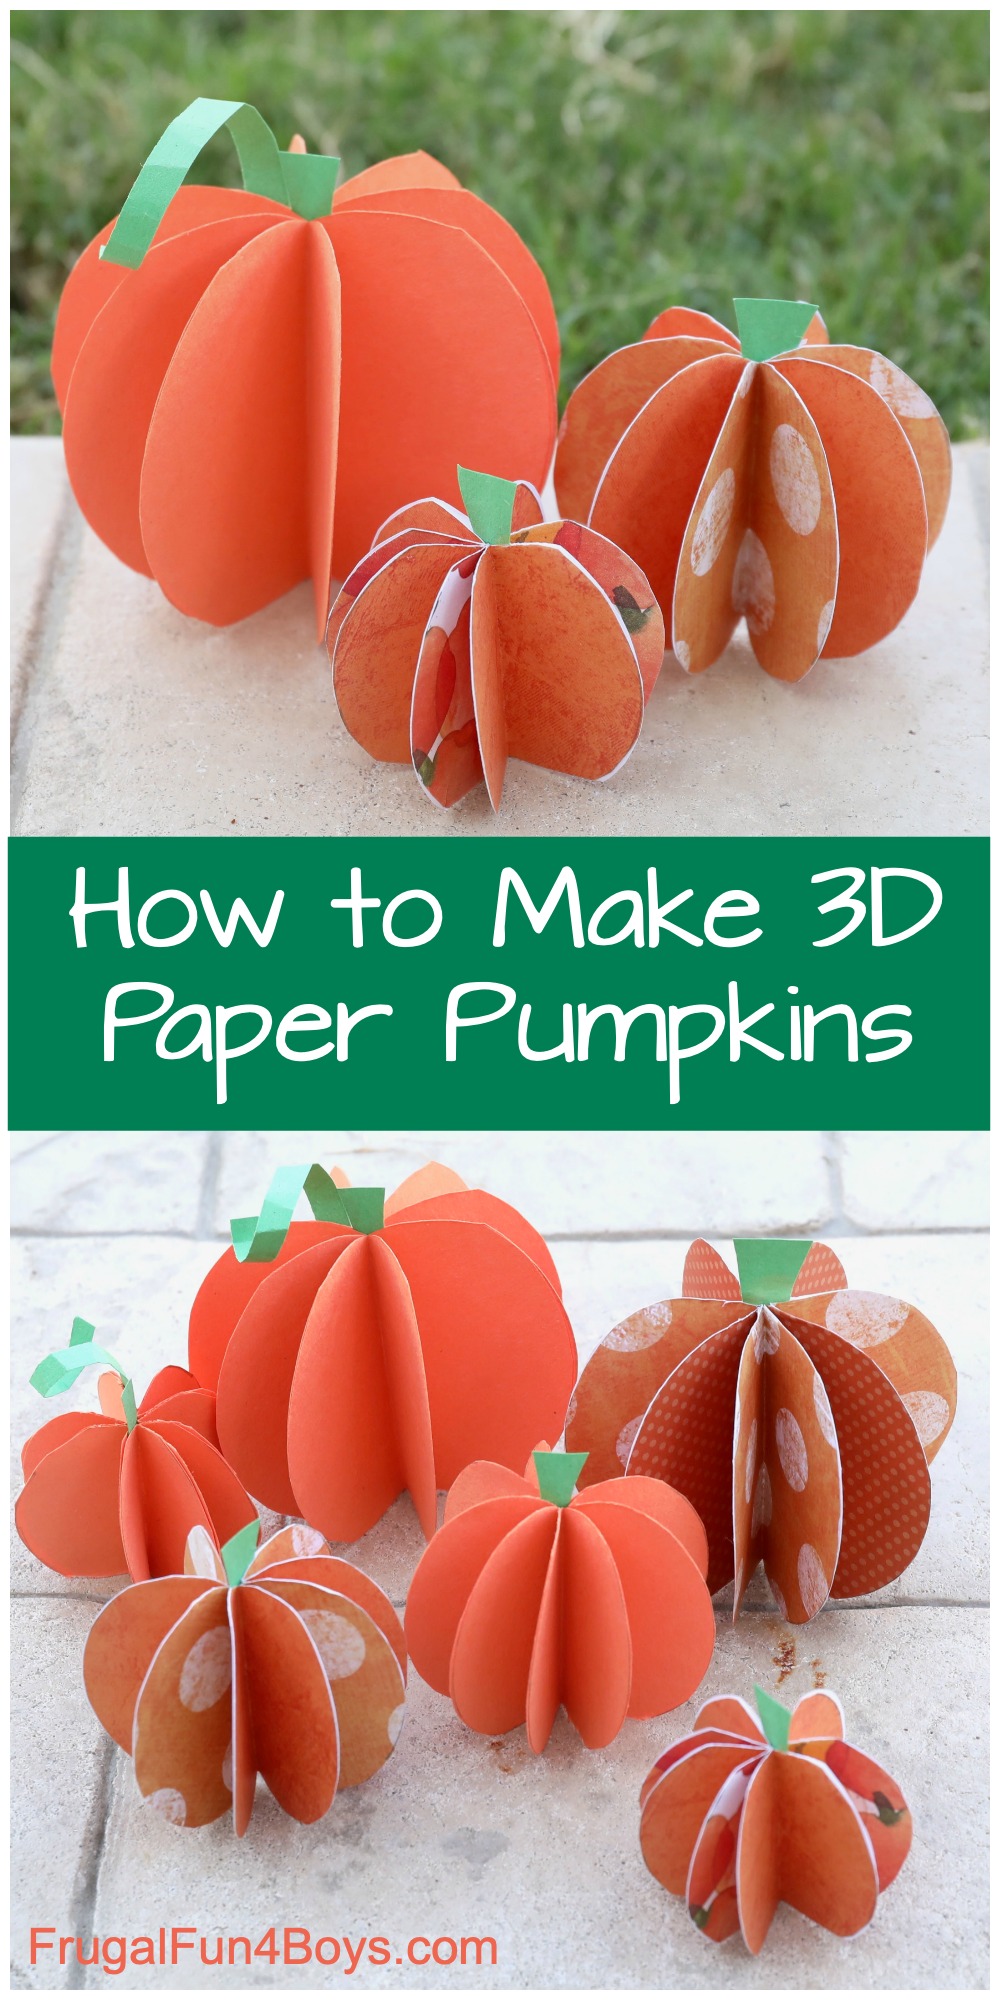
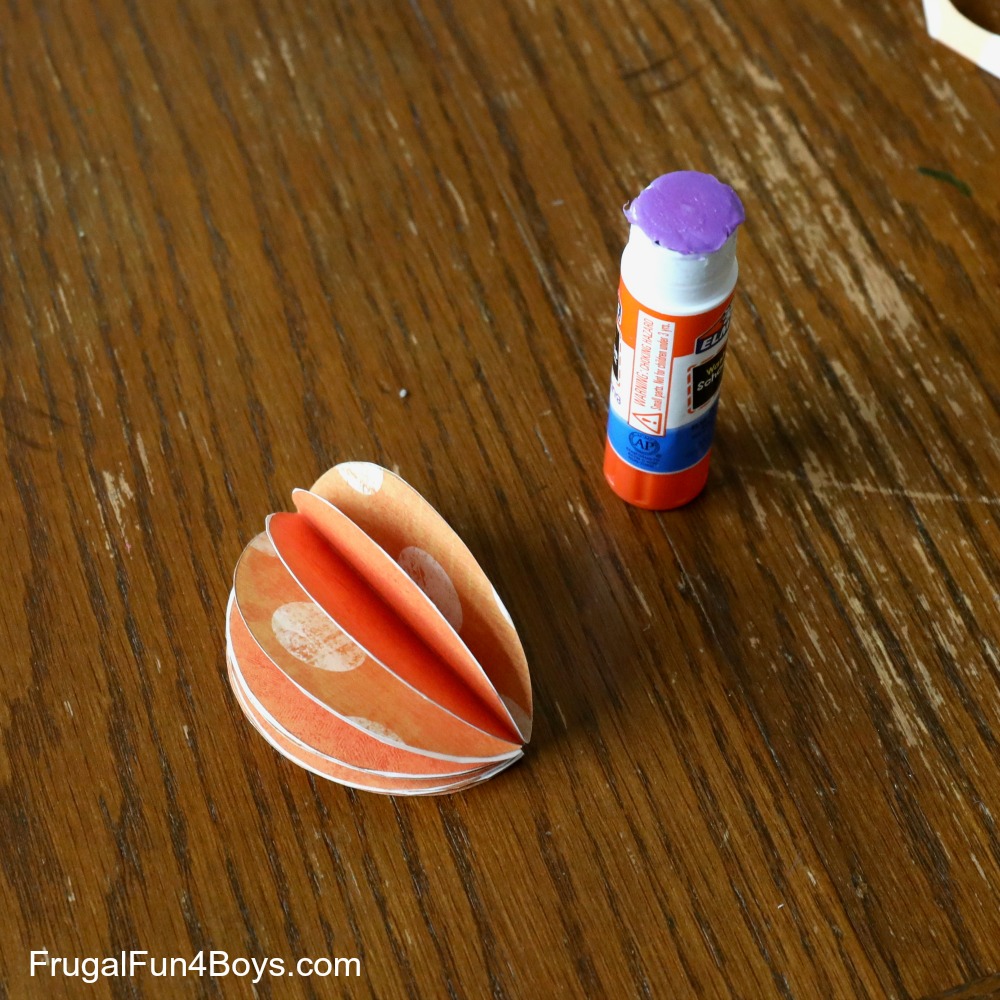
This easy craft uses 8 paper circles folded in half and glued together to create a dimensional pumpkin. After trimming the stack into a pumpkin silhouette, you can add a paper stem and vine for a festive fall decoration.
You'll need
Directions
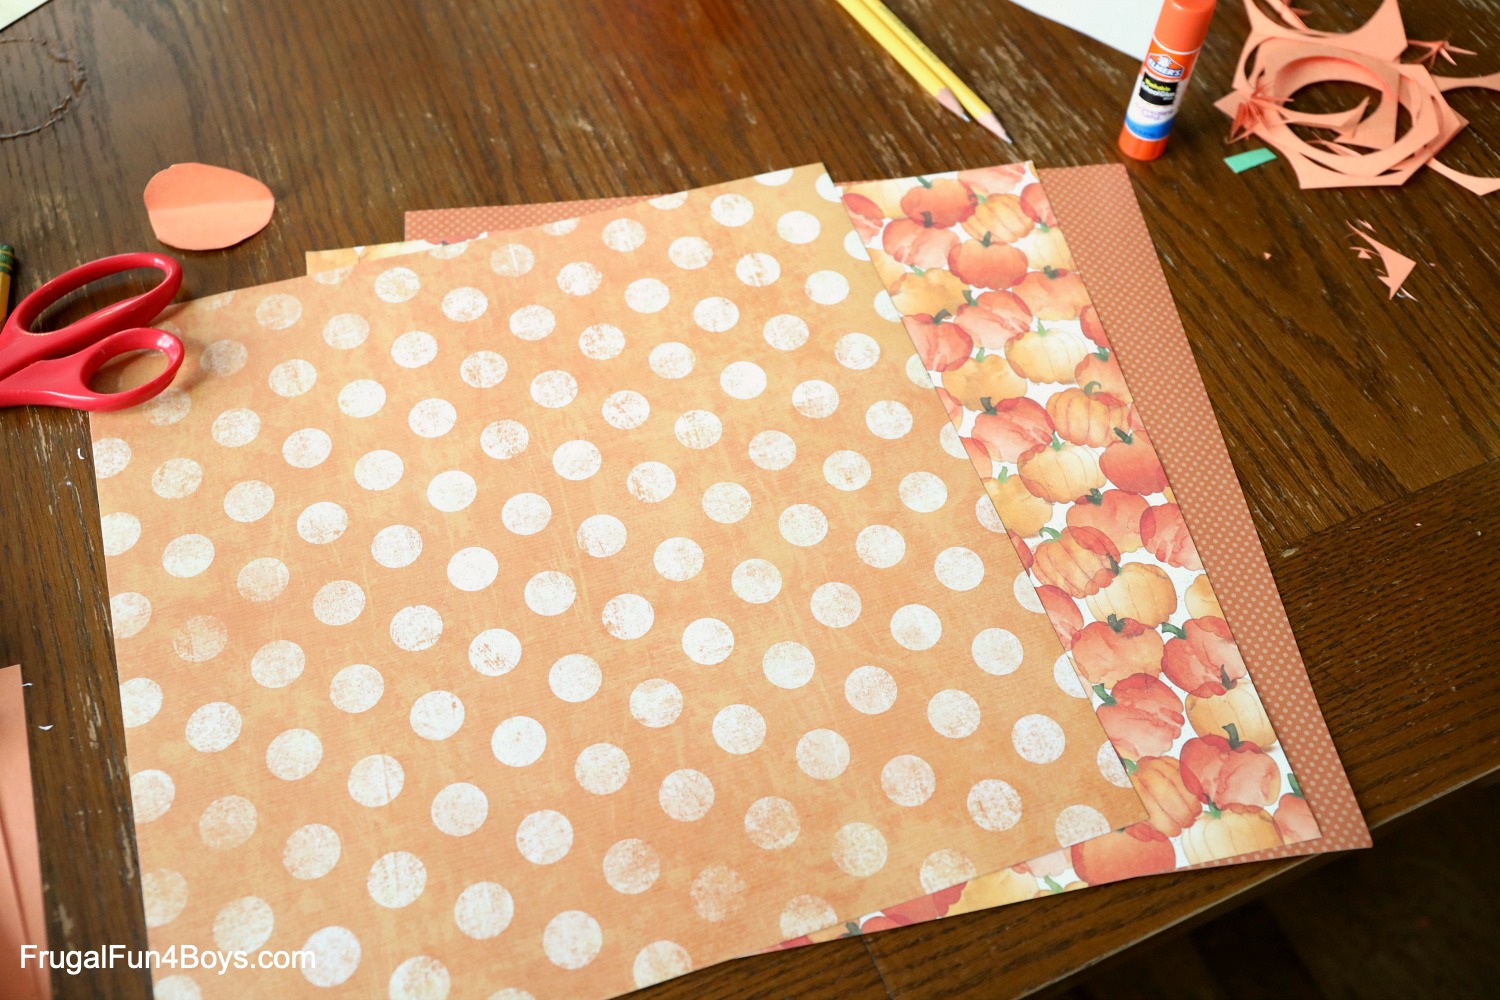
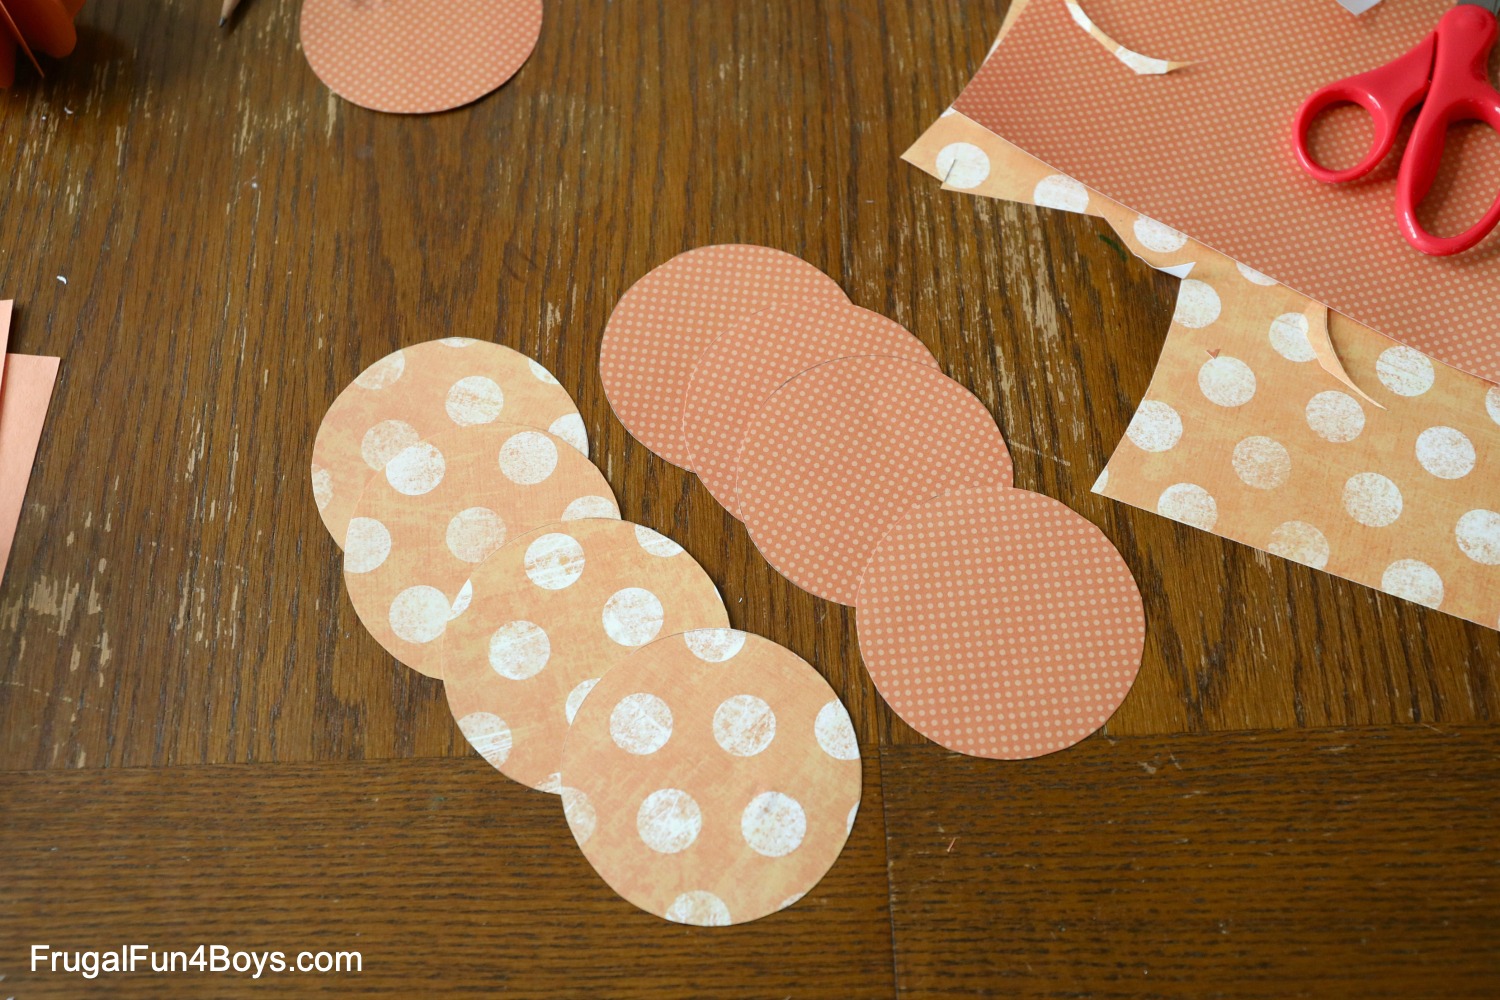
- Use a cup or other round object to trace 8 circles onto orange construction or scrapbook paper. For variety, use different cup ends or cups of varying sizes. If using scrapbook paper, choose two different prints and cut 4 circles of each.
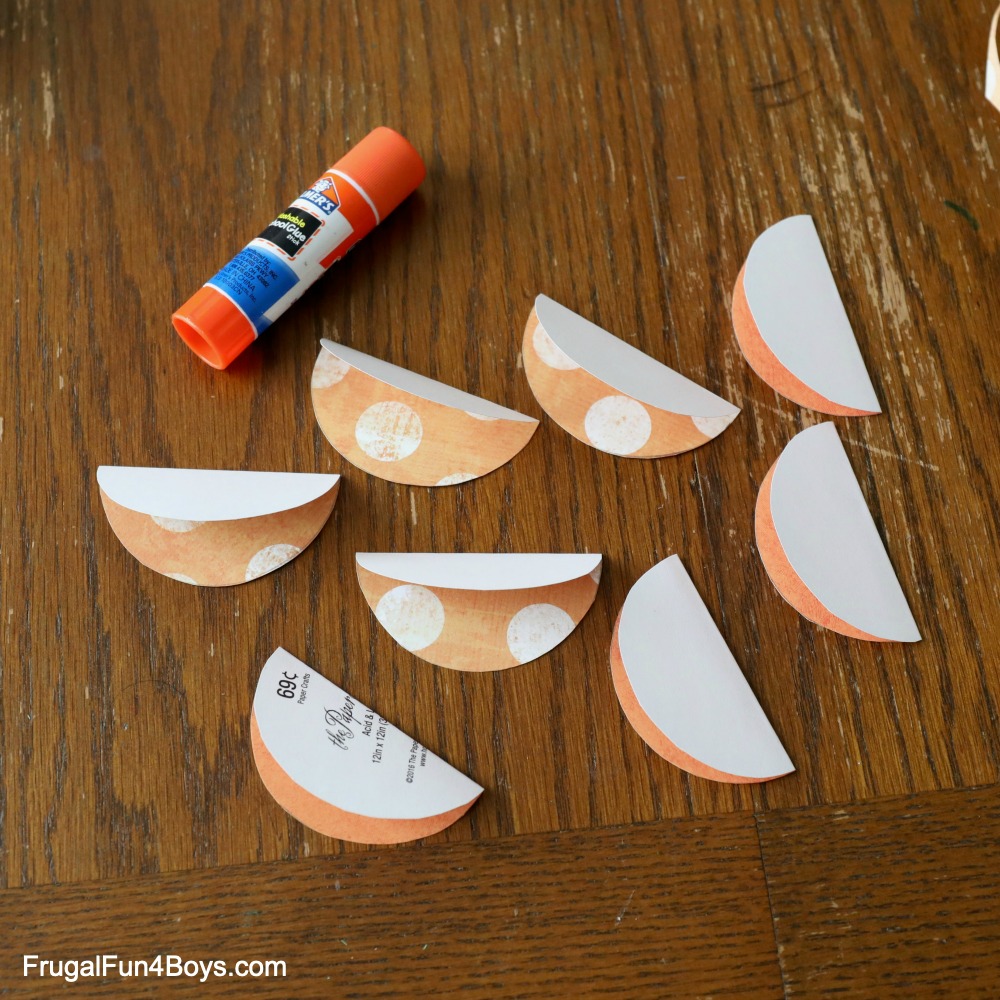
- Fold every circle in half. When working with scrapbook paper, fold so the plain white side faces outward.
- Spread glue on the top half of one folded circle, then press another folded circle on top. Continue gluing the top of each new circle until all 8 are stacked.
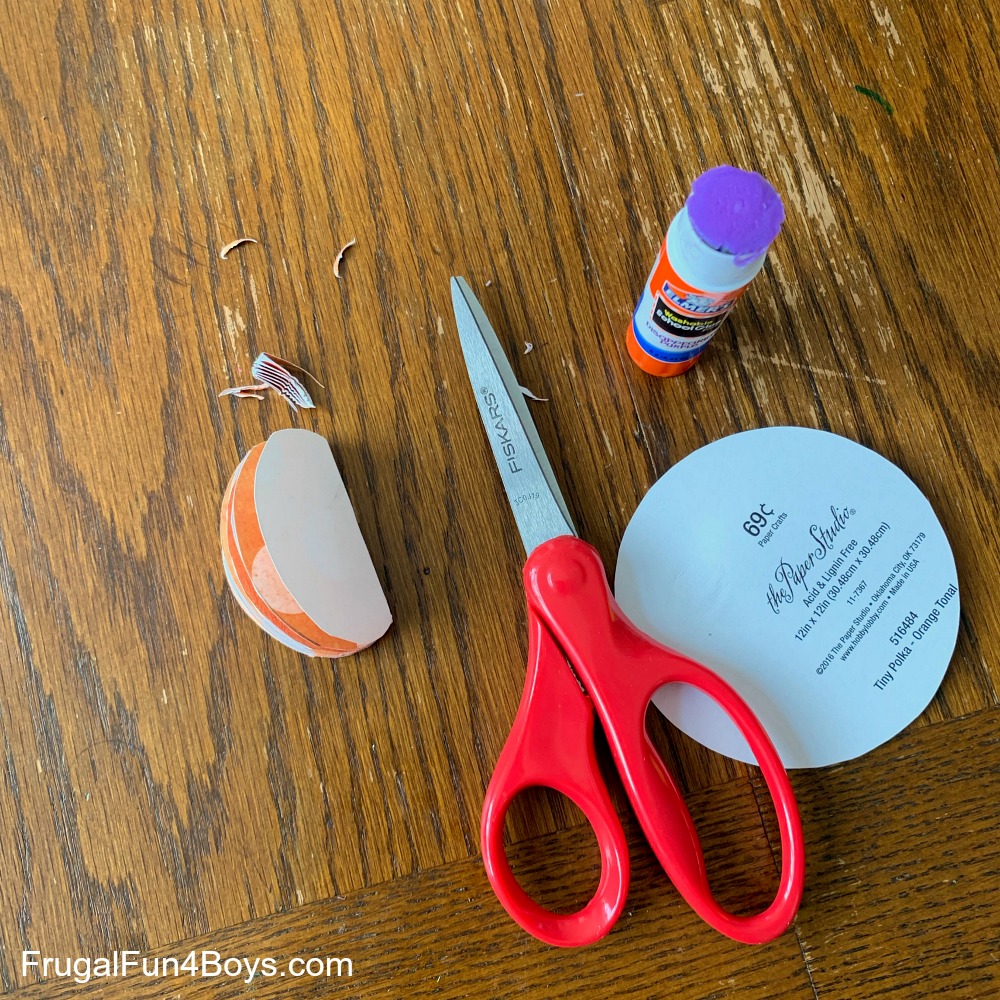
- Once the stack is complete, use scissors to snip the rounded edges into a pumpkin-like shape. This also helps the finished pumpkin stand upright without rolling.
- Open the stack into a full pumpkin shape. To add a stem or curly vine, cut them from green paper and tuck the stem between layers before gluing the final sections together.
More photos
Photos hosted by frugalfun4boys.com.