Paper CraftsNo. 7334 · The 2026 edition
Paper Mache Pumpkins
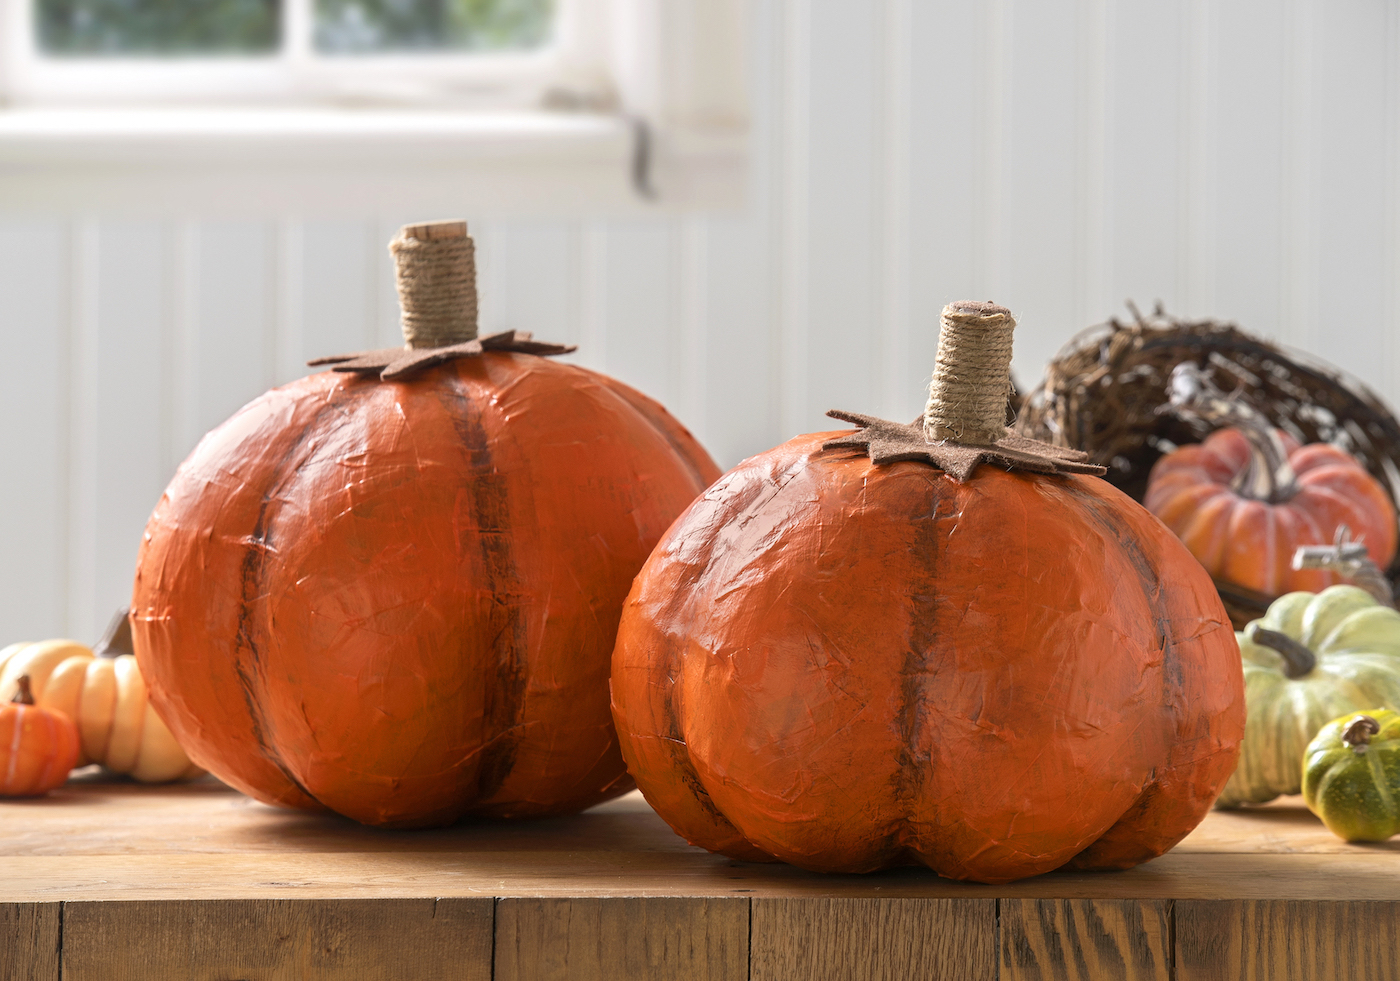
Craft a charming pair of paper mache pumpkins with real twine ribs and wine cork stems—perfect for fall decor!
Our own summary of the original — the full post and photos live at modpodgerocksblog.com.
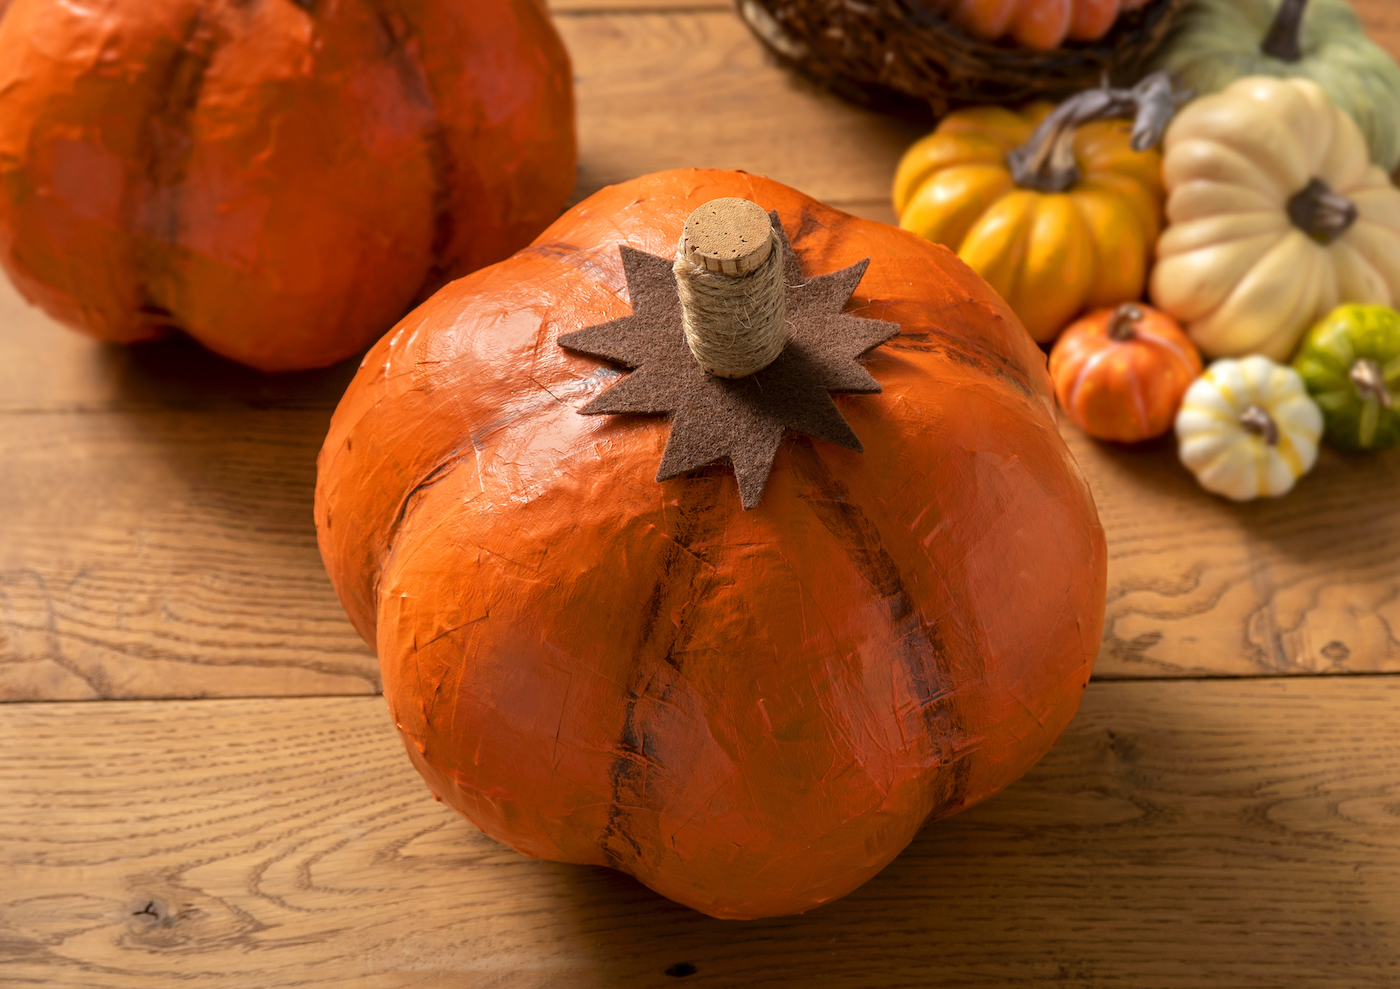
Make your own paper mache pumpkins using balloons, twine, newspaper, and Mod Podge. Create the pumpkin's ribbed shape by wrapping twine around a balloon and inflating it further. After applying three layers of newspaper and Mod Podge, paint the pumpkin orange and add brown shading, then finish with felt leaves and a twine-wrapped wine cork stem.
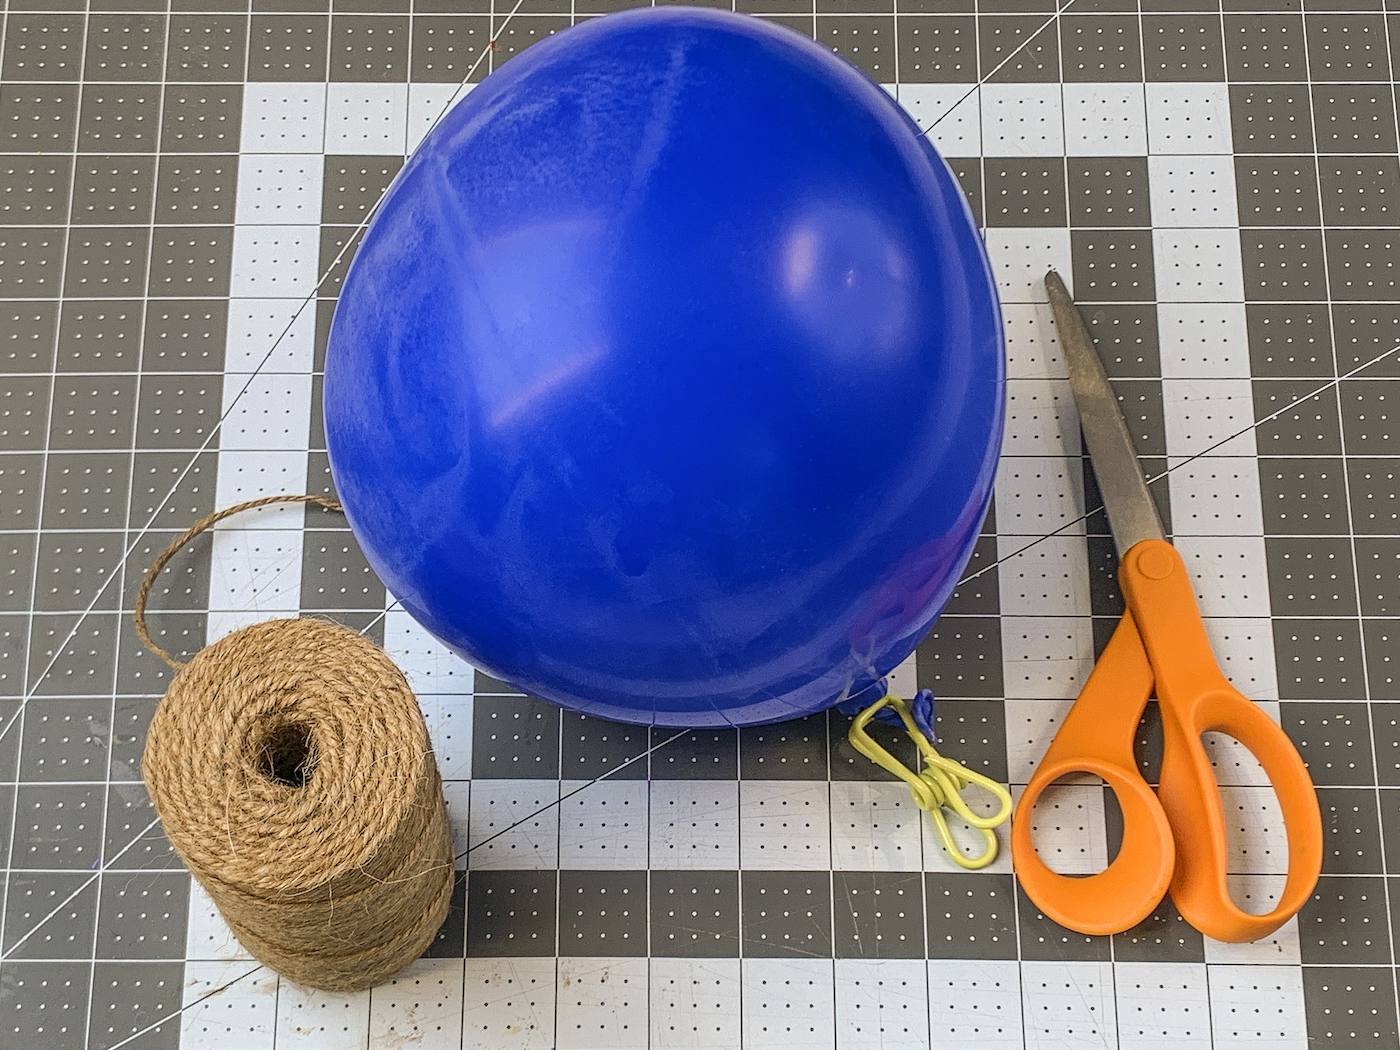
You'll need
Directions
- Inflate a regular party balloon to just over half full. Use a clip or clothespin to hold the air in—you'll need to add more later.
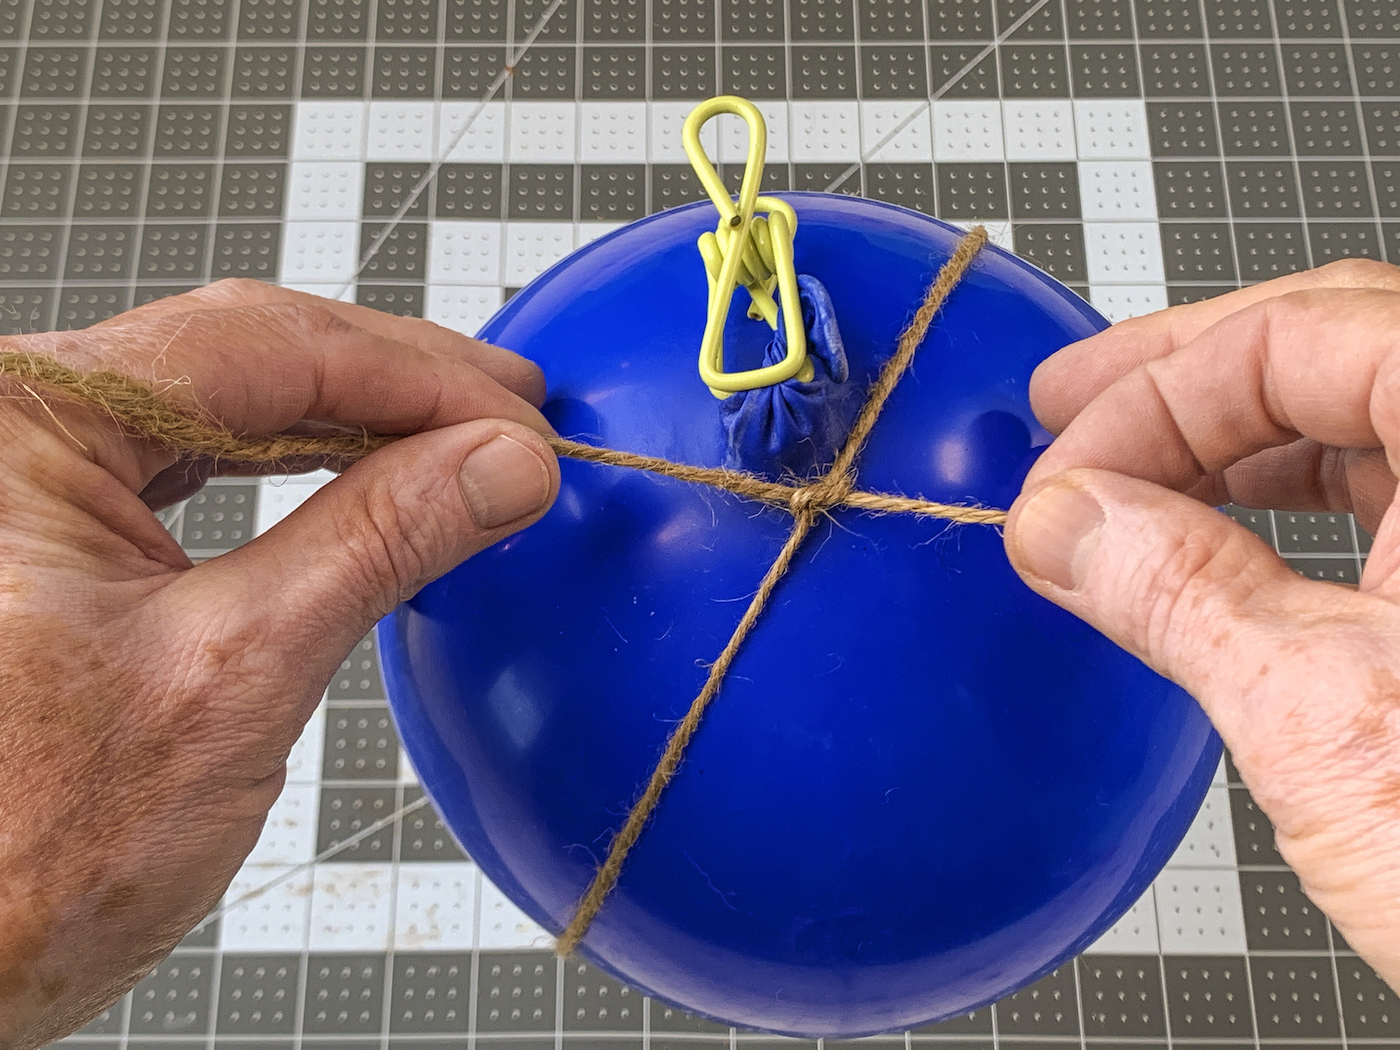
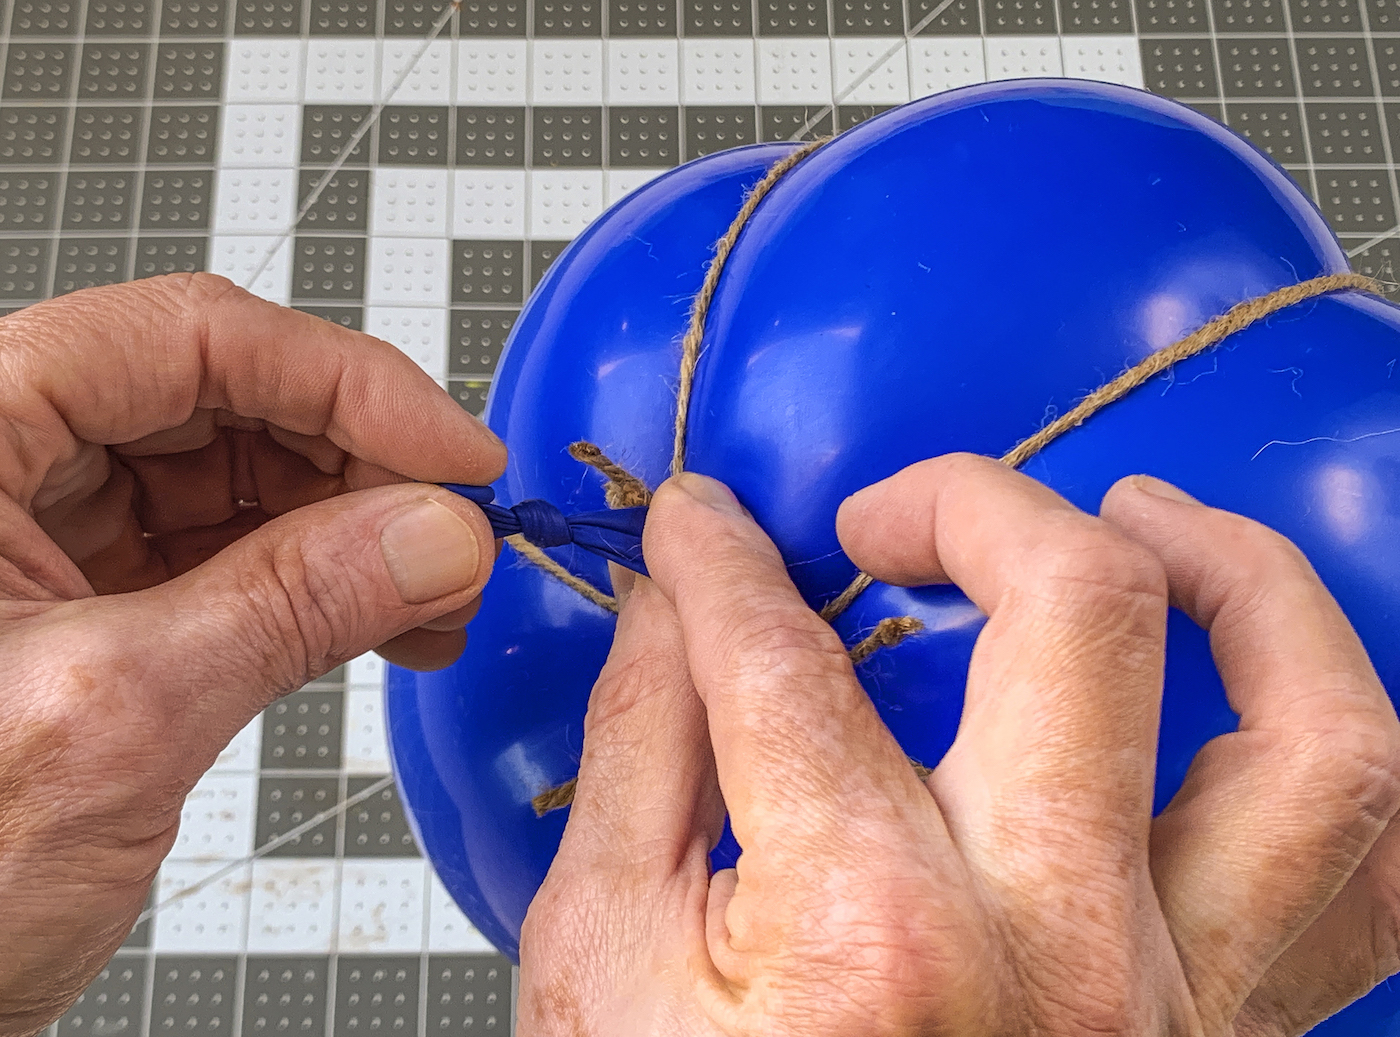
- Cut a piece of twine and wrap it around the balloon from the top (opposite the neck) to the base, tying a knot to secure it.
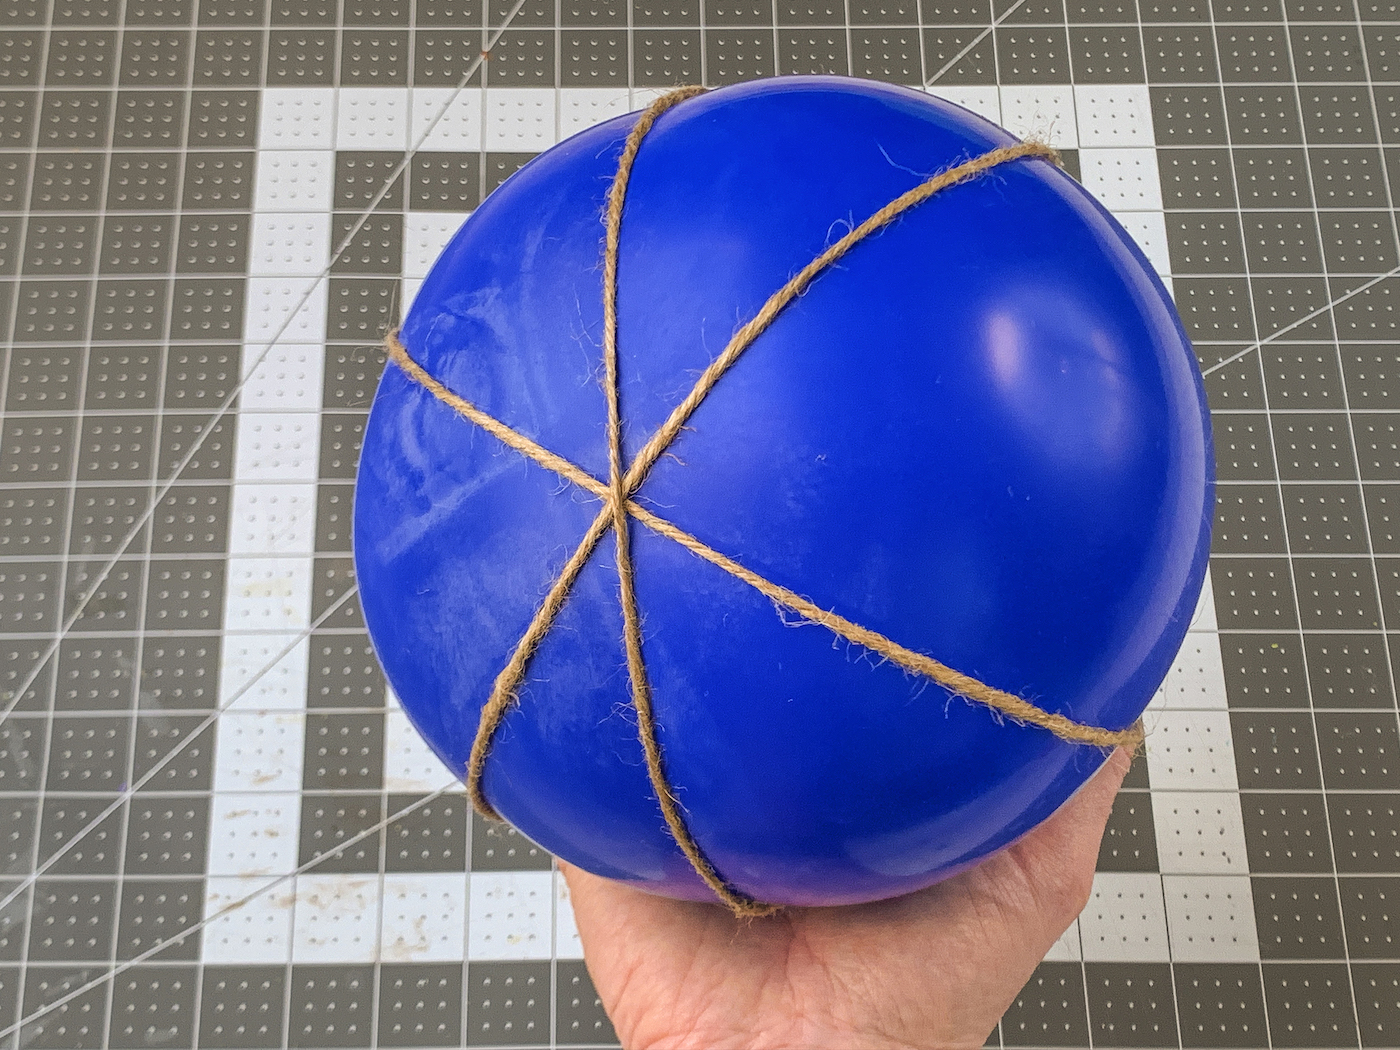
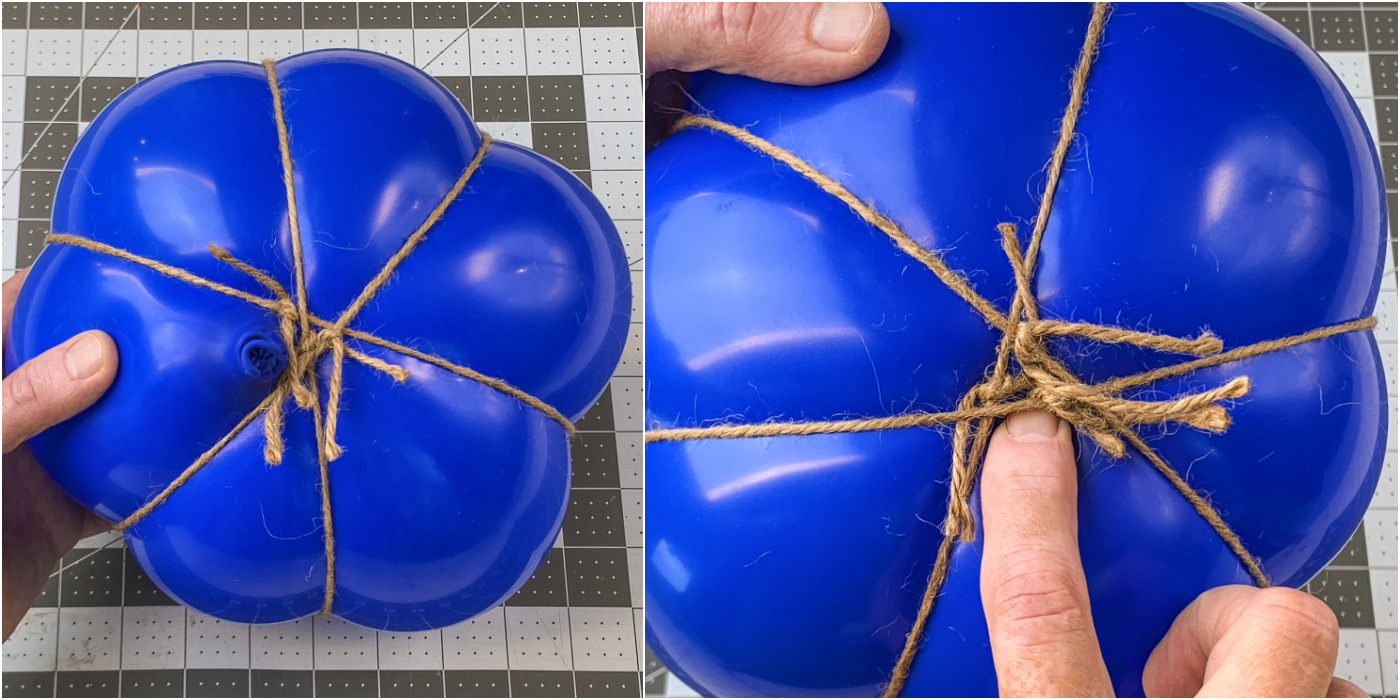
- Repeat with two more strings, arranging them so they form a snowflake pattern at the top of the balloon.
- Inflate the balloon further to a little more than two-thirds full (or your desired size) to create the pumpkin's ribs. Tie off the balloon's neck.
- Adjust the strings gently to even out the ribs so they look symmetrical.
- Open a sheet of newspaper and cut it into small pieces, roughly 1 inch by 1 inch.
- Working on one small section at a time, brush Mod Podge onto the balloon, press a newspaper piece onto it, then brush more Mod Podge over the top. Repeat to cover the area.
- Continue adding newspaper strips and Mod Podge, covering the twine and working from the top toward the neck. Cover the entire balloon with one layer and let it dry. Then repeat the process two more times so you have three layers of newspaper and Mod Podge. Let it dry completely before painting.
- Paint the pumpkin with a single coat of orange paint and let it dry completely. Then apply a few more coats of orange paint, allowing each to dry, and set the pumpkin aside until fully dry.
- Dip a paintbrush in brown paint and tap off most of it. Lightly brush the brown paint into the grooves between the pumpkin ribs. If you apply too much, use a damp brush to remove some. Repeat for all ribs and let dry.
- Using felt, cut out leaf shapes or a decorative topper that will sit under the wine cork stem. Hot glue the topper to the top of the pumpkin. If desired, cut a hole in the center of the topper so the stem can be glued directly to the pumpkin.
- Cut a length of twine. Hot glue one end to the base of a wine cork, then wrap the twine around the cork, securing the other end near the top with hot glue. Trim any excess.
- Attach the wine cork to the top of the pumpkin using a hot glue gun. Let it cool completely before displaying.
- Repeat the entire process to make a second pumpkin. For variety, inflate the balloon a bit less so the second gourd is slightly smaller than the first.
More photos
Photos hosted by modpodgerocksblog.com.