Paper CraftsNo. 5397 · The 2026 edition
Paper Pumpkin Craft
Transform a simple sphere into a festive autumn decoration with this easy paper pumpkin project.
Our own summary of the original — the full post and photos live at annsentitledlife.com.
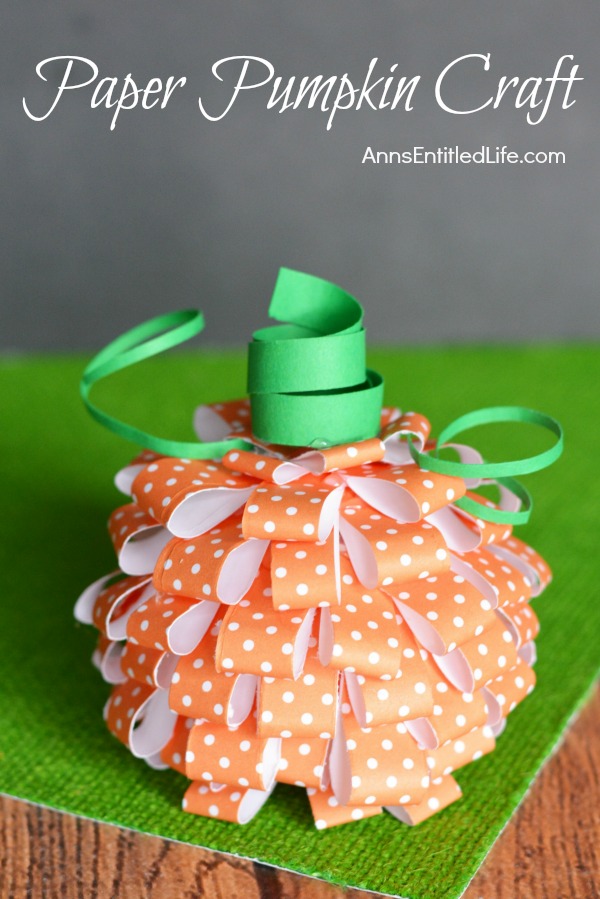
This tutorial guides you through covering a Styrofoam ball with layered scrapbook paper strips to create a textured pumpkin, then adds a curled green cardstock stem and vines for a complete seasonal accent.
You'll need
Directions
- Start by flattening the base of your 3-inch Styrofoam sphere using a craft knife.
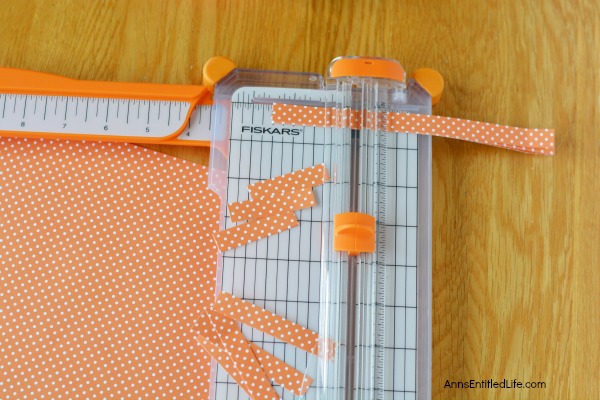
- Cut your 12-inch by 12-inch scrapbook paper into strips. First, create ten 3-inch by 1/2-inch pieces for the base. Next, cut between 40 and 50 strips measuring 2 inches by 1/2-inch for the middle section. Finally, prepare 12 to 20 strips that are 1.5 inches by 1/2-inch for the upper portion, adjusting the count based on your desired taper.
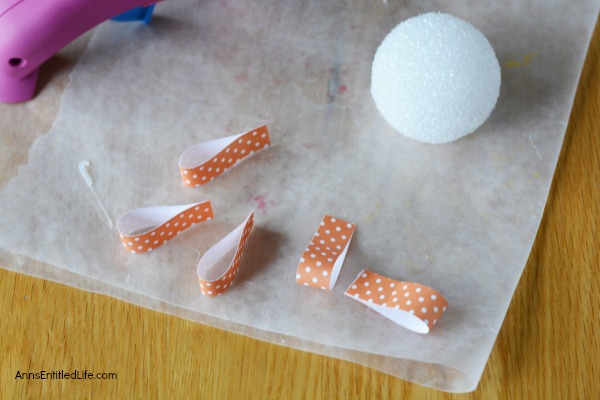
- Apply hot glue to the short ends of each paper strip to form continuous loops, ensuring the patterned side faces outward.
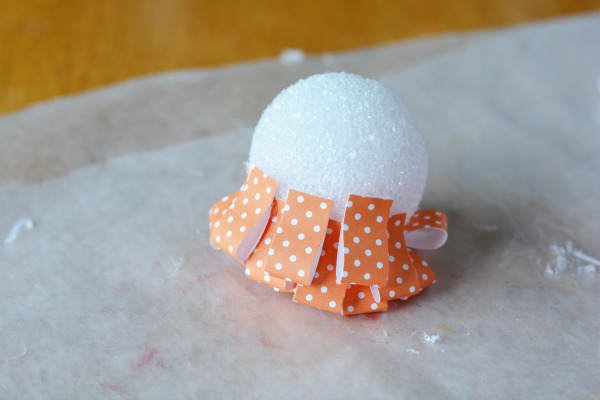
- Secure the 3-inch loops around the flattened bottom of the sphere, creating a complete ring.
- Attach the 2-inch loops around the sphere, working in overlapping layers. Shift each new row slightly so the strips do not align directly, building a textured surface without leaving gaps.
- As you approach the top, switch to the 1.5-inch strips. Continue layering them with slight offsets to maintain a fluffy, dimensional look while keeping the surface fully covered.
- Continue adding loops until the entire sphere is concealed.
- Cut a piece of green cardstock that is 1 inch wide and 4 inches long. Wrap this strip tightly around a pencil to curl it into a spiral shape.
- Slide the curled green strip off the pencil and use hot glue to secure it to the very top of the paper pumpkin.
- Cut thin 1/8-inch strips from the green cardstock, curl them around the pencil to form vines, and glue them to the top of the pumpkin near the stem.
More photos
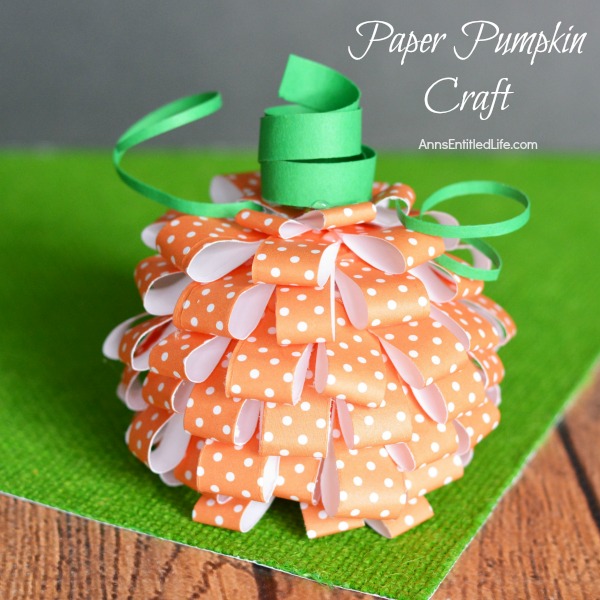
Photos hosted by annsentitledlife.com.