Charcuterie & Snack BoardsNo. 7755 · The 2026 edition
Halloween Charcuterie Board
Our own summary of the original — the full post and photos live at findingzest.com.
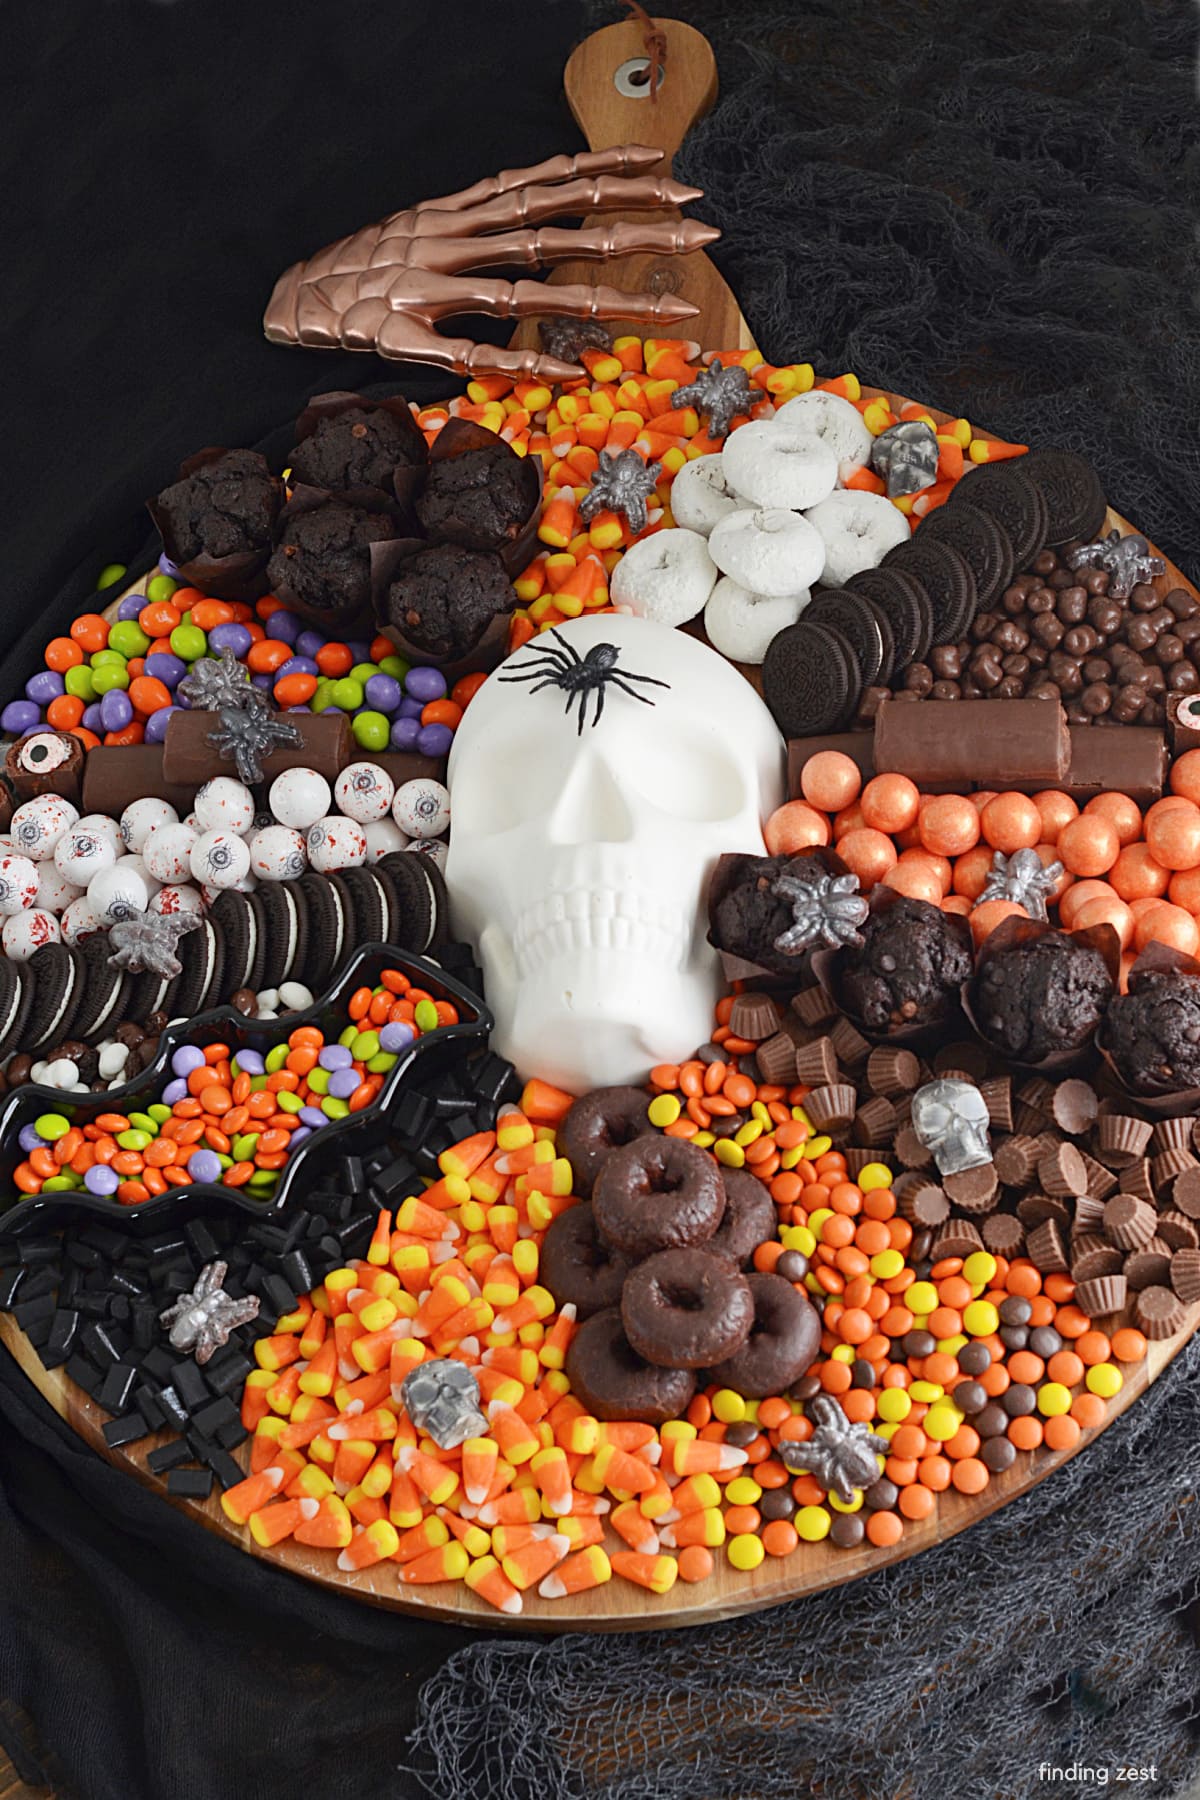
Ingredients
Directions
- In a small microwave safe bowl, melt a little over half the bag of candy melts.
- Melt in short 15-30 second intervals, stirring often. Do not over cook. Stir in a teaspoon of canola oil or shortening to smooth out the candy.
- Pour the melted candy melts into the face side of skull mold.
- Spread out evenly, making sure you get all the way to the top and around the edges.
- Gently tap on a hard surface to remove air bubbles. Transfer to a baking sheet to keep your skull level and place in the fridge for approximately 30 minutes to set.
- Repeat the process with the remaining candy melts to create a second layer of candy melts.
- Refrigerate for an additional 30 minutes or until fully set.
- To remove your skull, gently pull all edges of the silicone mold away from the candy skull. Gently turn over on a flat surface and lift back the silicone all the way.
- Heat up a large skillet on low to medium low heat. Place your skull face up on the skillet and watch it carefully. Remove it when your edges have become level. Turn your skull over and wipe along the top edge with a paper towel, or gloved hand to smooth it out. Store your skull in a gallon sized ziploc bag until you are ready to use.
- In a small microwave safe bowl, melt approximately 1 cup of your favorite chocolate chips in short 15-30 second intervals, stirring often. Do not over cook chocolate.Using a spoon, carefully drop chocolate in plastic mold, carefully filling to the top but not overflowing. It helps to add to the center and gently push out to the edges, making sure to get all crevices. Gently tap the mold against a hard surface to remove air bubbles. If you have a lot of excess you can level the backs with the flat edge of metal spatula. Place in the refrigerator for about 15 minutes to fully harden before gently removing. Add edible shimmer dust if desired using an edible food brush.
- You can leave these chocolate spiders as they are or you can add some sparkle with some edible dust shimmer powder. Repeat same process to make white skulls using white candy melts, an ice mold and black dust if desired.
- Place chocolate skull in center of the board.
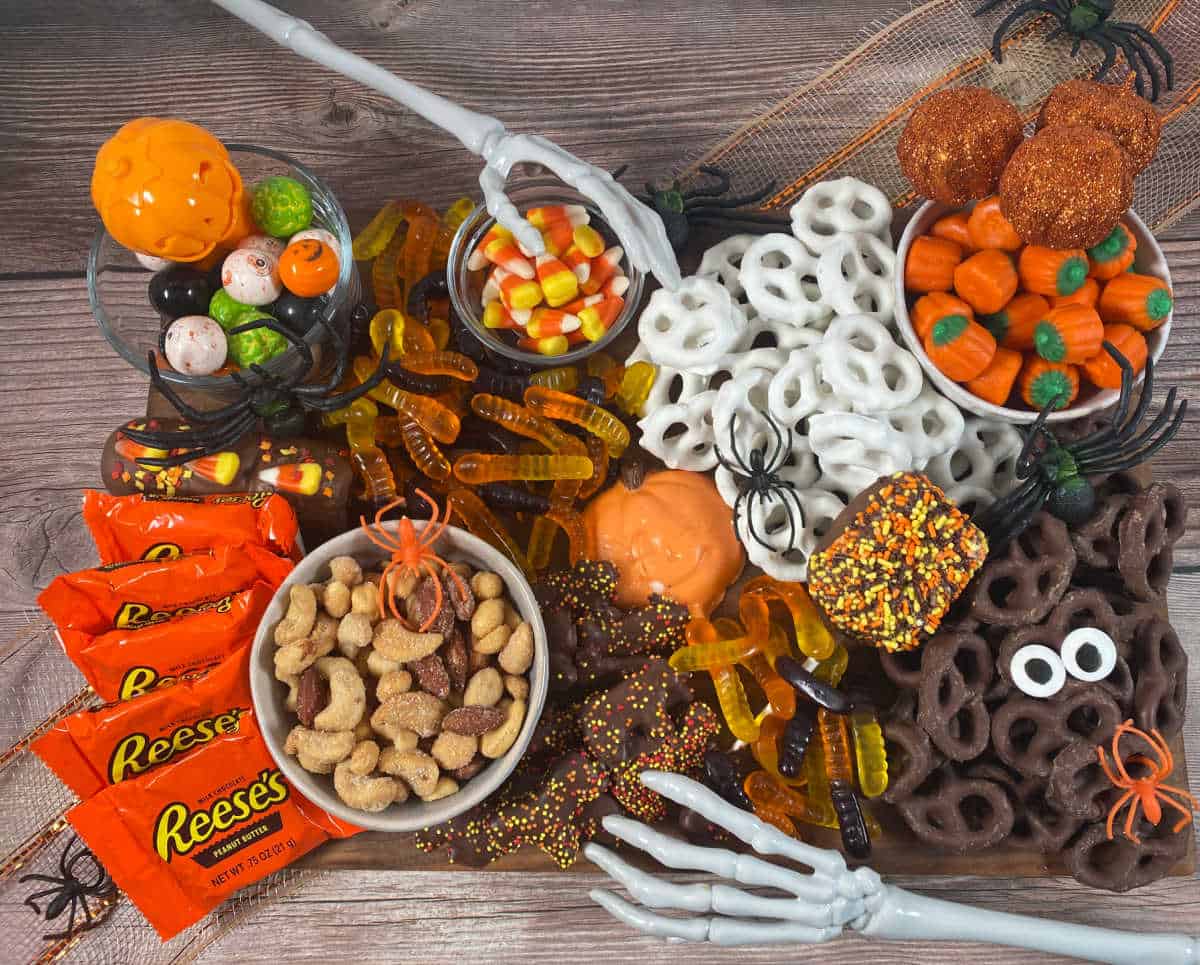
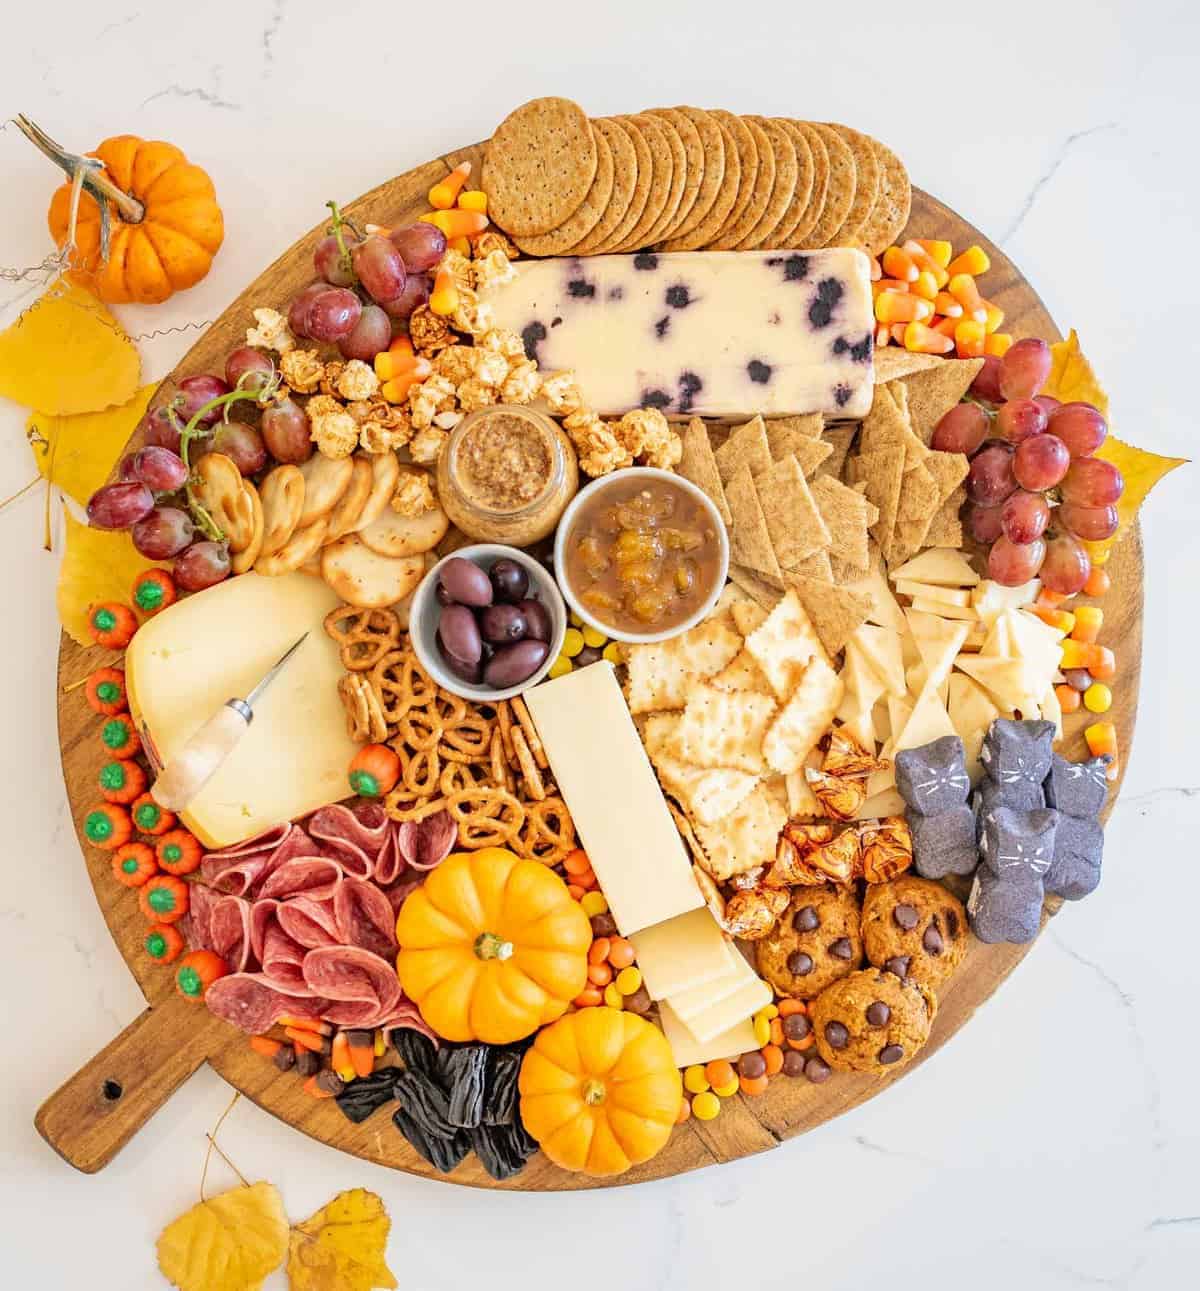
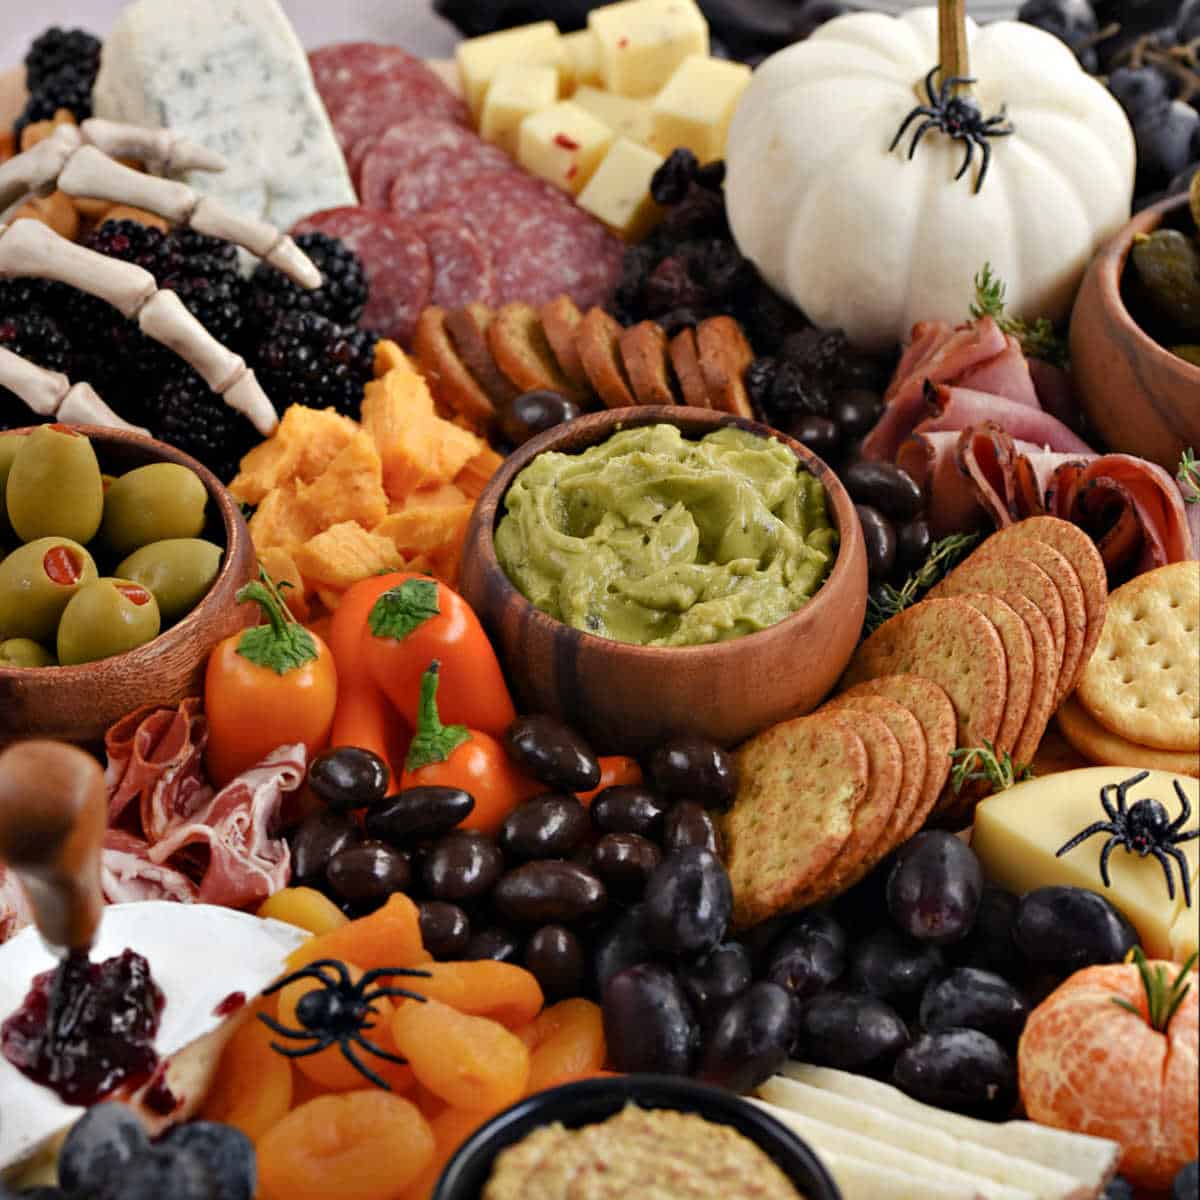
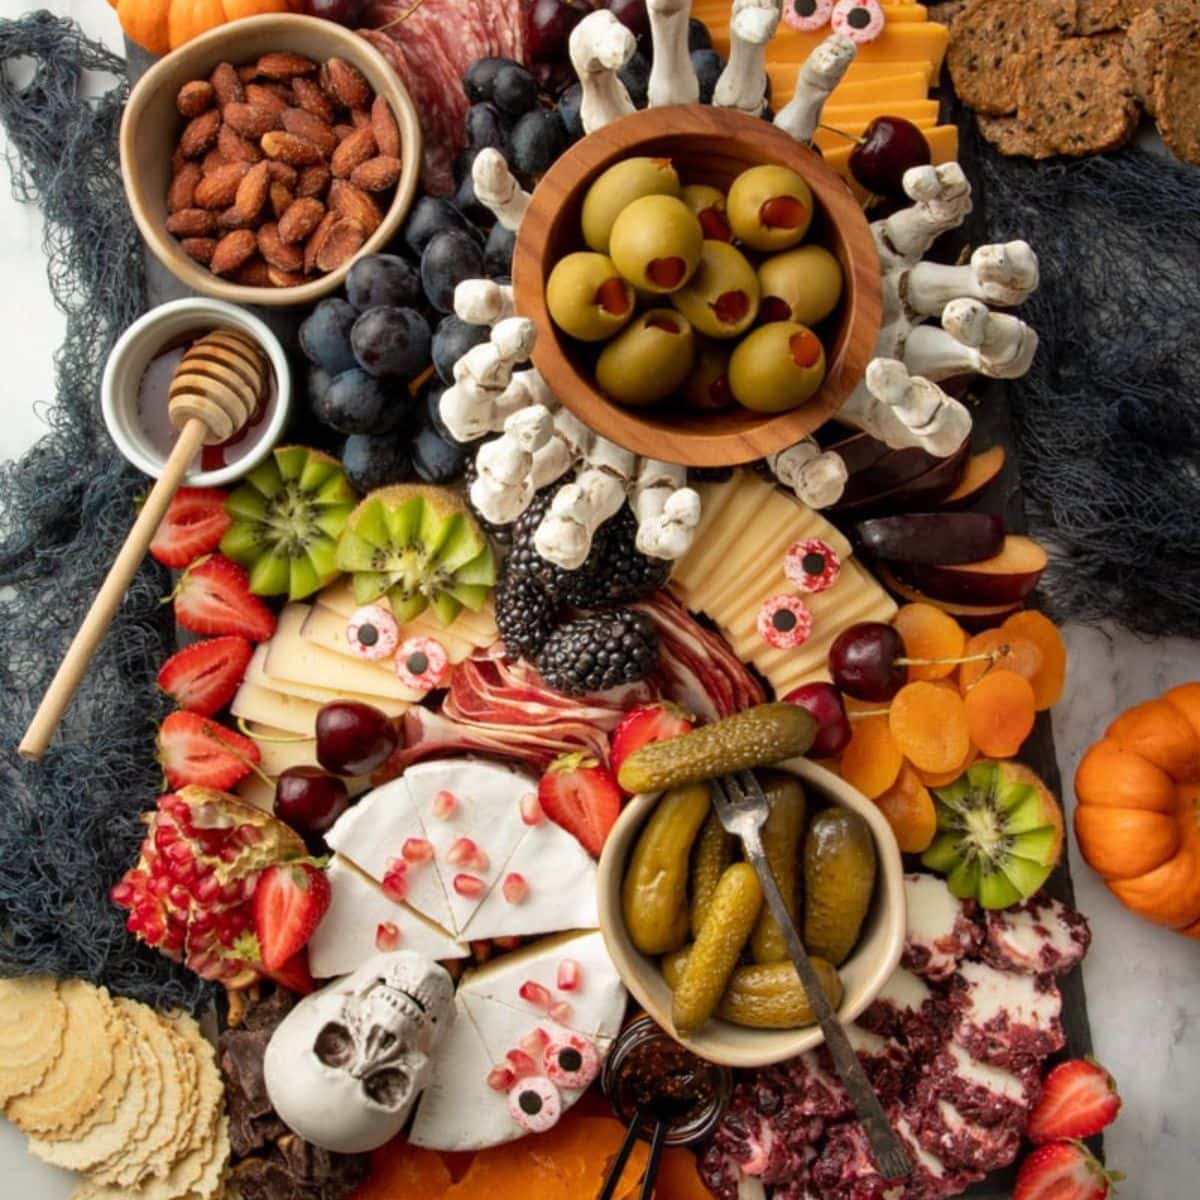
- Add your bigger items in various ways (small stacks, rows, build piles, etc) and any bowls/serving dishes around your centerpiece.
- Place remaining treats, filling in any gaps with smallest items. Fill your serving dishes.
- Add finishing touches such as small candies in various shapes and decor around the charcuterie board.
- Add the chocolate spiders and chocolate skulls throughout the board and any finishing touches you'd like around the board before serving.
More photos


Photos hosted by findingzest.com.