Paper CraftsNo. 4369 · The 2026 edition
Silhouette CAMEO Halloween Projects: DIY Paper Halloween Village
Craft a spooky paper village with your Silhouette Cameo—haunted houses, witches, and ghosts come together with hot glue and cardstock.
Our own summary of the original — the full post and photos live at prettylifegirls.com.
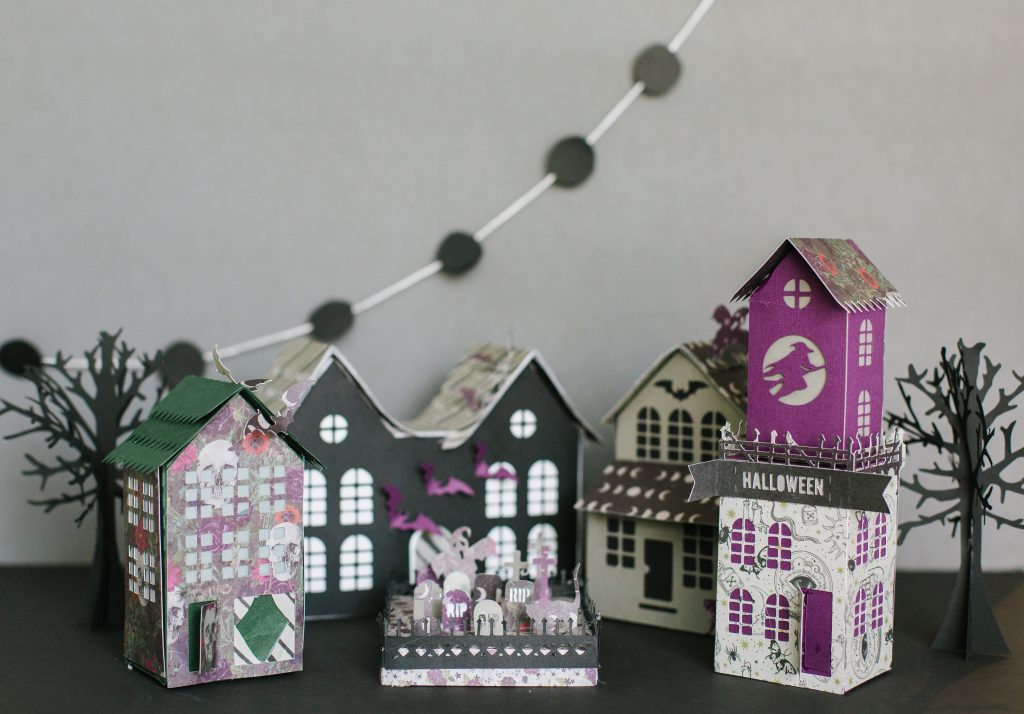
Transform your Silhouette Cameo into a Halloween factory with this paper village project. Download designs from the Silhouette Design Store, cut them from cardstock, and assemble using hot glue—starting with layered pieces and following dotted fold lines. Decorate with included cutouts like bats and cats for a perfectly spooky scene.
You'll need
Directions
- Get your chosen designs from the Silhouette Design Store and open them in your software. Arrange the pieces on the cutting mat, but do not adjust any sizes—changing dimensions will prevent proper assembly.
- Cut out all the pieces using your Silhouette Cameo. Because there are many components, keep everything organized by sorting into piles or lightly labeling each piece with a pencil.
- Start assembling with hot glue, beginning with the layered pieces. For example, each house side has a foundation and a decorative layer that must be glued together before building. Watching the designer’s assembly video is highly recommended for clarity.
- After all layered pieces are glued, build the structures. The design includes dotted fold lines to indicate where tabs should be bent. Fold each tab, apply a thin line of hot glue, and attach as shown in the instructions.
- Assemble every structure completely. Then embellish with decorative cutouts like black cats, ghosts, and bats, using hot glue to attach them.
More photos

Photos hosted by prettylifegirls.com.