CenterpiecesNo. 8640 · The 2026 edition
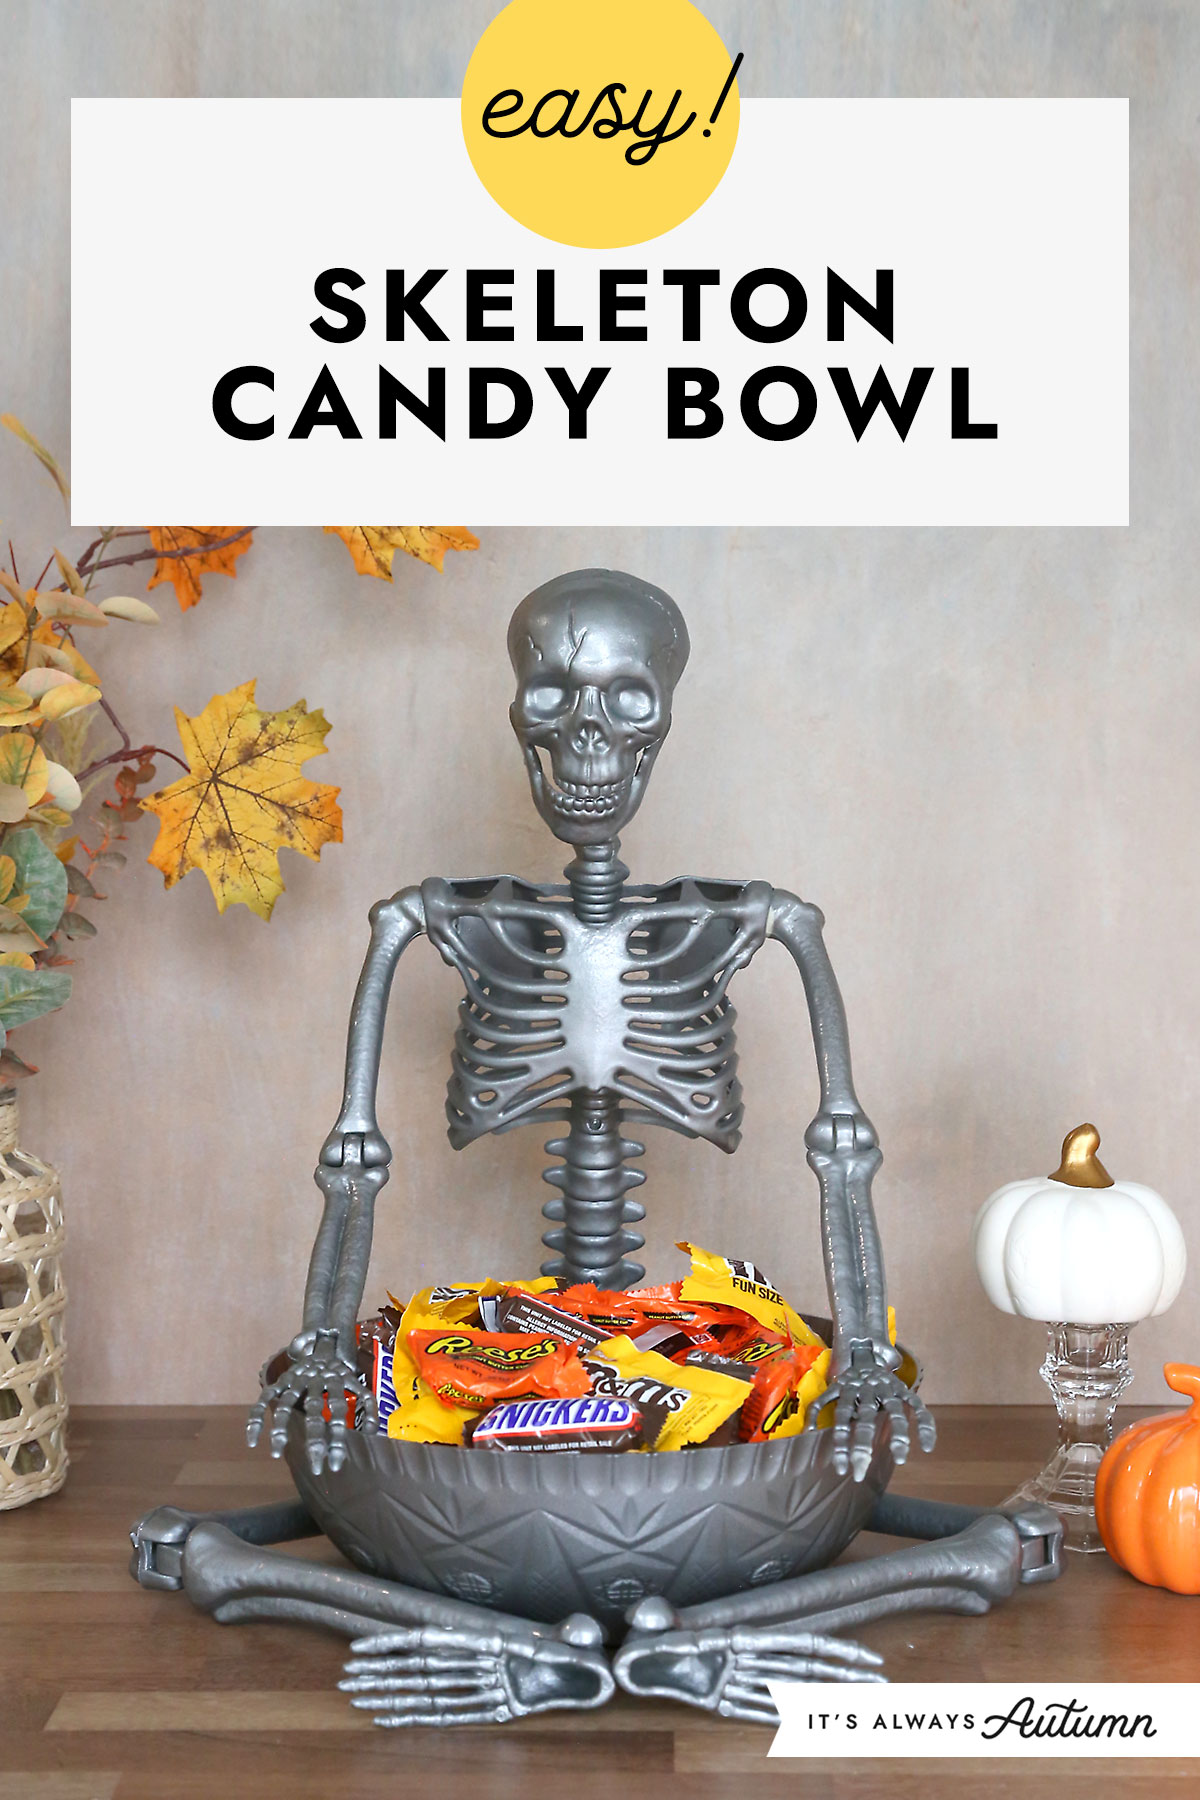
Skeleton Candy Bowl
Transform a plastic skeleton into a spooky candy bowl with air-dry clay and spray paint.
Our own summary of the original — the full post and photos live at itsalwaysautumn.com.
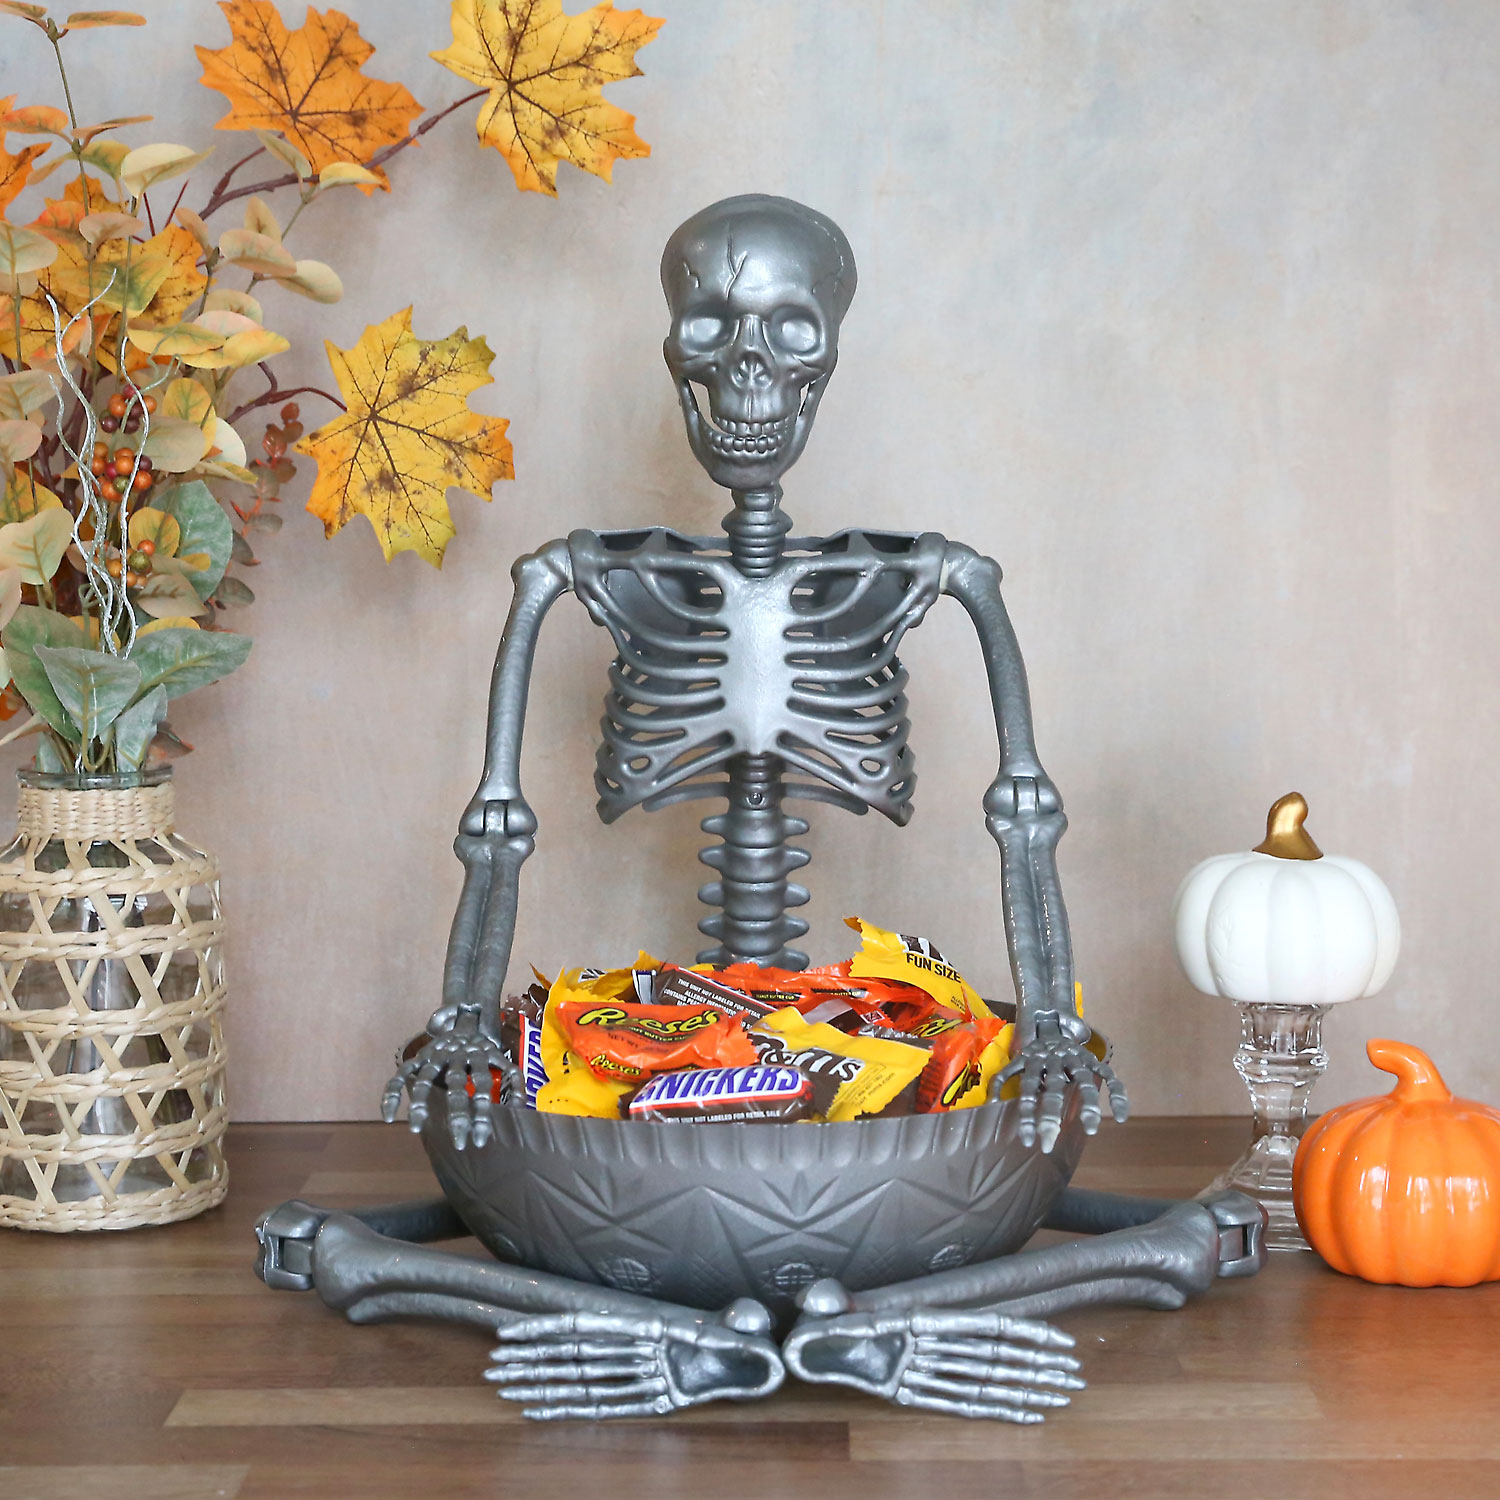
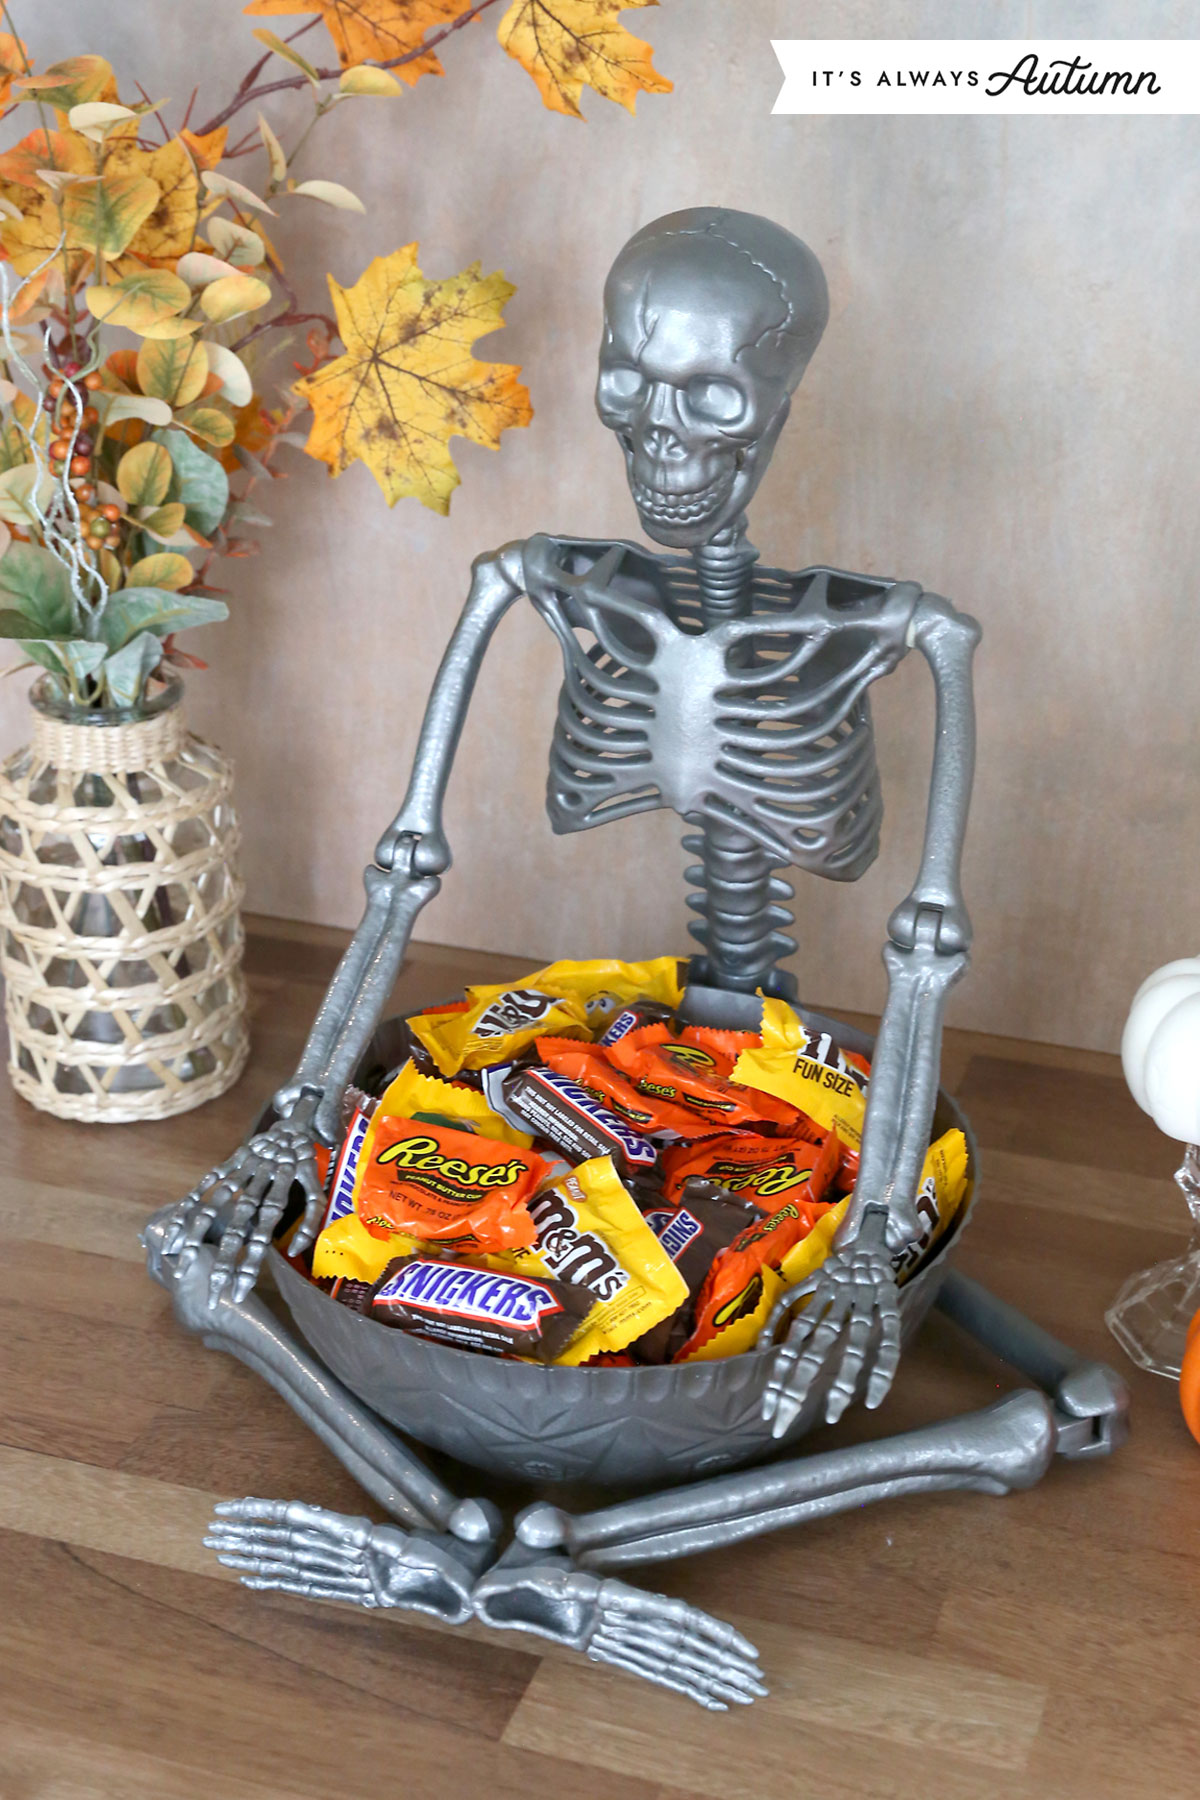
This Halloween project uses a plastic skeleton, Sculpey Air Dry Clay, and hammered spray paint to create a unique candy bowl. After removing the legs and forming a diamond shape with clay, you secure the skeleton in a leaning pose, let the clay dry, and paint everything. Finally, place a bowl in front of the seated skeleton and rest its hands on the edge for a chilling display.
You'll need
Directions
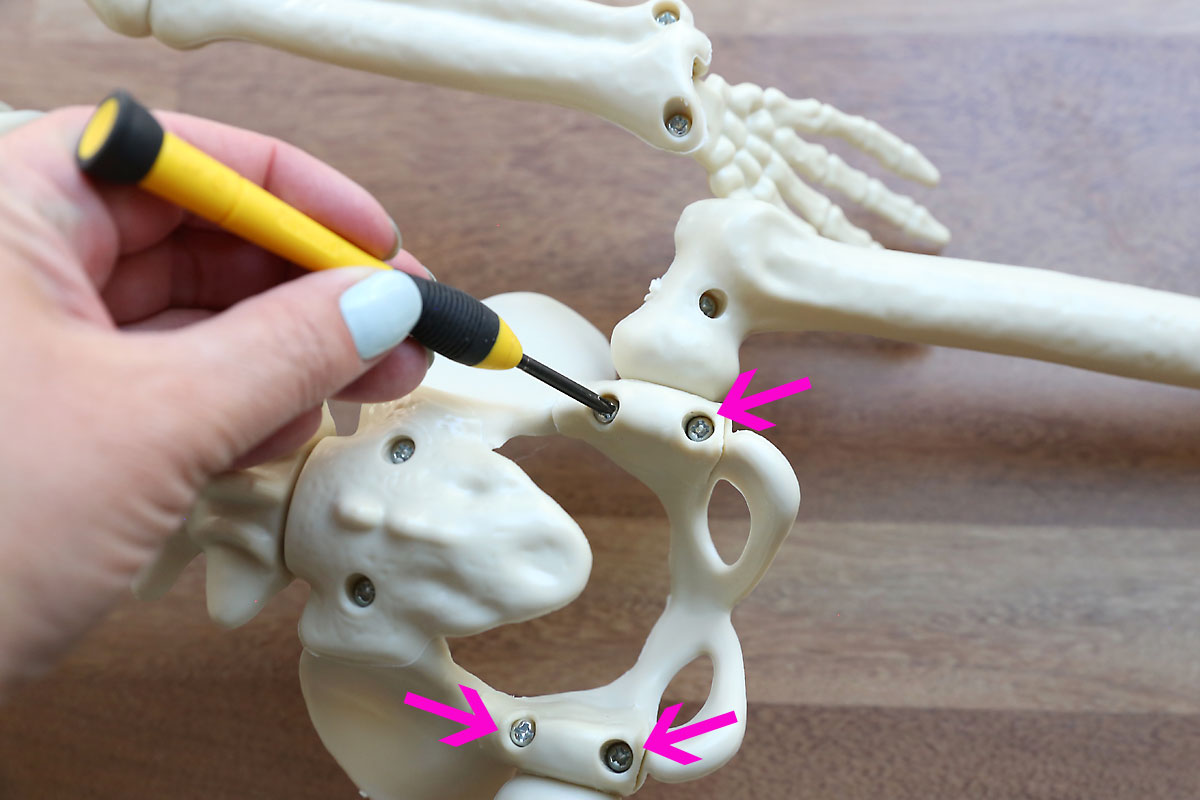
- Unscrew the fasteners on the back of the plastic skeleton's hip joints to detach the legs.
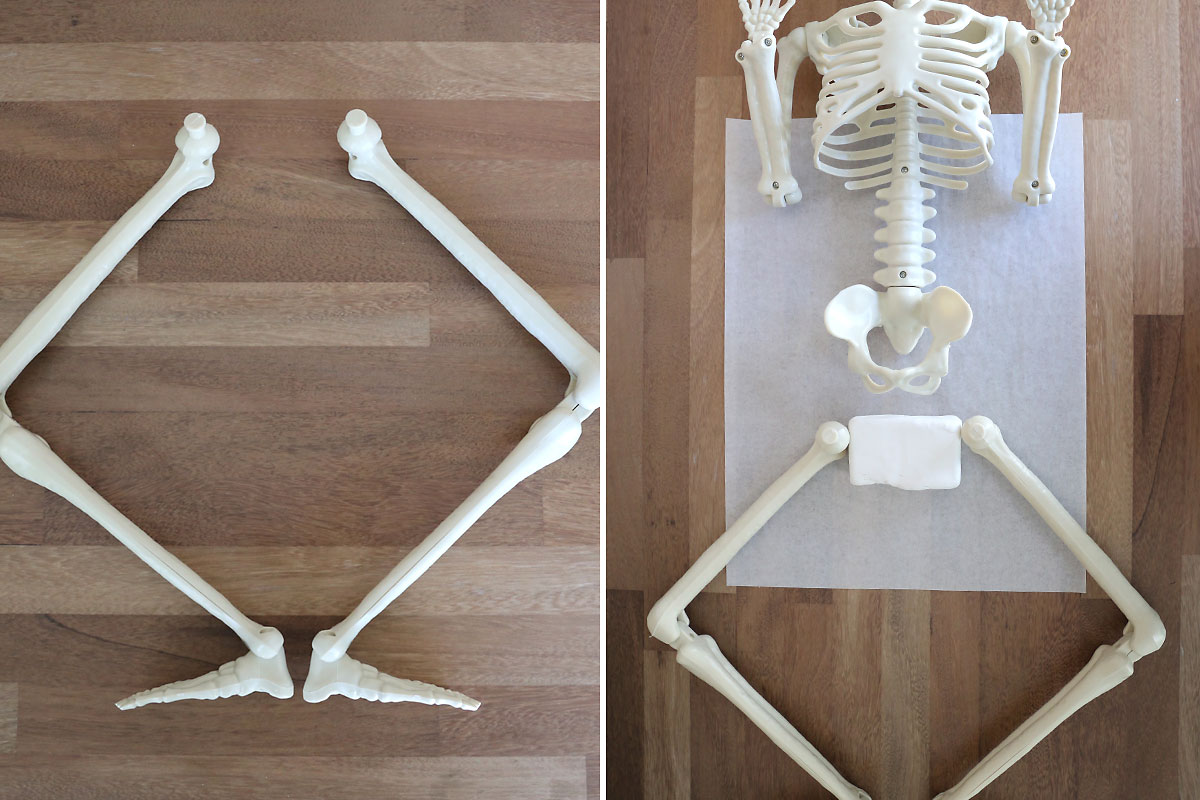
- Arrange the legs in a diamond formation with knees outward. Position a block of Sculpey Air Dry Clay (about 1 pound) between the upper leg bones, then set the skeleton's torso on top.
- Upright the skeleton and push it down into the clay block so it leans a bit forward. Press each leg's joint into the clay just in front of the hip bones, maintaining the diamond shape with feet flexed and heels together.
- Apply additional clay to conceal the leg joints and reinforce the connection, ensuring the skeleton sits upright and the legs are firmly attached to the torso. Verify the heels remain touching.
- After finishing the clay work, moisten your fingers and smooth the surface. Perfection isn't necessary since the candy bowl will cover this area.
- Allow the clay to dry completely before moving on; this may take up to three days depending on humidity. The clay is still damp if it feels cool to the touch. To prevent the skeleton from tipping forward during drying, either lift its arms over its head or prop a bowl beneath them. Also lay the skeleton on its side periodically so the bottom of the base dries. Cracking is normal.
- Place the skeleton on cardboard and apply hammered spray paint to the front and bottom. After drying, set it upright and paint the back, touching up the front. Also paint your chosen large plastic bowl.
- When the paint is dry, set the skeleton upright and position the bowl directly in front of the base so the legs curve around it. Rest the skeleton's hands on the bowl's rim, then fill with wrapped treats.
More photos
Photos hosted by itsalwaysautumn.com.