Quick & EasyNo. 8507 · The 2026 edition
The TIN MAN (...from "Wizard of Oz")
Transform into the Tin Man from The Wizard of Oz with this step-by-step costume tutorial.
Our own summary of the original — the full post and photos live at makeit-loveit.com.

Build a convincing Tin Man costume using vinyl fabric, metallic paint, and hardware. This guide details how to measure, cut, and sew a collar and body piece, ensuring a comfortable and authentic look.
You'll need
Directions
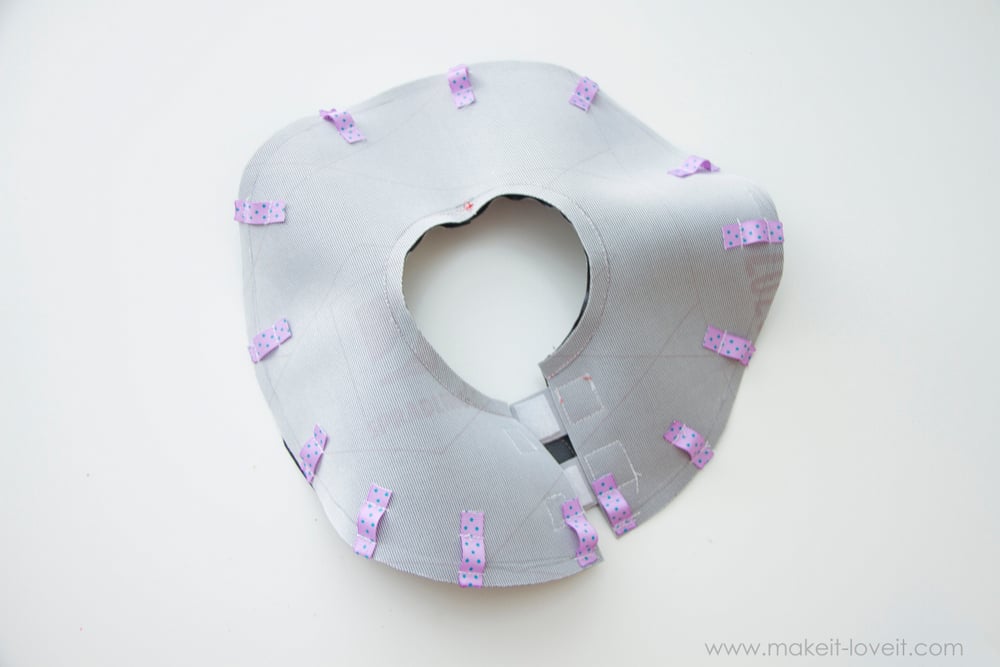
- Measure the distance from one shoulder edge to the other. Cut a circle from vinyl fabric with that same diameter, adding an extra 1/4 inch all around for seams. Then cut a smaller circle in the center matching your subject's neck size, plus a little extra for comfort. Finally, cut a straight slit from the inner circle to the outer edge at the back so the neck can fit through.
- Prepare two collar pieces. The inner curve of each piece should be wider than the curve of the neck hole; this helps the collar sit at an outward angle. If the inner edge is straight, the collar will be too vertical.
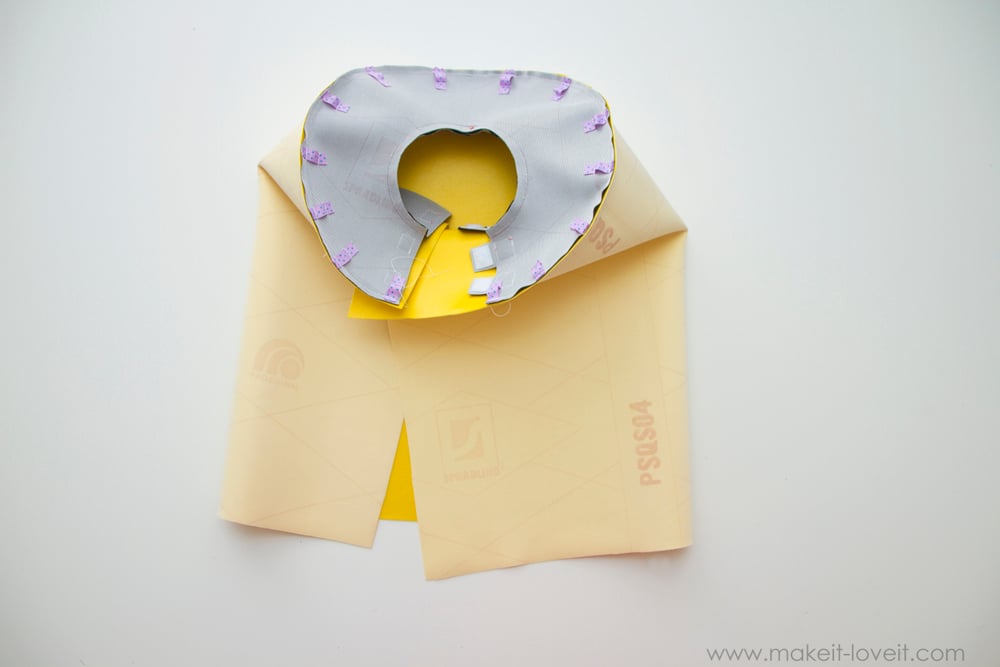
- Position one collar piece face down on the circle, matching one end with the front (the side opposite the slit). Attach it to the inner circle using a 1/4 inch seam. Don't worry if the collar piece is too long; that's fine. Do the same with the second collar piece.
- Once both collar pieces are sewn on, they should naturally angle outward.
- Cut off extra fabric from both collar pieces so that they align neatly at the back.
More photos



Photos hosted by makeit-loveit.com.