Painted PumpkinsNo. 3412 · The 2026 edition
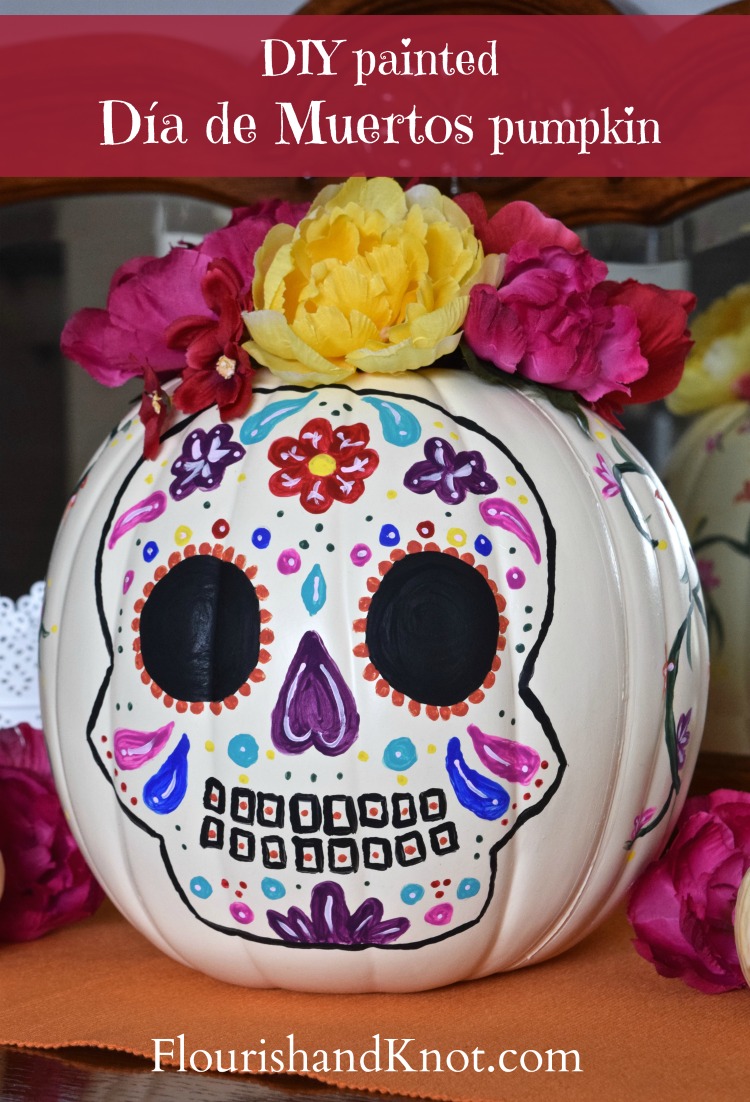
A DIY painted pumpkin for Día de Muertos & Halloween
Transform a pumpkin into a vibrant Día de Muertos masterpiece with painted sugar skull designs and a flower crown.
Our own summary of the original — the full post and photos live at flourishandknot.com.

This DIY project guides you through painting a pumpkin like a calaverita sugar skull, complete with bold colors and fine details. Finish with a gorgeous crown of silk flowers hot-glued to the top for a festive look perfect for Halloween and Día de Muertos.
You'll need
Directions
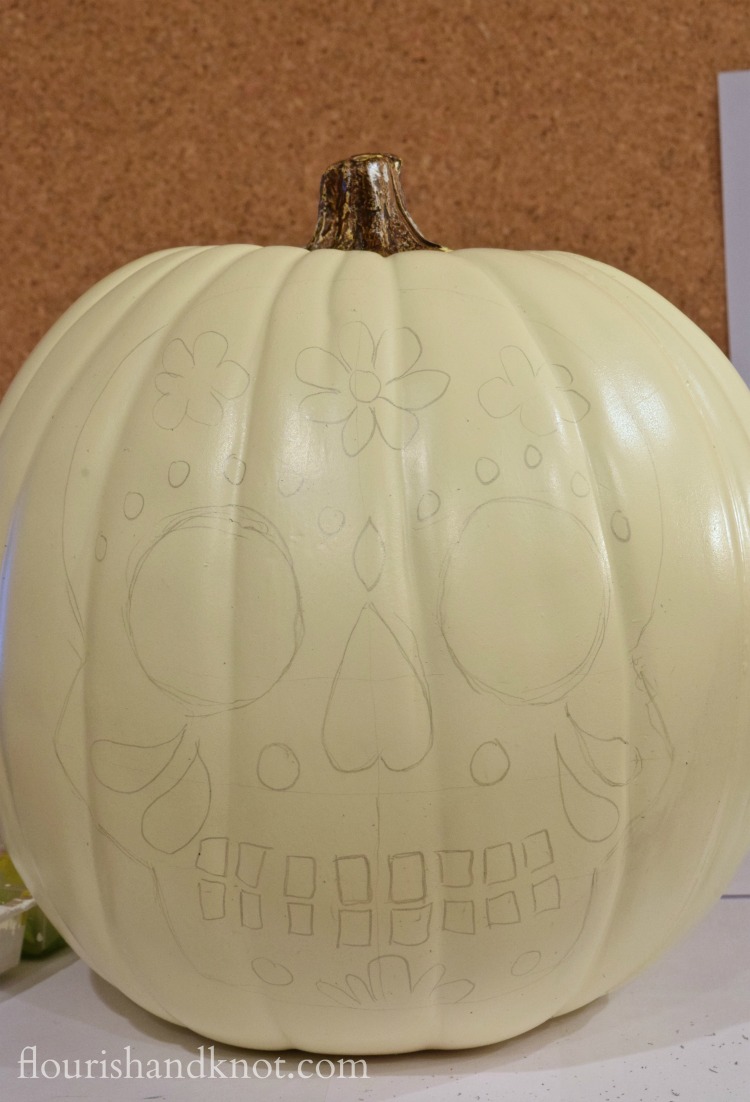
- Look up images of Día de Muertos sugar skulls (they're called calaveritas). You can print a template, use a pre-made design, or sketch freehand. I chose to draw mine without a template.
- Lightly sketch the skull shape on your pumpkin. You don't need all details now—you can adjust later. To keep symmetry, I drew reference lines: center, nose midpoint, and teeth center.
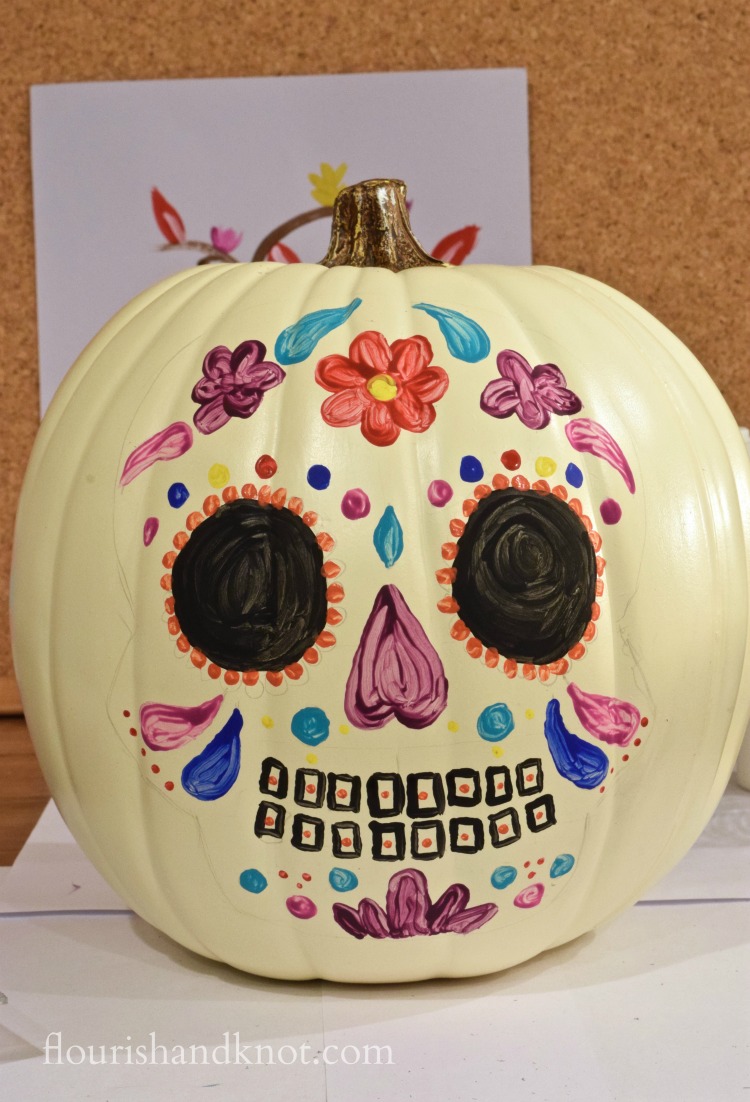
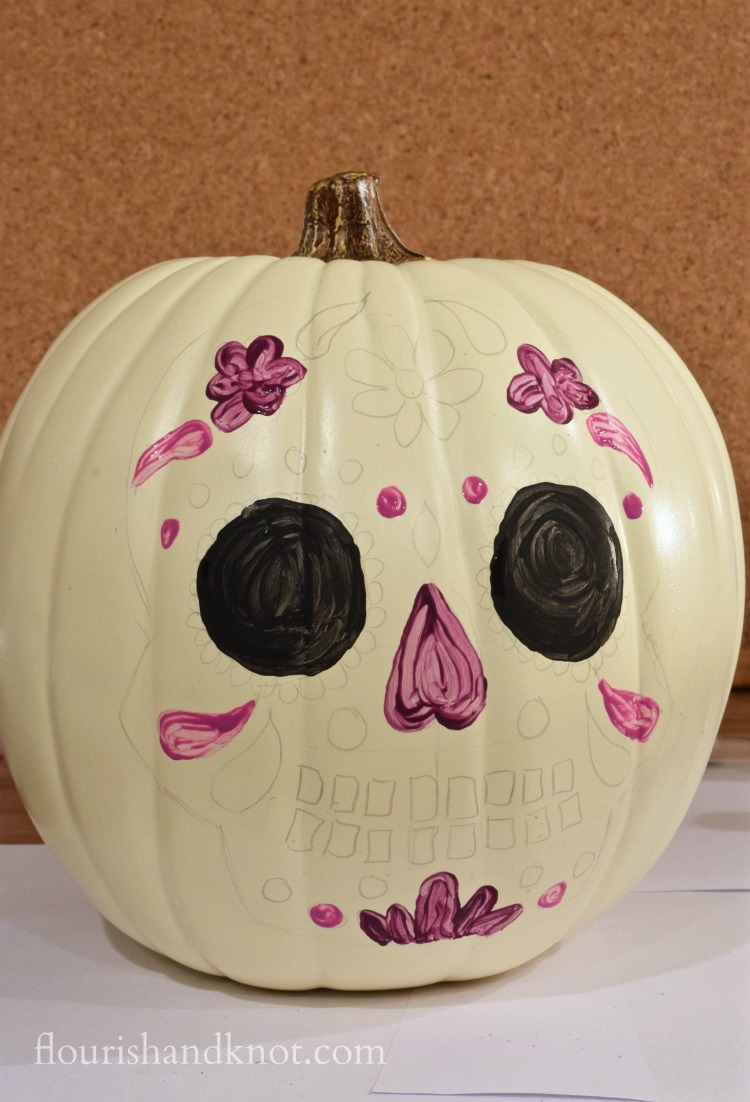
- When your basic design looks good, start painting the larger areas with acrylic paint. Use fine-tip brushes for control.
- Continue painting different sections, switching colors to create a bright palette. Don't worry about tiny details yet; those come after a second coat.
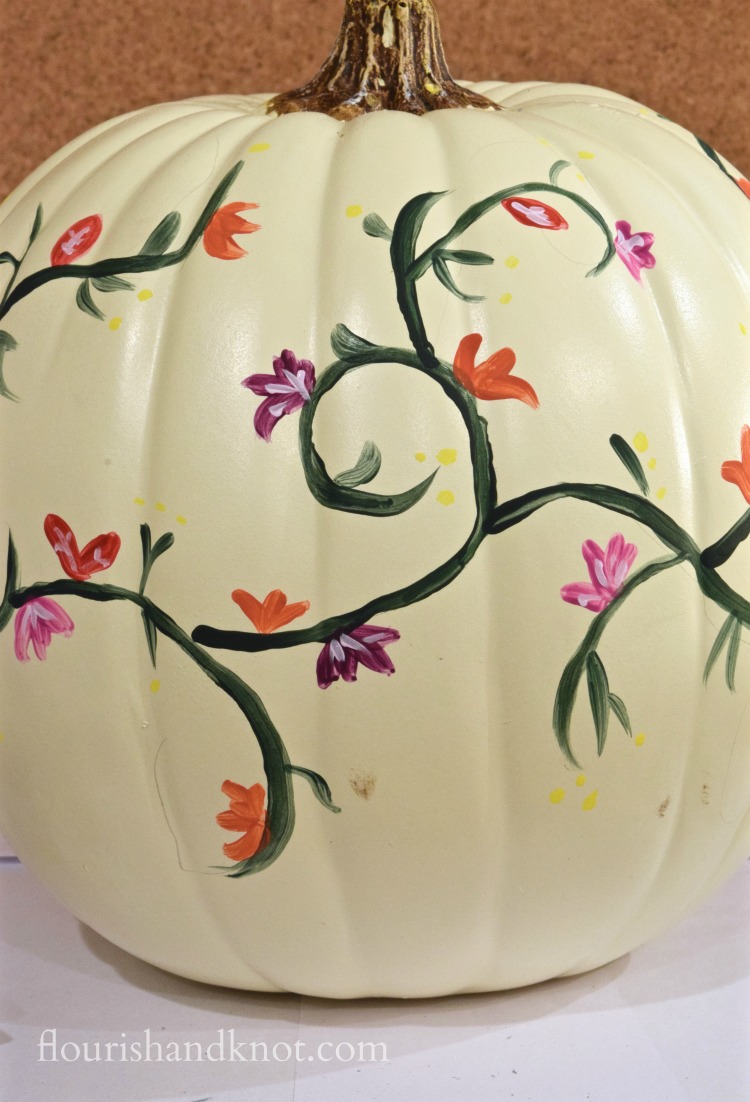
- Apply a second coat of paint so the colors stand out. I also added a bougainvillea vine to the back of my pumpkin—for a detailed tutorial on that, check out PMQ for Two's blog by Ariel.
- After two coats (or three for tricky colors), add fine details. I added multicolored dots and light pink highlights.
- Erase any leftover pencil marks using a high-quality eraser, not the one on the pencil end.
- Snip the stems off silk flowers and hot-glue them atop the pumpkin to form a floral crown, inspired by Frida Kahlo.
More photos
Photos hosted by flourishandknot.com.





