Painted PumpkinsNo. 4521 · The 2026 edition
Disney Painted Pumpkins: Over 65 Easy No-Carve Pumpkin Ideas
No carving? No problem! Transform any pumpkin into Disney magic with these easy painted designs.
Our own summary of the original — the full post and photos live at babysavers.com.
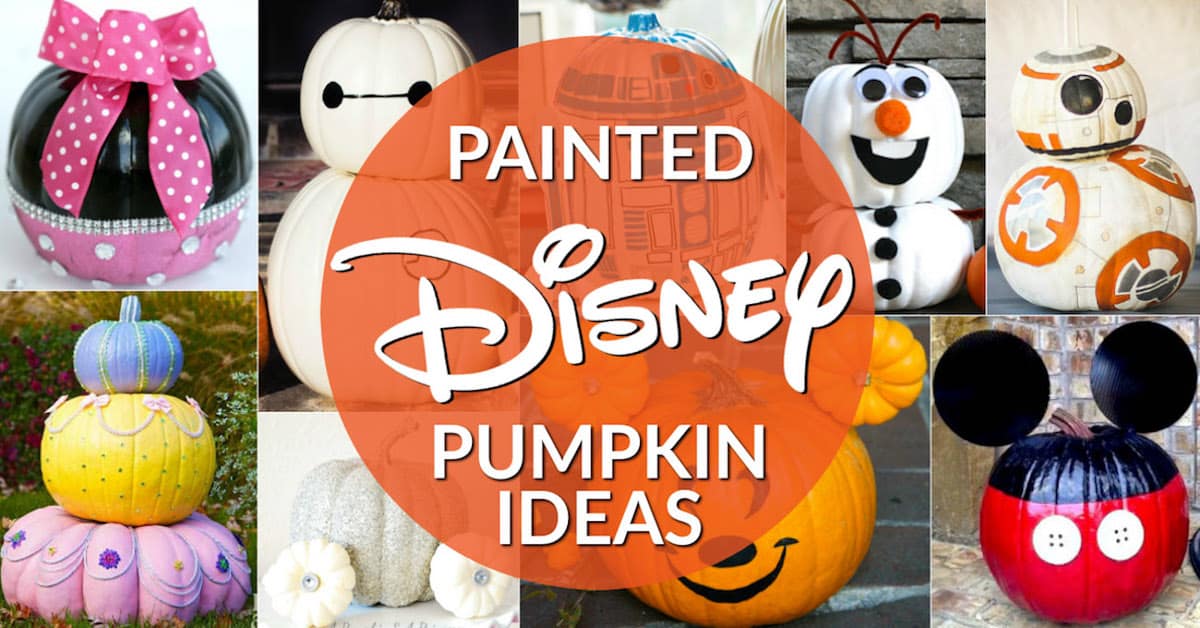
These no-carve pumpkin ideas use acrylic paint and simple techniques to create Disney-themed decorations. Start with a clean pumpkin, optionally seal it, transfer a design using carbon paper, and paint from light to dark colors. Painter's tape helps achieve clean lines, and using kid's coloring books as stencils makes it extra easy.
You'll need
Directions
- Pick any pumpkin that works for you, or simply use the one closest to you.
- Wipe your pumpkin clean and dry it thoroughly. Baby wipes work well, or use a damp rag with a bit of all-purpose cleaner or dish soap.
- Optionally, seal your pumpkin. Since pumpkins are porous, a sealer helps the paint stick better.
- Sketch your own design or find one to use. Easy coloring books for kids make excellent sources for stencils.
- Transfer your design onto the pumpkin using carbon transfer paper. Place the design over a sheet of carbon paper and trace all lines with a ballpoint pen.
- Use painter's tape to tape off sections for clean, straight lines. This is especially helpful for dividing the pumpkin into halves or painting geometric sections.
- Paint from the lightest color to the darkest. Starting with your lightest paint minimizes smearing and makes mistakes easier to fix. If using light colors, begin with a white pumpkin to reduce the number of paint layers needed.
More photos
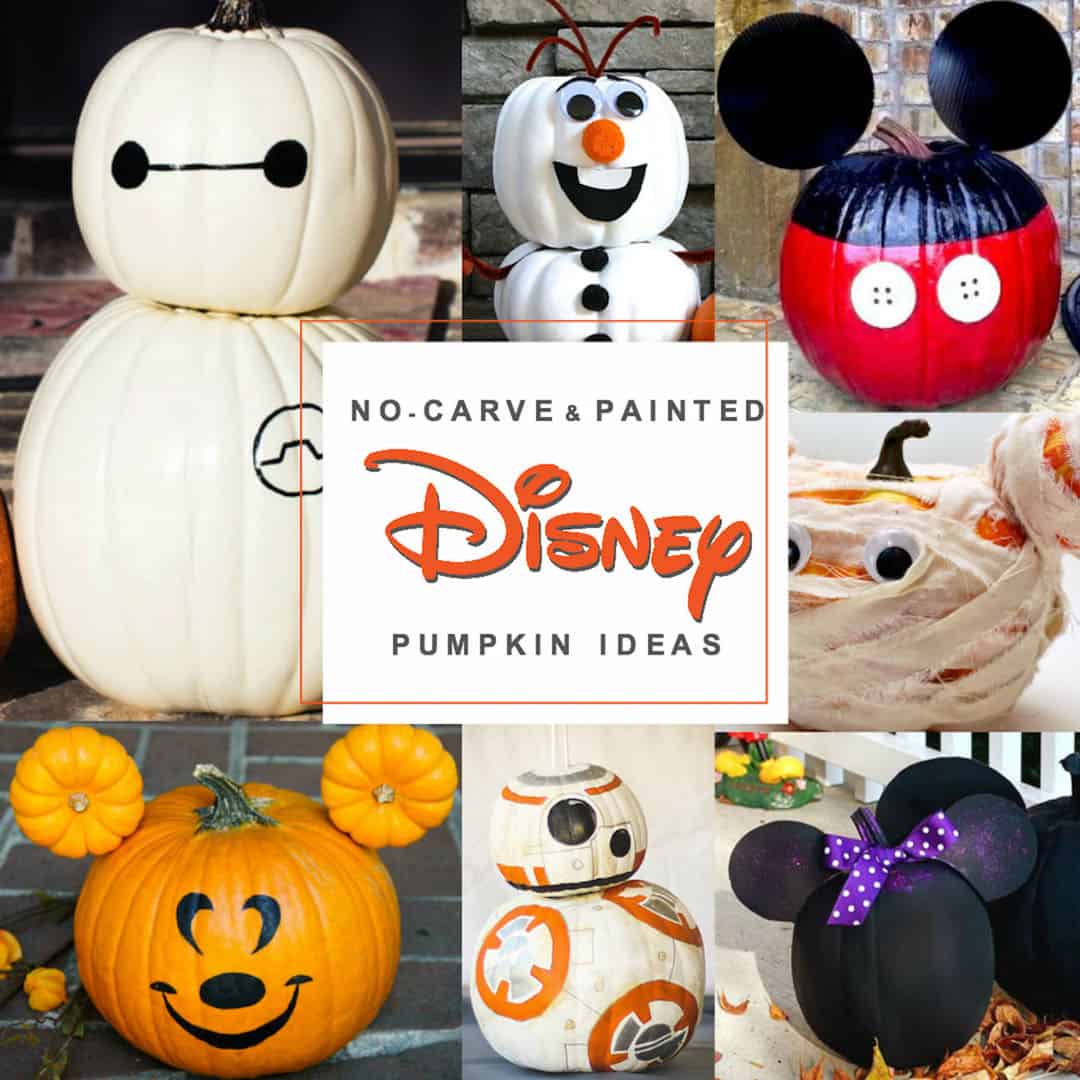
Photos hosted by babysavers.com.





