Fabric & SewingNo. 4915 · The 2026 edition
DIY Fabric Pumpkins
Transform simple fabric scraps into charming autumn decor with these easy-to-make pumpkins. Using basic sewing supplies and household items, you can craft a unique set of weighted fabric pumpkins that
Our own summary of the original — the full post and photos live at pmqfortwo.com.
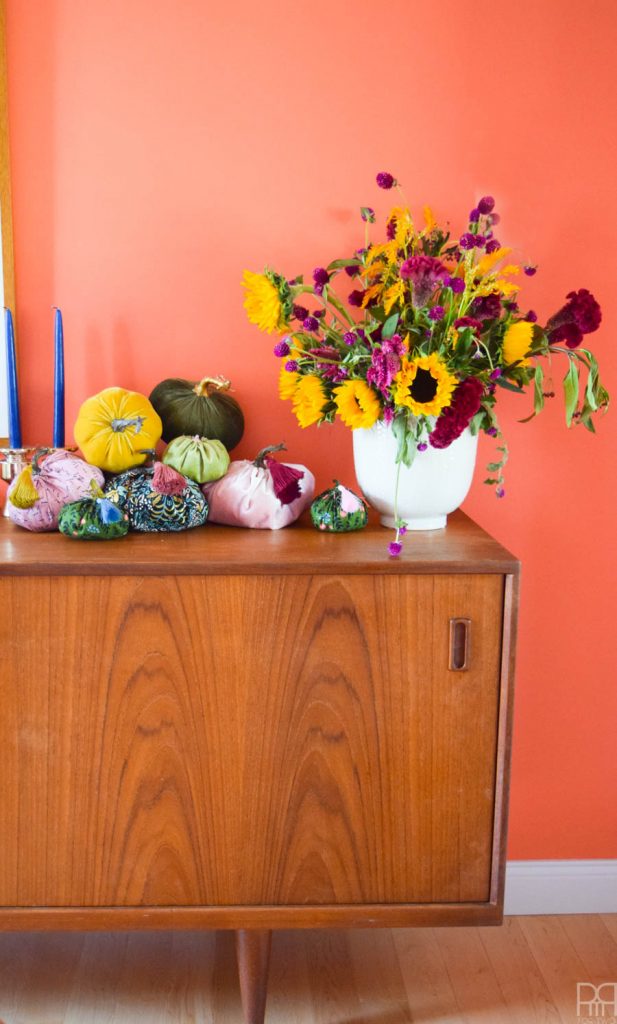
This project guides you through creating fabric pumpkins using a circular cloth pattern, weighted base, and soft stuffing. Key steps include cutting the fabric into wedge shapes, sewing a gatherable edge, adding rice or beans for stability, and filling with batting. The process concludes with cinching the top, attaching a stem with hot glue, and repeating for a complete set. Optional tassels can be added for decoration.
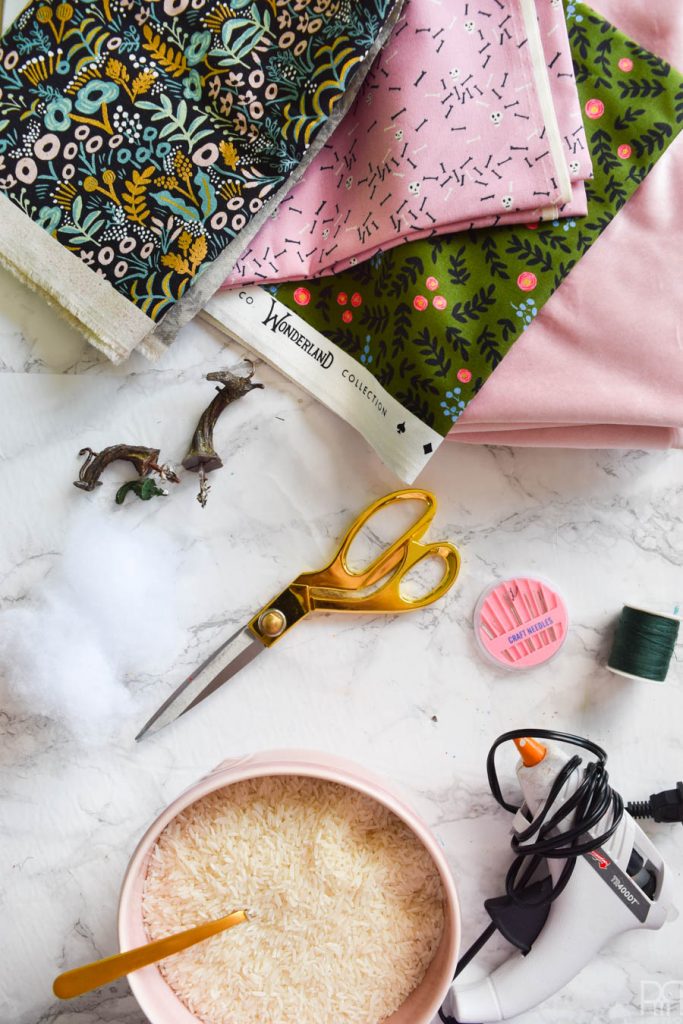
You'll need
Directions
- Select your chosen cloth and slice it into a circular shape. For a simpler cutting process, I recommend cutting large squares first, folding each one in half twice, and then trimming the corners to create wedge shapes that resemble slices of a pie.
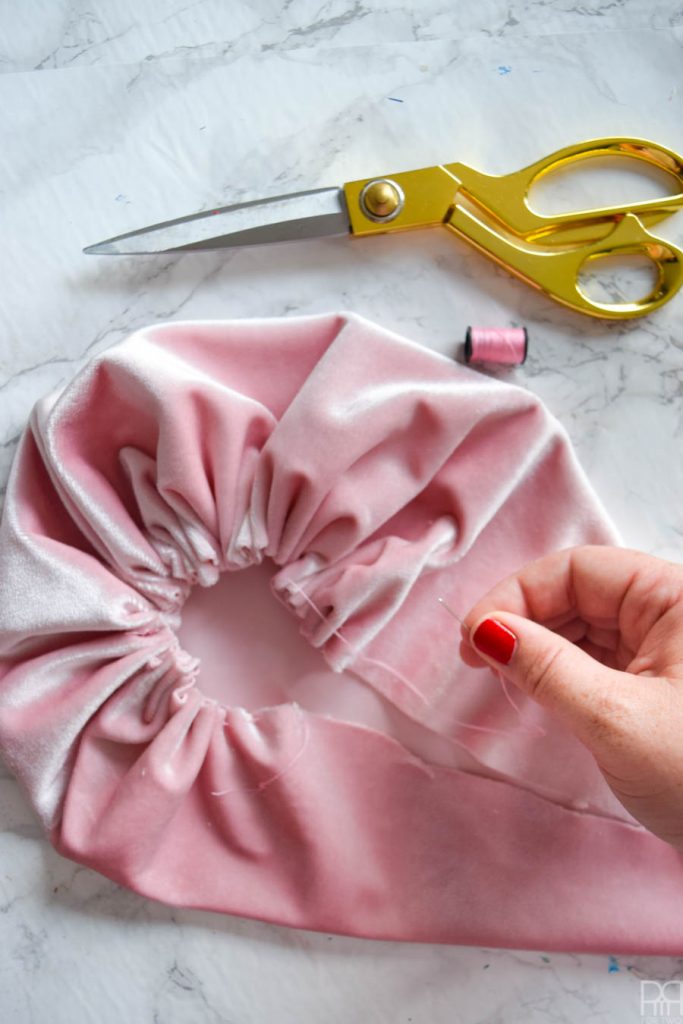
- Thread your needle and begin stitching along the outer rim of the circle. Create a running stitch that allows the fabric to bunch up like a pleated fan. Ensure the thread is long enough to pull tight once you have completed the full perimeter.
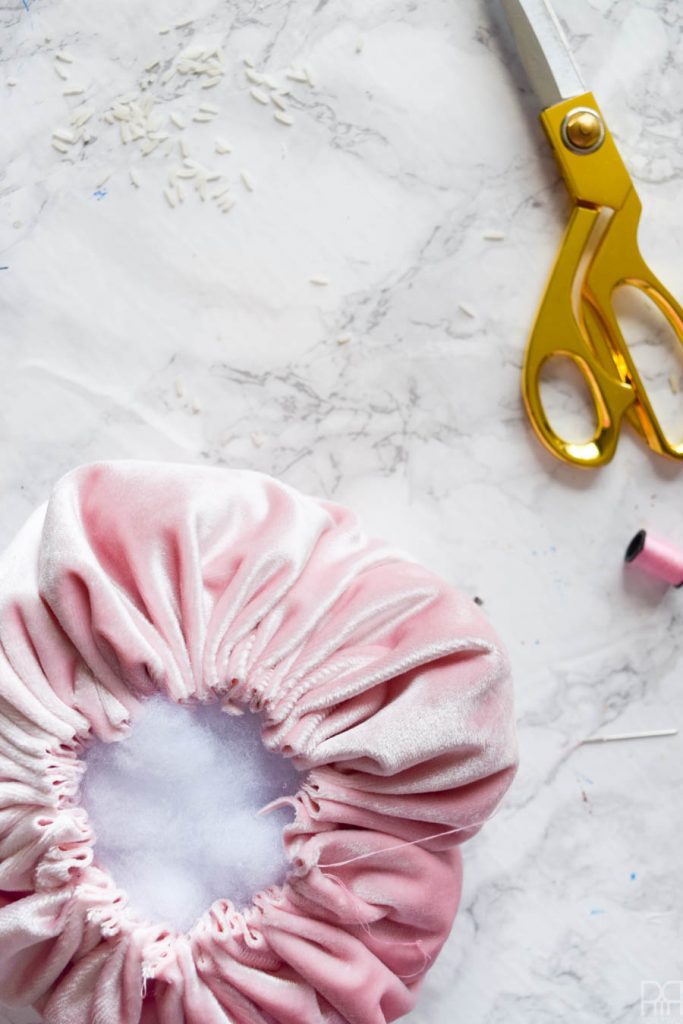
- After sewing the entire edge, you will have a fabric pouch with a wide opening. Pour in your chosen weight, such as rice or dried beans. The goal is to add enough material to stabilize the bottom without filling the entire volume. For the smaller pumpkins in this project, use at least a quarter cup of the weighting material.
- Now, add your stuffing material, such as batting or craft fiber. Pack the pumpkin firmly to achieve a plump appearance, but be careful not to overstuff it to the point where the seams might split. Adding the stuffing in small batches works best to control the density.
- When the pumpkin feels full and firm enough, pull the thread to cinch the top opening shut. To secure the closure, weave the remaining thread across the gap in multiple directions, creating a tight seal.
- Place a generous amount of hot glue into the small opening at the top. Press the pumpkin stem into the glue, then tuck any loose fabric edges underneath the stem. Hold everything in place until the adhesive sets completely.
- Continue this process to create as many pumpkins as you desire. You can also attach decorative tassels to the finished pieces for an extra festive touch.
More photos
Photos hosted by pmqfortwo.com.