Painted PumpkinsNo. 9818 · The 2026 edition
DIY Hand-Painted Pumpkins You Can Use Year After Year
Create stunning hand-painted pumpkins that never rot—perfect for seasonal decor you can reuse every year.
Our own summary of the original — the full post and photos live at simpleasthatblog.com.
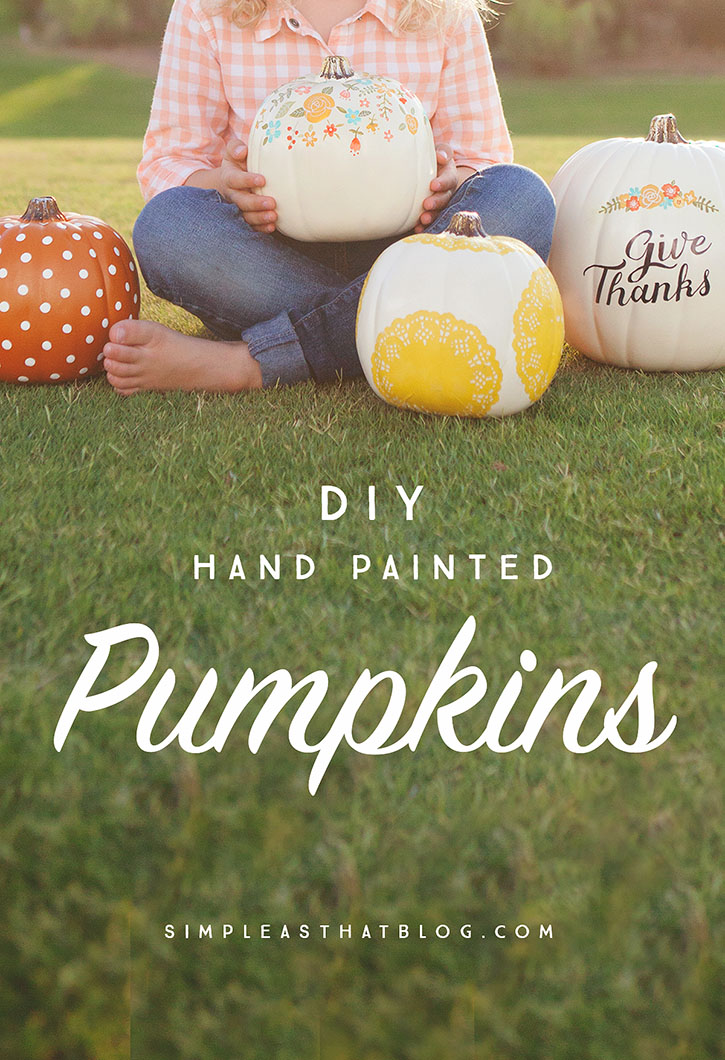
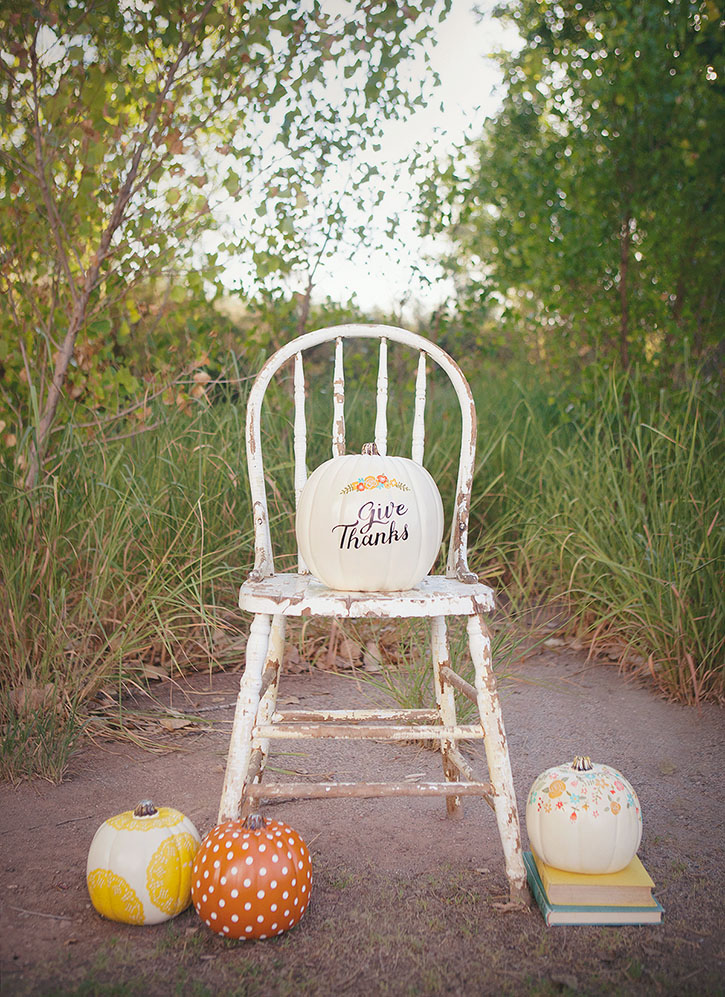
Transform plain craft pumpkins into beautiful decorations with these four painting techniques. Use polka dots, paper doilies, hand-lettered designs, or floral motifs to match any style. Each method uses simple materials like acrylic paint and Mod Podge for long-lasting results.
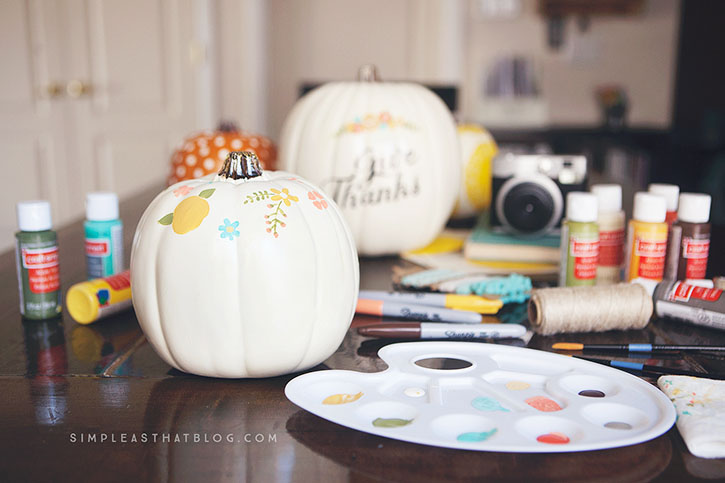
You'll need
Directions
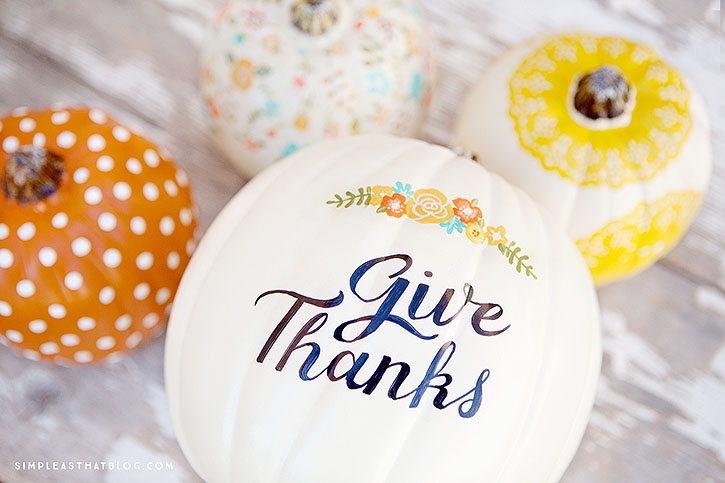
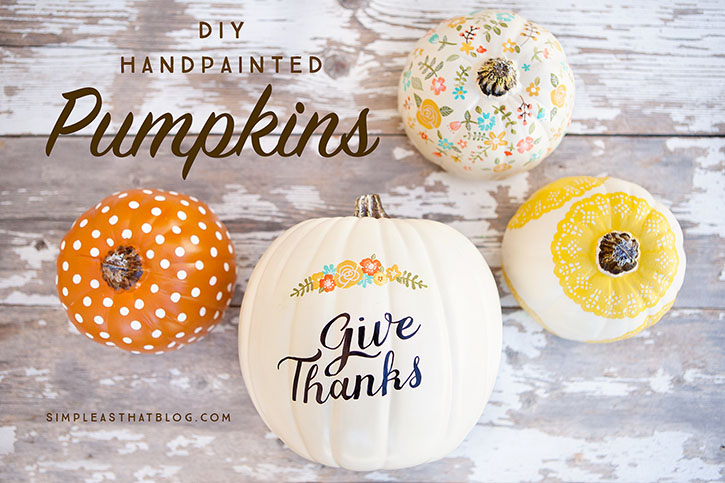
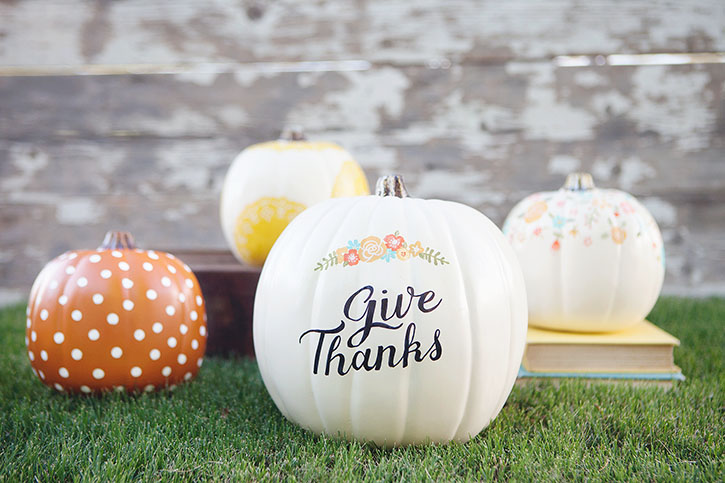
- Take a pencil with a fresh eraser, dip it in off-white acrylic paint, and stamp polka dots all over a miniature orange craft pumpkin.
- Brush a light coat of Mod Podge onto a paper doily, place it on the pumpkin, and press it flat using a foam brush with additional Mod Podge. Cut a circular hole from the middle of another doily and attach it around the pumpkin's top center with Mod Podge.
- Design your custom text in a graphics program such as Photoshop Elements or Picmonkey, then print it in black and white. Shade the reverse side of the paper over the lettering with a pencil. Turn the paper over, position it on the pumpkin, tape it in place, and go over the letters with a pencil to transfer the design. Finally, trace the transferred lines with a Sharpie.
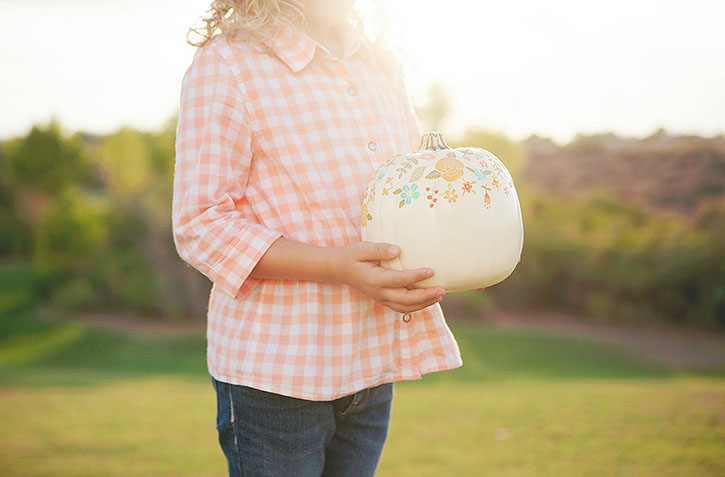
- Paint floral motifs like blossoms, foliage, and laurel wreaths onto the pumpkin using autumn-hued acrylic craft paints. After the paint dries, add fine details using a Sharpie or an opaque white marker.
More photos
Photos hosted by simpleasthatblog.com.





