Candle MakingNo. 8390 · The 2026 edition
DIY Printed Halloween Candles
Transform plain pillar candles into spooky custom designs with this easy tissue paper transfer technique.
Our own summary of the original — the full post and photos live at gina-michele.com.
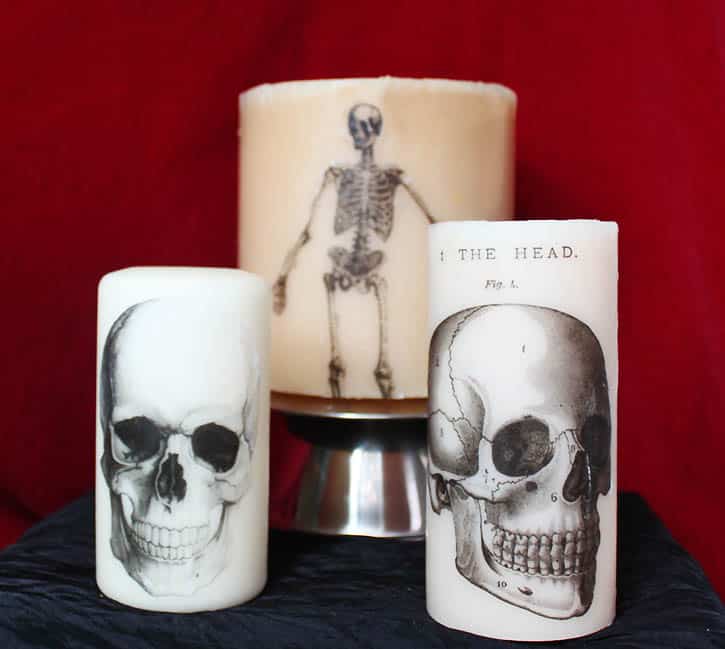
Create your own Halloween candles by printing images onto tissue paper and transferring them to pillar candles. The process involves taping tissue to printer paper, cutting out the image, gluing it to the candle, and using a hair dryer to fuse the paper. The result is a personalized candle with a ghostly translucent effect.
You'll need
Directions
- Start by printing your chosen image onto tissue paper. To prevent jams, first attach the tissue paper to a regular sheet of printer paper using Scotch tape around all edges. Cut the tissue paper a bit smaller than the printer paper. After taping, run an iron over the assembly on its lowest setting a few times to ensure it's completely flat.
- Cut out the image through both the tissue paper and the backing printer paper—this makes cutting easier.
- Apply glue from a glue stick around the edges of the cutout and press it onto the pillar candle. This holds the tissue paper in place while you use the hair dryer.
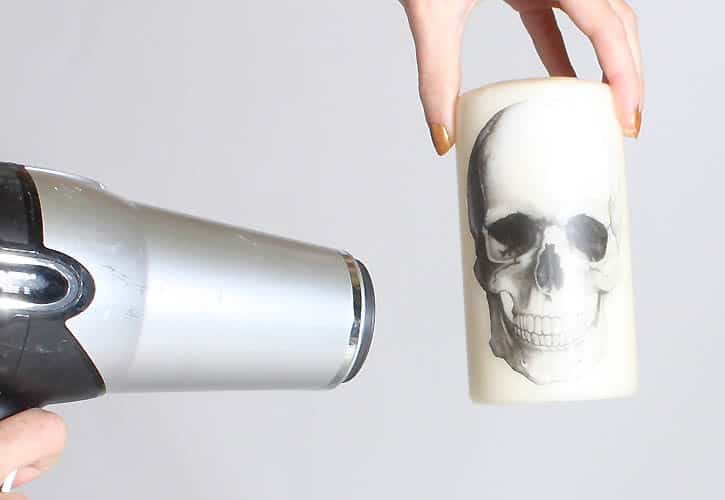
- Hold a hair dryer a few inches away from the candle and direct hot air over the image. The candle will warm up, causing the tissue paper to adhere. You'll notice the white parts of the tissue paper become transparent right before your eyes!
More photos

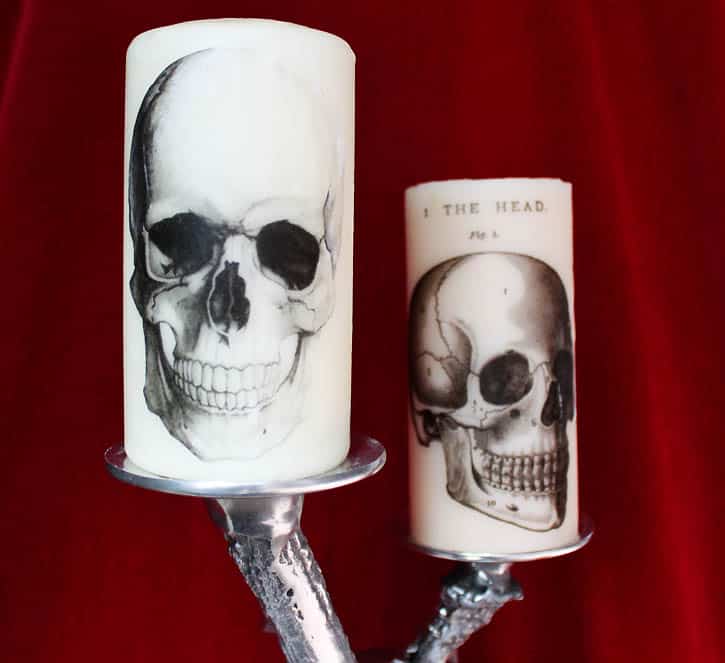
Photos hosted by gina-michele.com.
.JPG)