Painted PumpkinsNo. 6604 · The 2026 edition
DIY Wood Block Pumpkins to Brighten Your Fall Space
Turn simple wood blocks into charming fall pumpkins with this easy distressed painting technique.
Our own summary of the original — the full post and photos live at modpodgerocksblog.com.
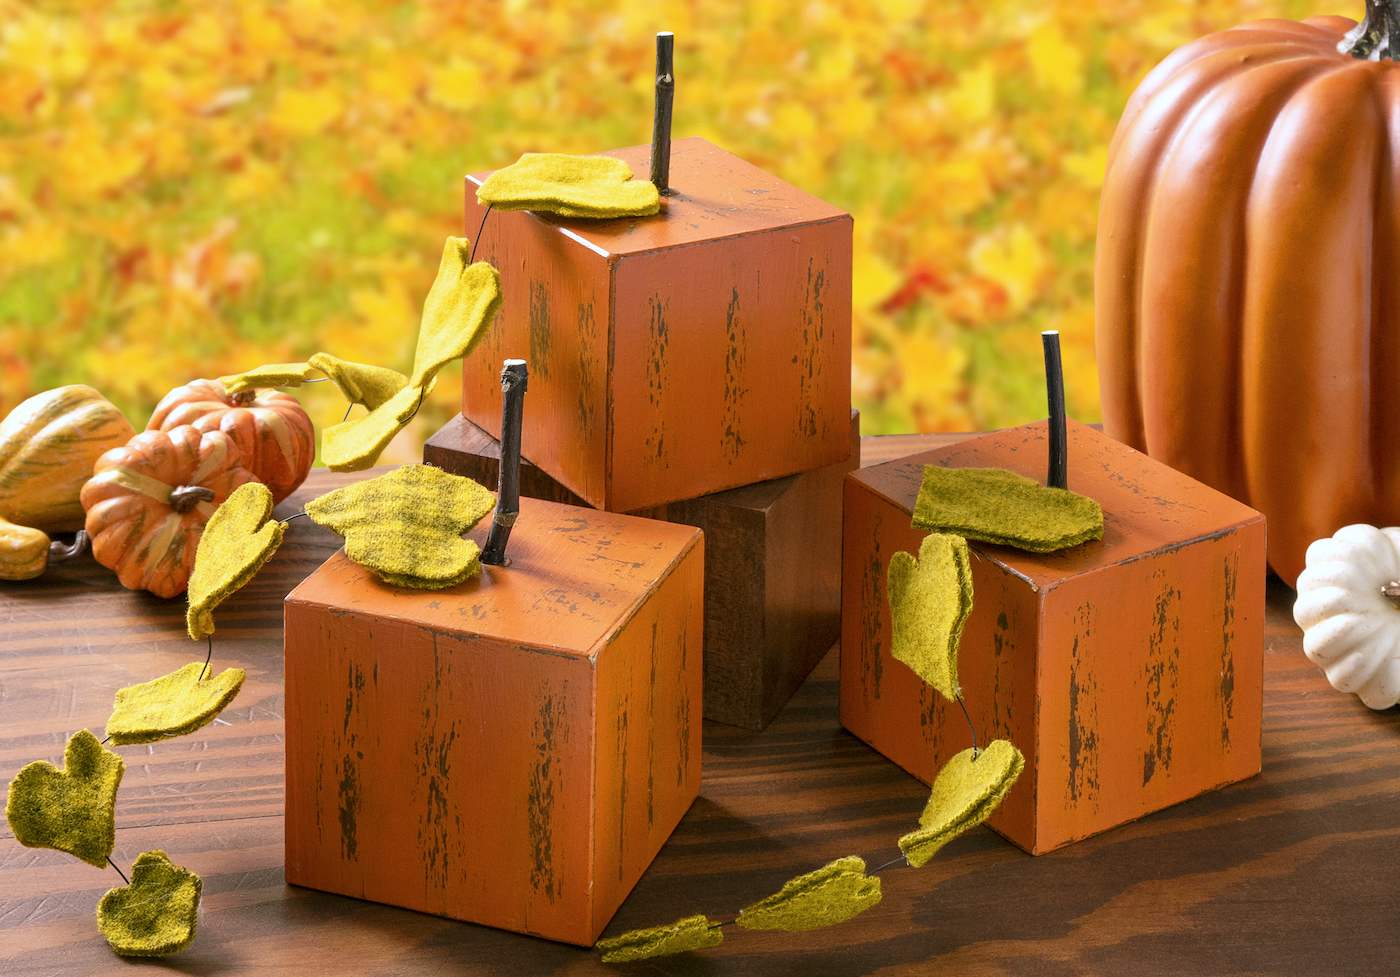
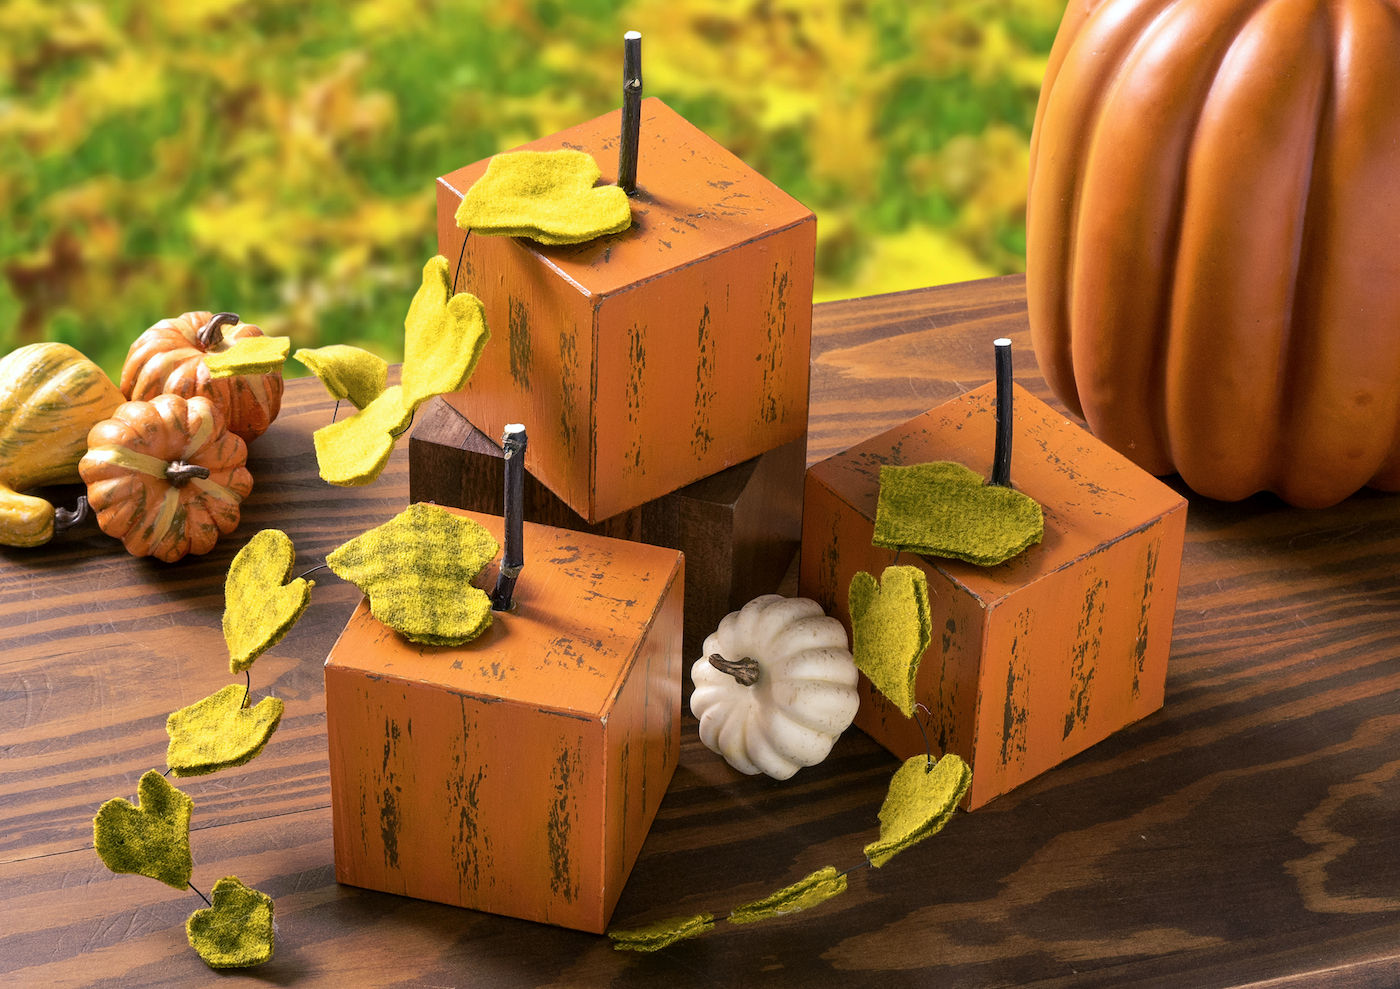
This DIY project transforms wooden blocks into rustic pumpkins using paint, wax, and sanding for a distressed look. After drilling a hole for the stem, you'll add felt leaves on wire and a twig stem. The result is a set of cute, customizable fall decorations perfect for farmhouse style.
You'll need
Directions
- Optionally smooth rough wood blocks with sandpaper. I skipped this because I like the rustic texture—it fits well with vintage, rustic, or farmhouse fall decor.
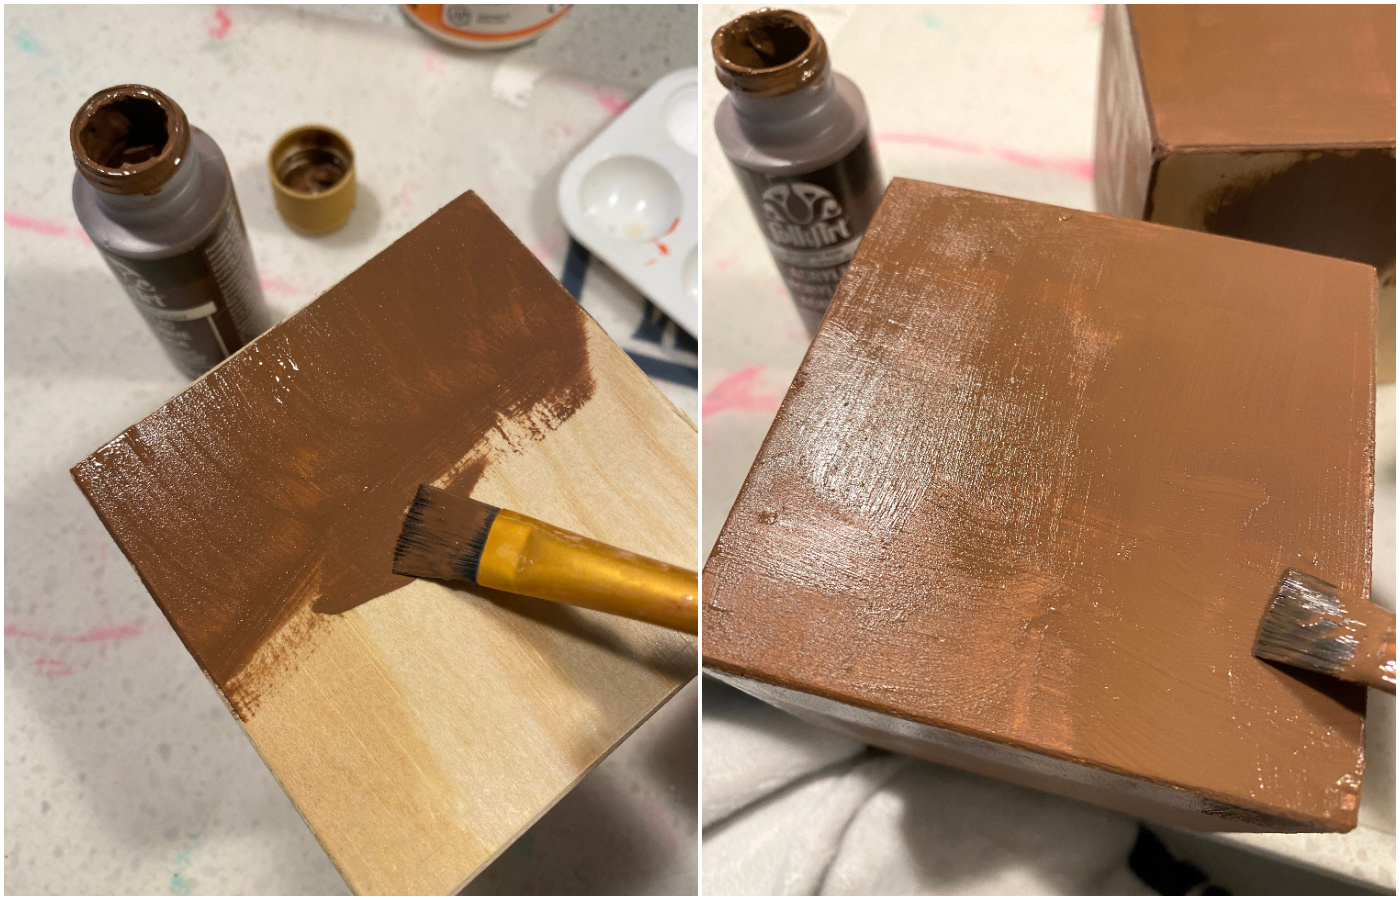
- Using brown craft paint (any acrylic works, like chalk or multi-surface), coat each block completely. Let dry after one layer.
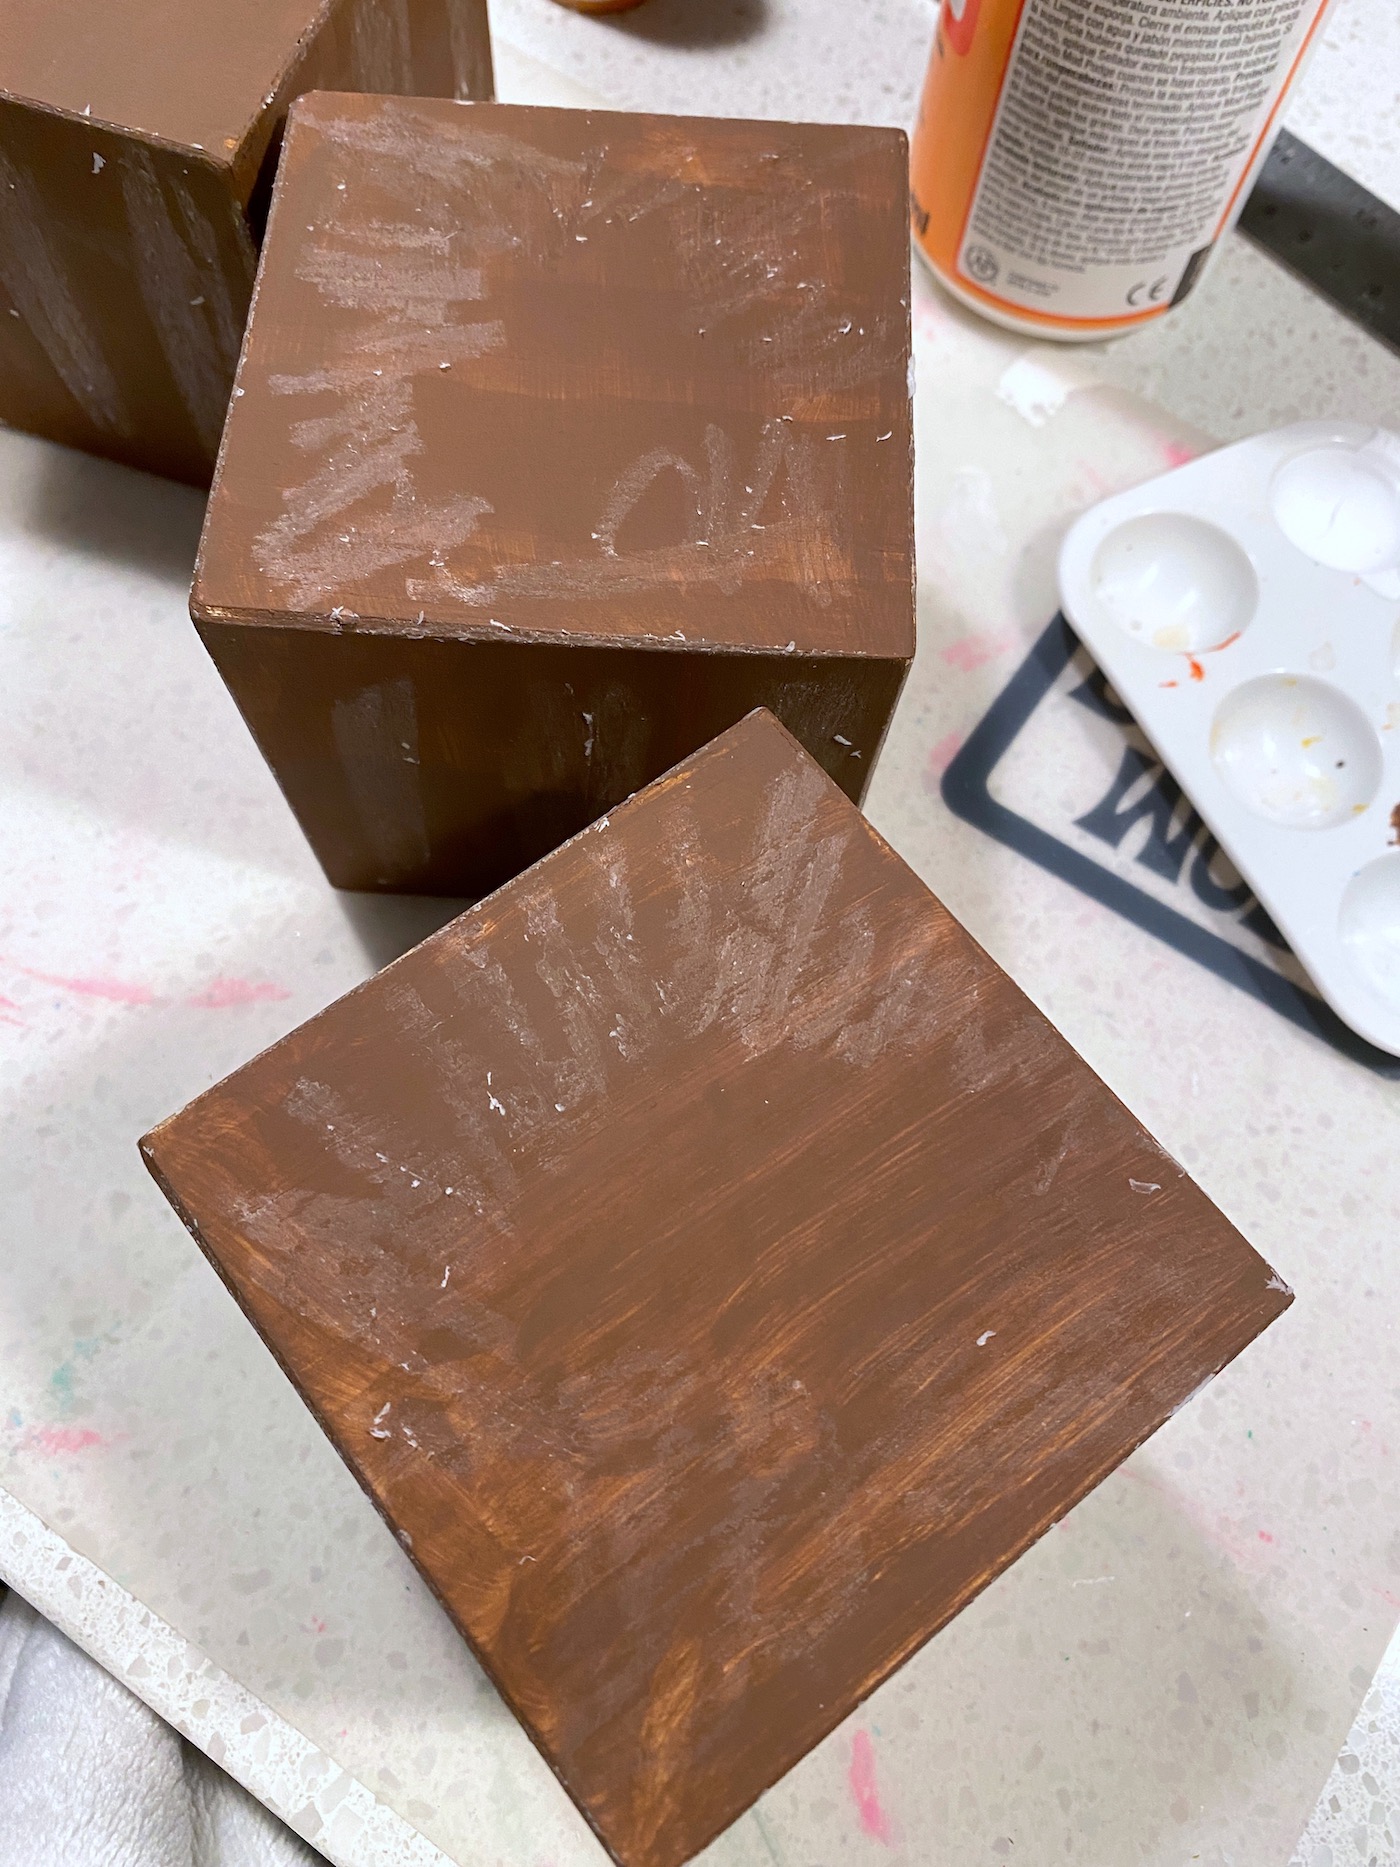
- Once the brown is dry, rub a wax candle or chunk on the edges, top, and down the sides to create vertical bands that mimic pumpkin ridges. Also add a squiggly pattern on the top and bottom, leaving the center open for the stem. Brush off any wax pieces.
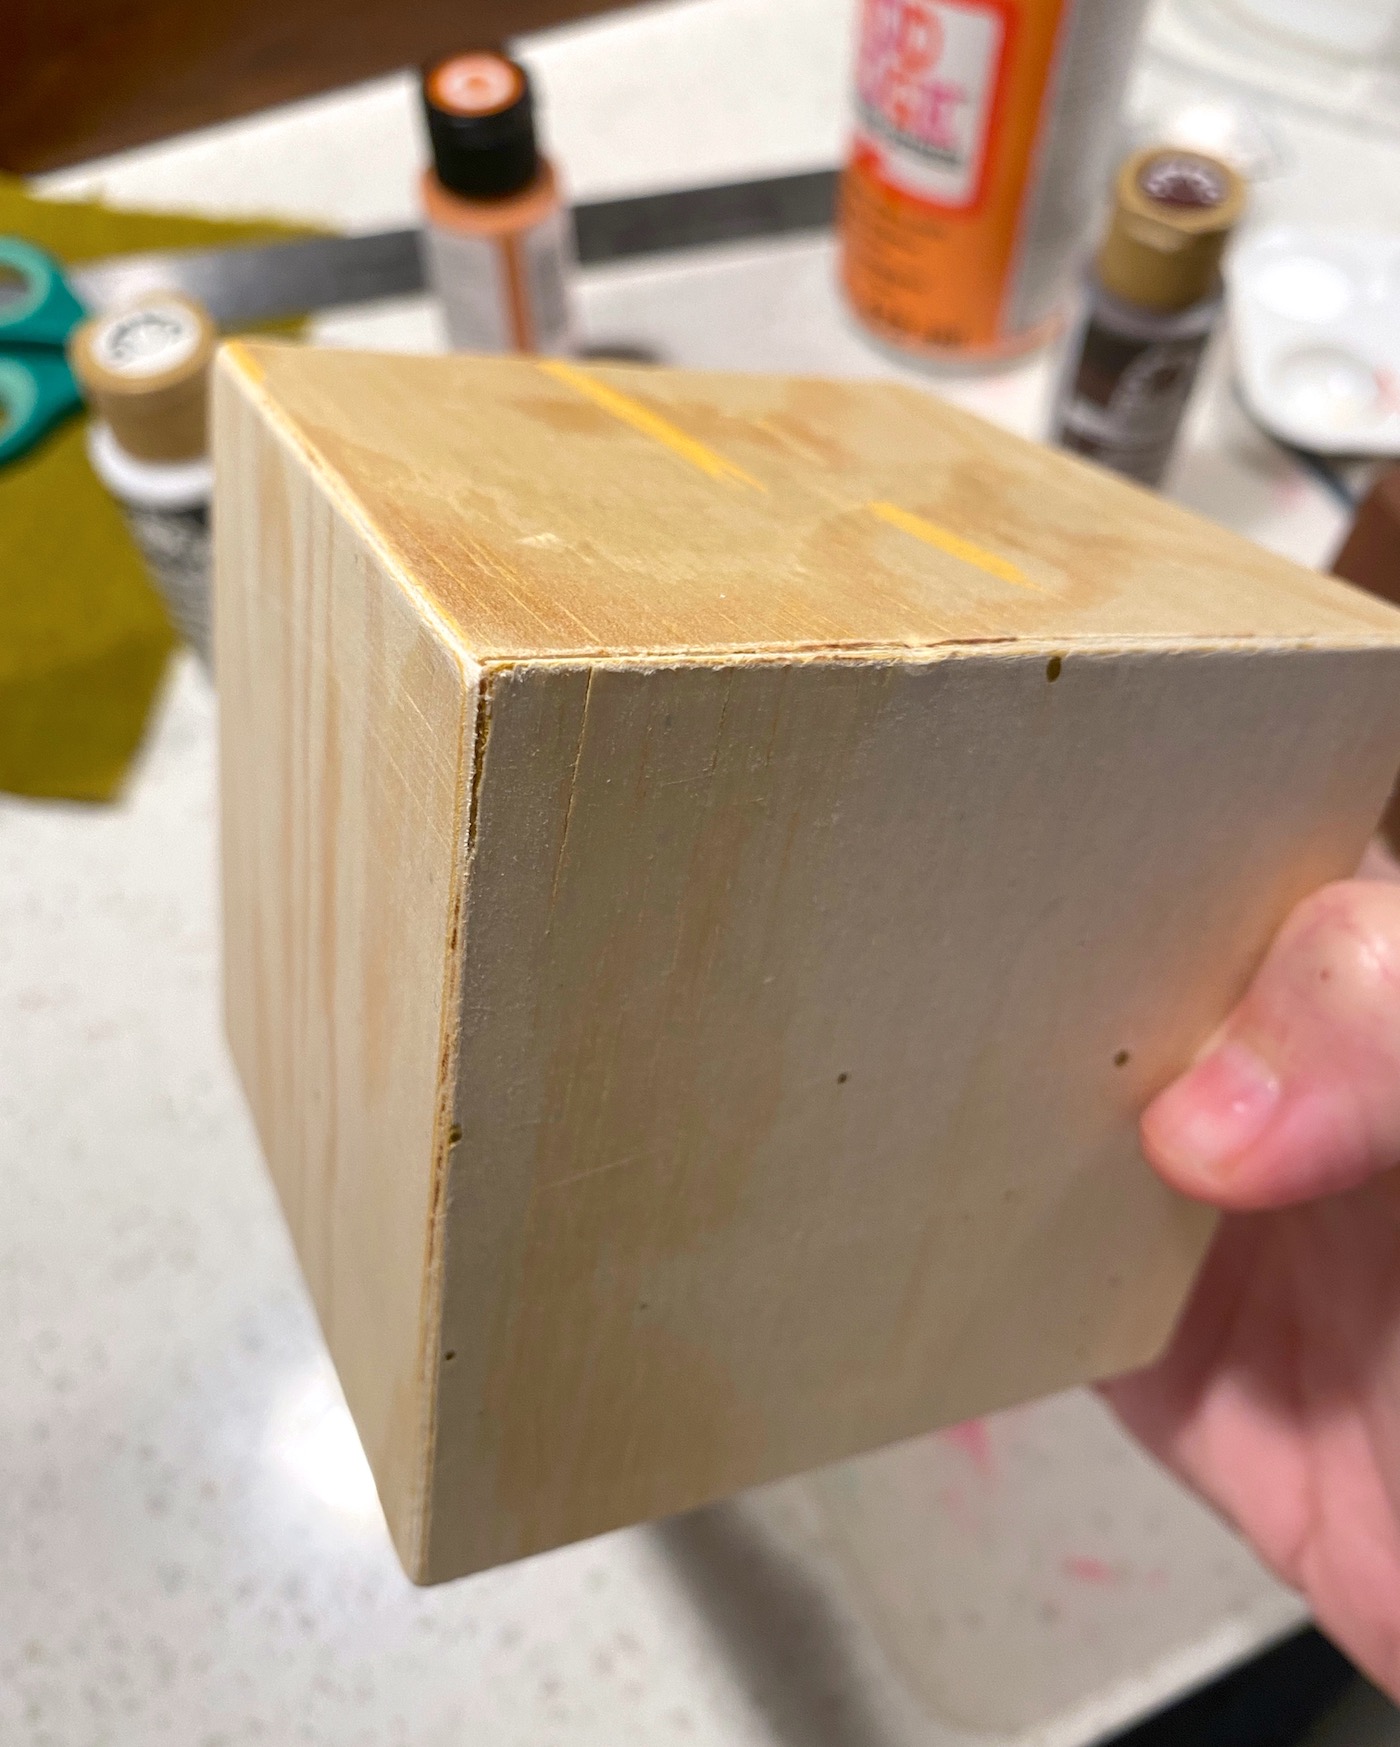
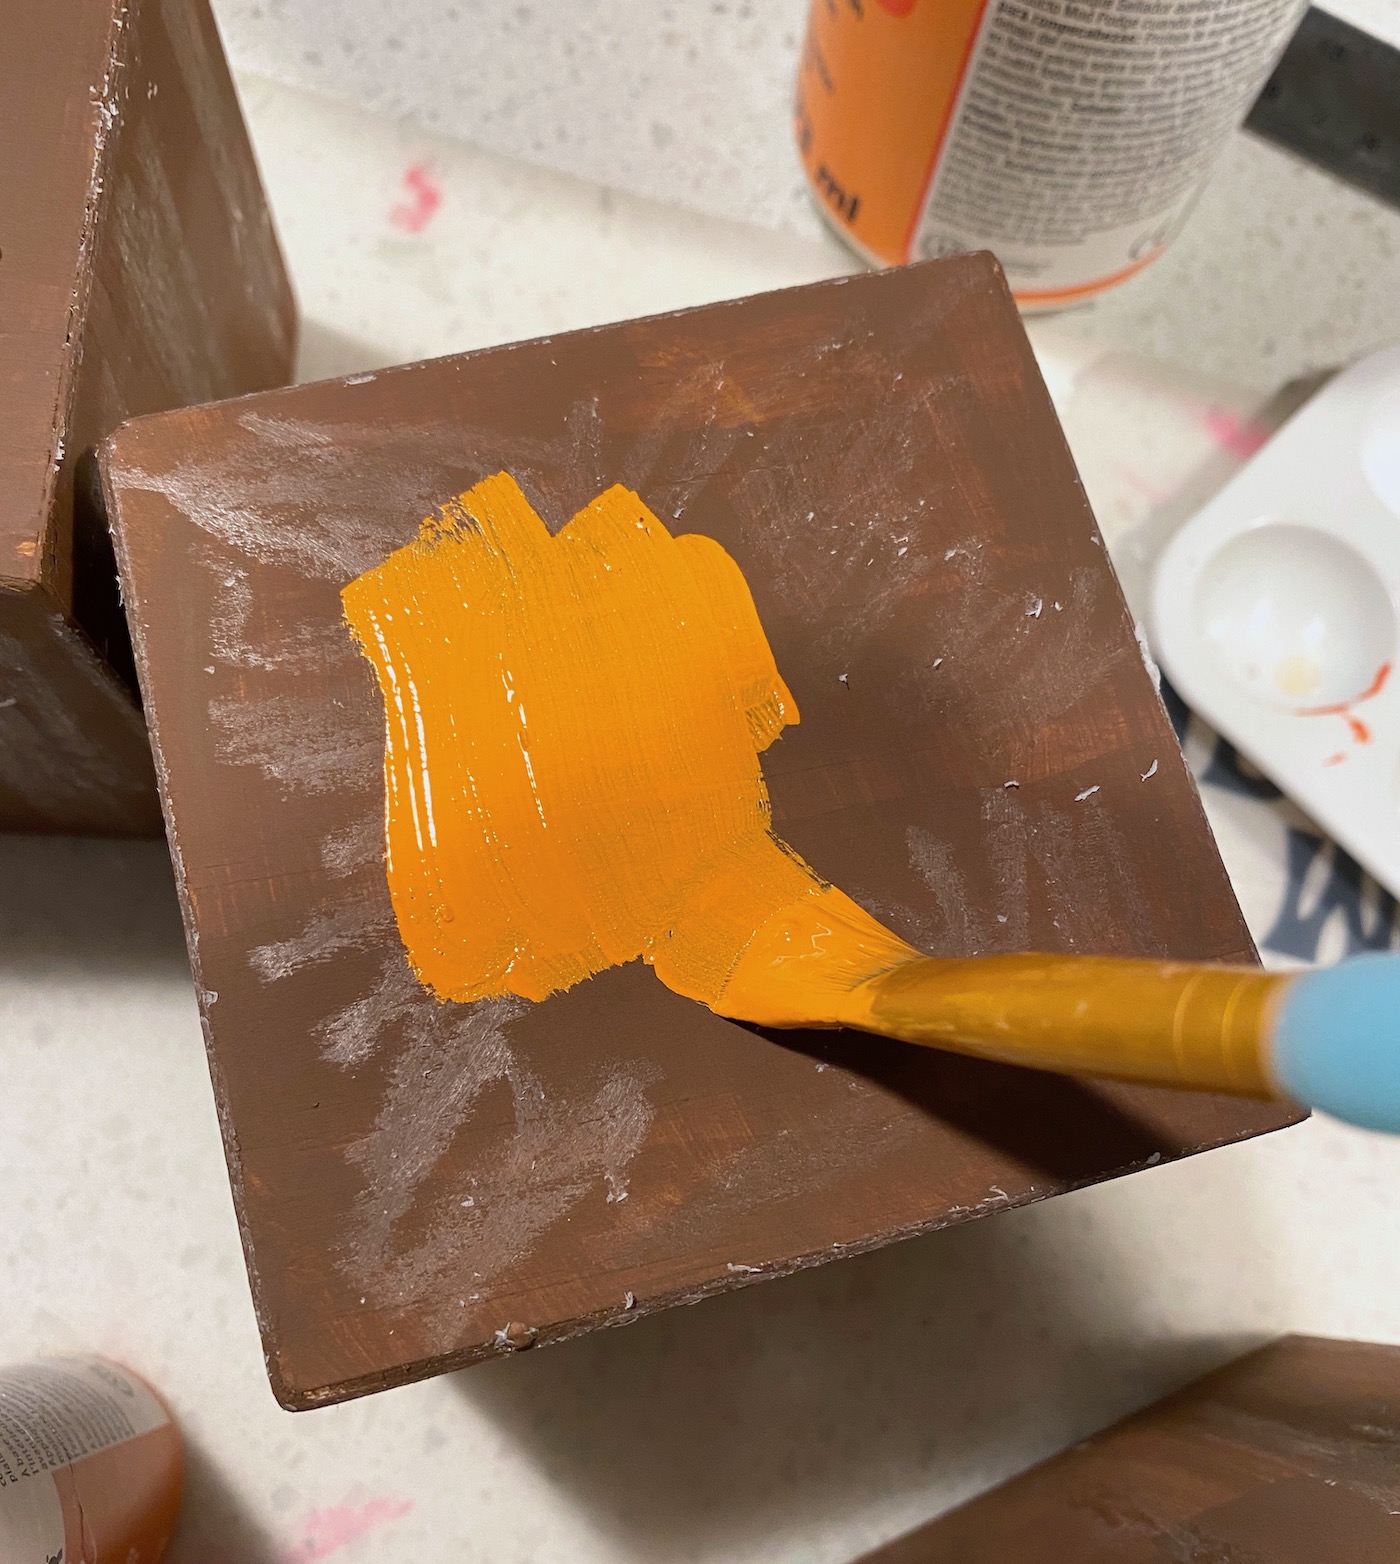
- Apply orange paint over the entire block—the wax doesn't need drying time. Let the orange layer dry completely. I pressed a fingerprint into the wet orange on top so I'd know where to drill for the stem.
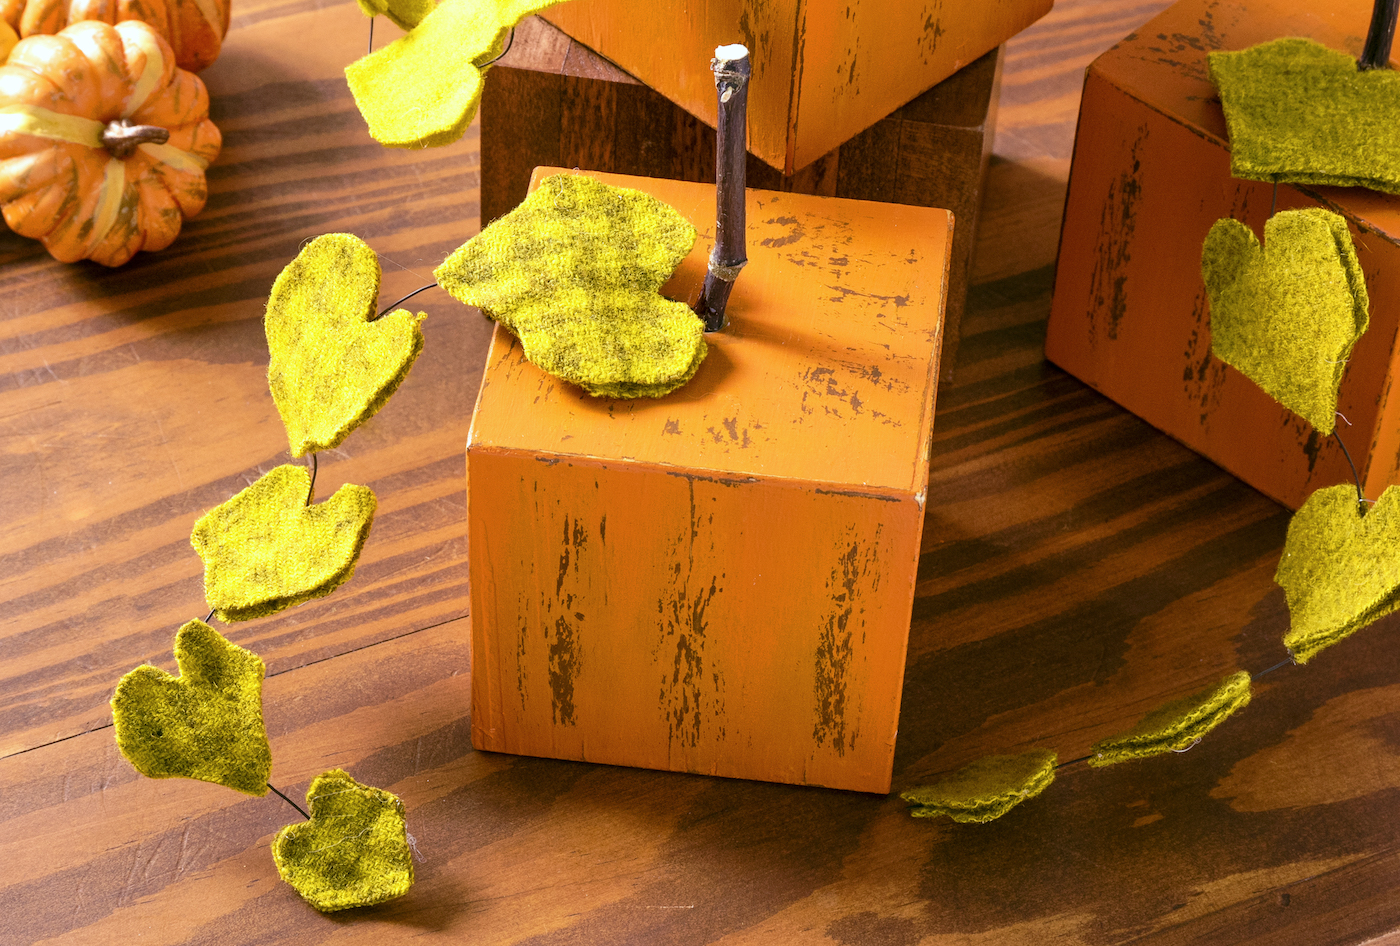
- Sand each block along the edges, bands, sides, and top to reveal the brown underneath. The orange paint lifts easily where wax was applied, so light sanding is enough. Repeat for every pumpkin.
- Group all blocks on your work surface. Pick a drill bit that matches your twig's thickness. Drill into the center top of each block, holding it steady so it doesn't spin. Most wood blocks are hollow inside, so you only need to go shallow.
- Wipe off drilling dust, then brush Mod Podge (Satin, Gloss, Matte, or any formula) onto all sides of each block. Let dry. This adds a subtle sheen and helps even out the orange where you sanded.
- While the Mod Podge dries, create pumpkin leaves. I found a pumpkin leaf image online and printed it at five sizes (top-to-bottom widths: 2", 1 7/8", 1 3/4", 1 5/8", and 1 3/8"). You can also freehand five leaf shapes.
- Cut two felt leaves for each size—you'll sandwich wire between them. You need five pairs per pumpkin. By the time you finish cutting, the Mod Podge should be dry.
- Cut a 12-inch piece of floral wire. Arrange the leaves along it to plan your vine. Place one leaf layer down, the wire on top, then the second leaf layer. Leave extra wire beyond the largest leaf—that end goes into the pumpkin.
- Hot glue the leaf sandwich: put dots of glue all over the bottom leaf, lay the wire, then press the top leaf onto it. Repeat for each leaf.
- After gluing all leaves, snip the wire just below the smallest leaf. Set the vine aside.
- Cut three twigs to about 2 3/4"–3" long for stems. If you lack pruners, a kitchen knife works—be careful. The stems need enough length to fit into the block holes.
- Assemble each pumpkin: bend the vine wire slightly and push it into the hole first. Then add a strong, clear-drying craft glue (like Clear Gorilla Glue or E-6000), wedge the stem in, and add a little more glue around the stem.
- If the stem doesn't go in easily, shave a sliver off with a knife, test again, and repeat. Let everything dry, and your DIY wooden pumpkin is ready to display!
More photos
Photos hosted by modpodgerocksblog.com.





