Front YardNo. 1758 · The 2026 edition
How to Make Spooky Halloween Cheesecloth Ghosts (Easy DIY Tutorial)
Our own summary of the original — the full post and photos live at theidearoom.net.
You'll need
Directions
- Blow up the balloon so that it fits into the jar and pokes up a bit to create the head of the ghost.
- Attach the pipe cleaners to the top of the jar. I screwed the lid over the end of each pipe cleaner to hold it in place. Then I bent the pipe cleaners so that they looked like the ghosts arms. Be sure to dip them in the middle a little and have them pulled forward a bit. They look more realistic this way.
- Place the ghost form on a cookie sheet.
- Take your cheesecloth and drape it over the form. Be sure to leave enough cheesecloth on the sides and pooled down in front and back until you like the length of the material.
- With scissors, cut the cheesecloth after you have determined how you want it to lay.
- Fill a bowl with your liquid starch and soak the entire piece of cheesecloth in it.
- Squeeze out the excess liquid starch from the cheesecloth.
- Drape the cheesecloth over the form again. Be sure to place the material exactly where you want it to lay and in the position you want your ghost to be when finished.
- Let dry.
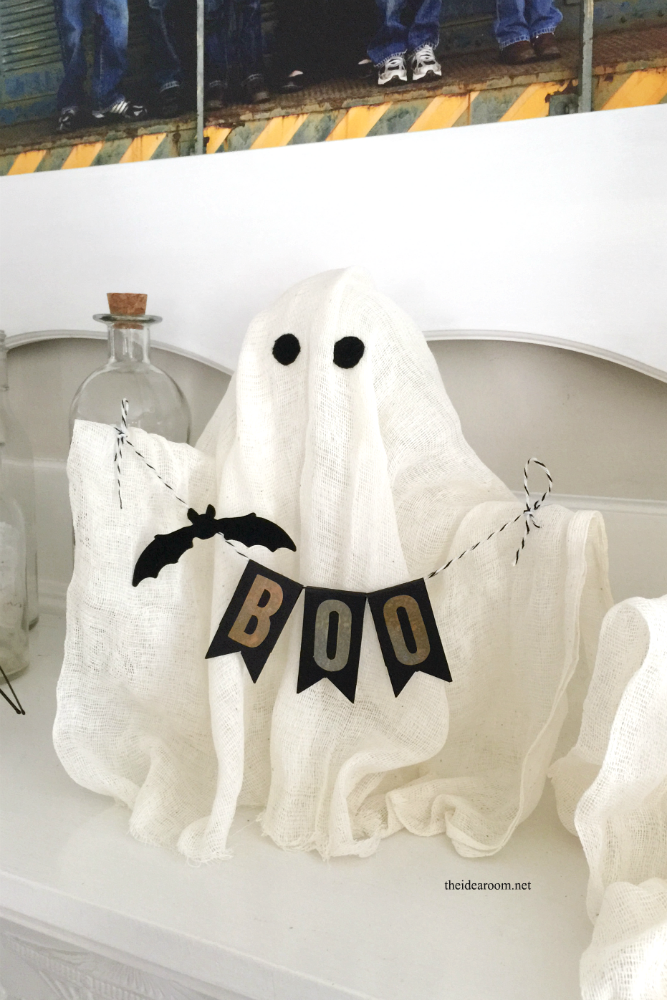
- When completely dry, cut out some eyes for your ghost out of some black felt and create a little halloween bunting for the ghost to hold if you want to.
- To attach the bunting, I simply threaded a needle with some baker’s twine and poked a hole through the cheesecloth where the hands would be and then tied the end into a looped knot to tie it off on each arm of the ghost.