Dollar Store HacksNo. 8719 · The 2026 edition
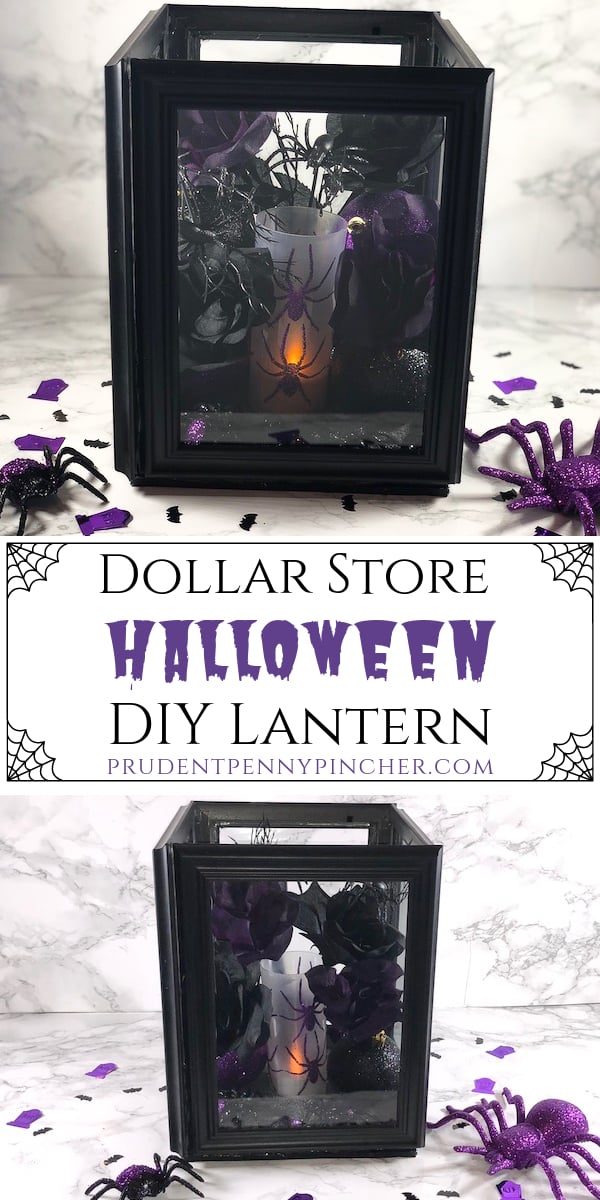
Dollar Store DIY Halloween Lantern
Turn cheap picture frames into a spooky lantern in just a few easy steps!
Our own summary of the original — the full post and photos live at prudentpennypincher.com.
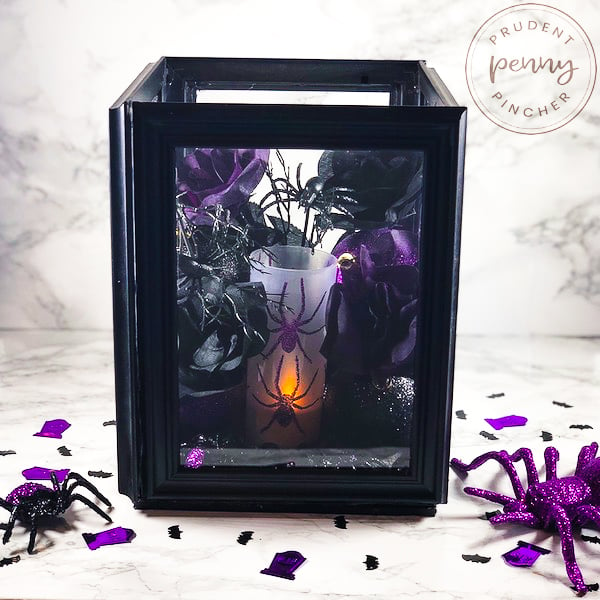
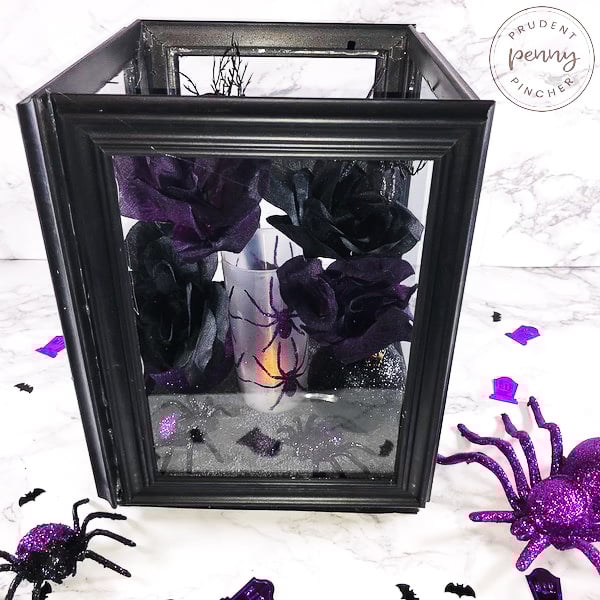
This budget-friendly DIY transforms four black picture frames and foam board into a stylish Halloween lantern. The instructions guide you through removing the glass, assembling the frame cube, and adding a foam base for a sturdy, glowing decoration. Perfect for a centerpiece or porch display!
You'll need
Directions
- Take out any plastic covering, the back panel, and any picture inserts from all four frames.
- Bend back the small metal tabs on each frame to release the glass, then lift the glass out. If you skip pulling the tabs, they'll be visible inside your finished lantern.
- Apply a line of hot glue along the inner ledge where the glass originally sat, then set the glass back in place and press lightly.
- Glue the side edges of the frames together, making sure they line up straight. Press tightly for about a minute while the glue sets. Use plenty of glue for a strong bond, and add extra glue along the inner seams for reinforcement.
- Place the assembled lantern on the black foam board and trace around its bottom with a pencil or marker.
- Using scissors or a craft knife, cut along the traced line to create the base piece.
- Attach the foam board base to the underside of the lantern with hot glue.
More photos
Photos hosted by prudentpennypincher.com.