Painted PumpkinsNo. 9478 · The 2026 edition
Easy Wooden Pumpkin Craft: Paint and Decorate Your Own!
Transform simple wood cutouts into charming fall decor with napkin decoupage and a distressed stem technique!
Our own summary of the original — the full post and photos live at modpodgerocksblog.com.
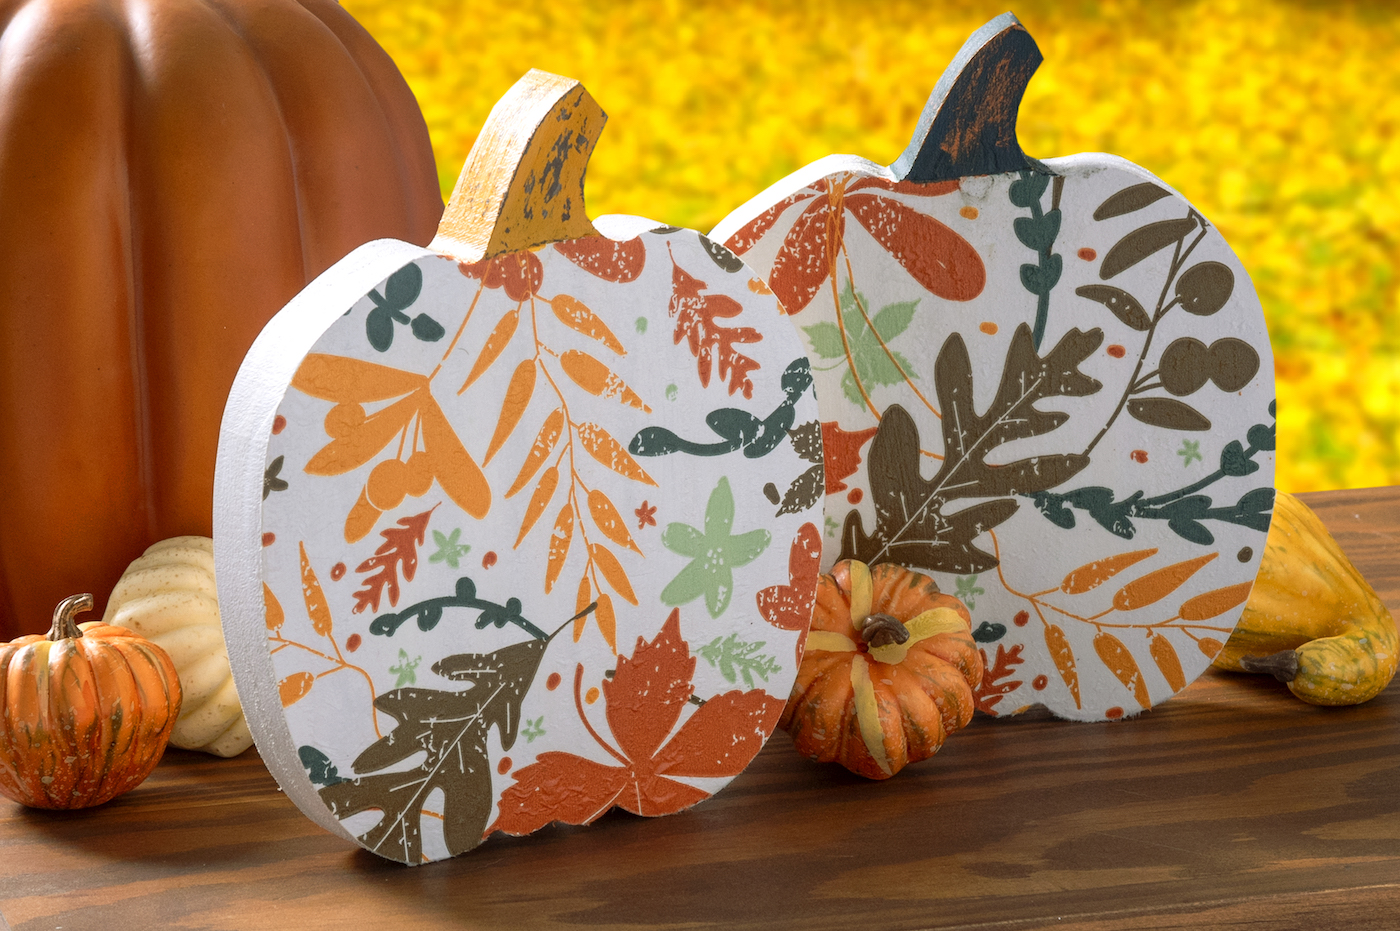
This project uses napkins to add patterned designs to wooden pumpkins. After prepping and painting the wood, you'll transfer napkin images using Mod Podge and heat, then paint and distress the stem for a layered look. The result is a unique, customizable decoration perfect for autumn.
You'll need
Directions
- If your wood shape has rough edges, you can smooth them with sandpaper or leave them for a rustic look. Also remove the price tag.
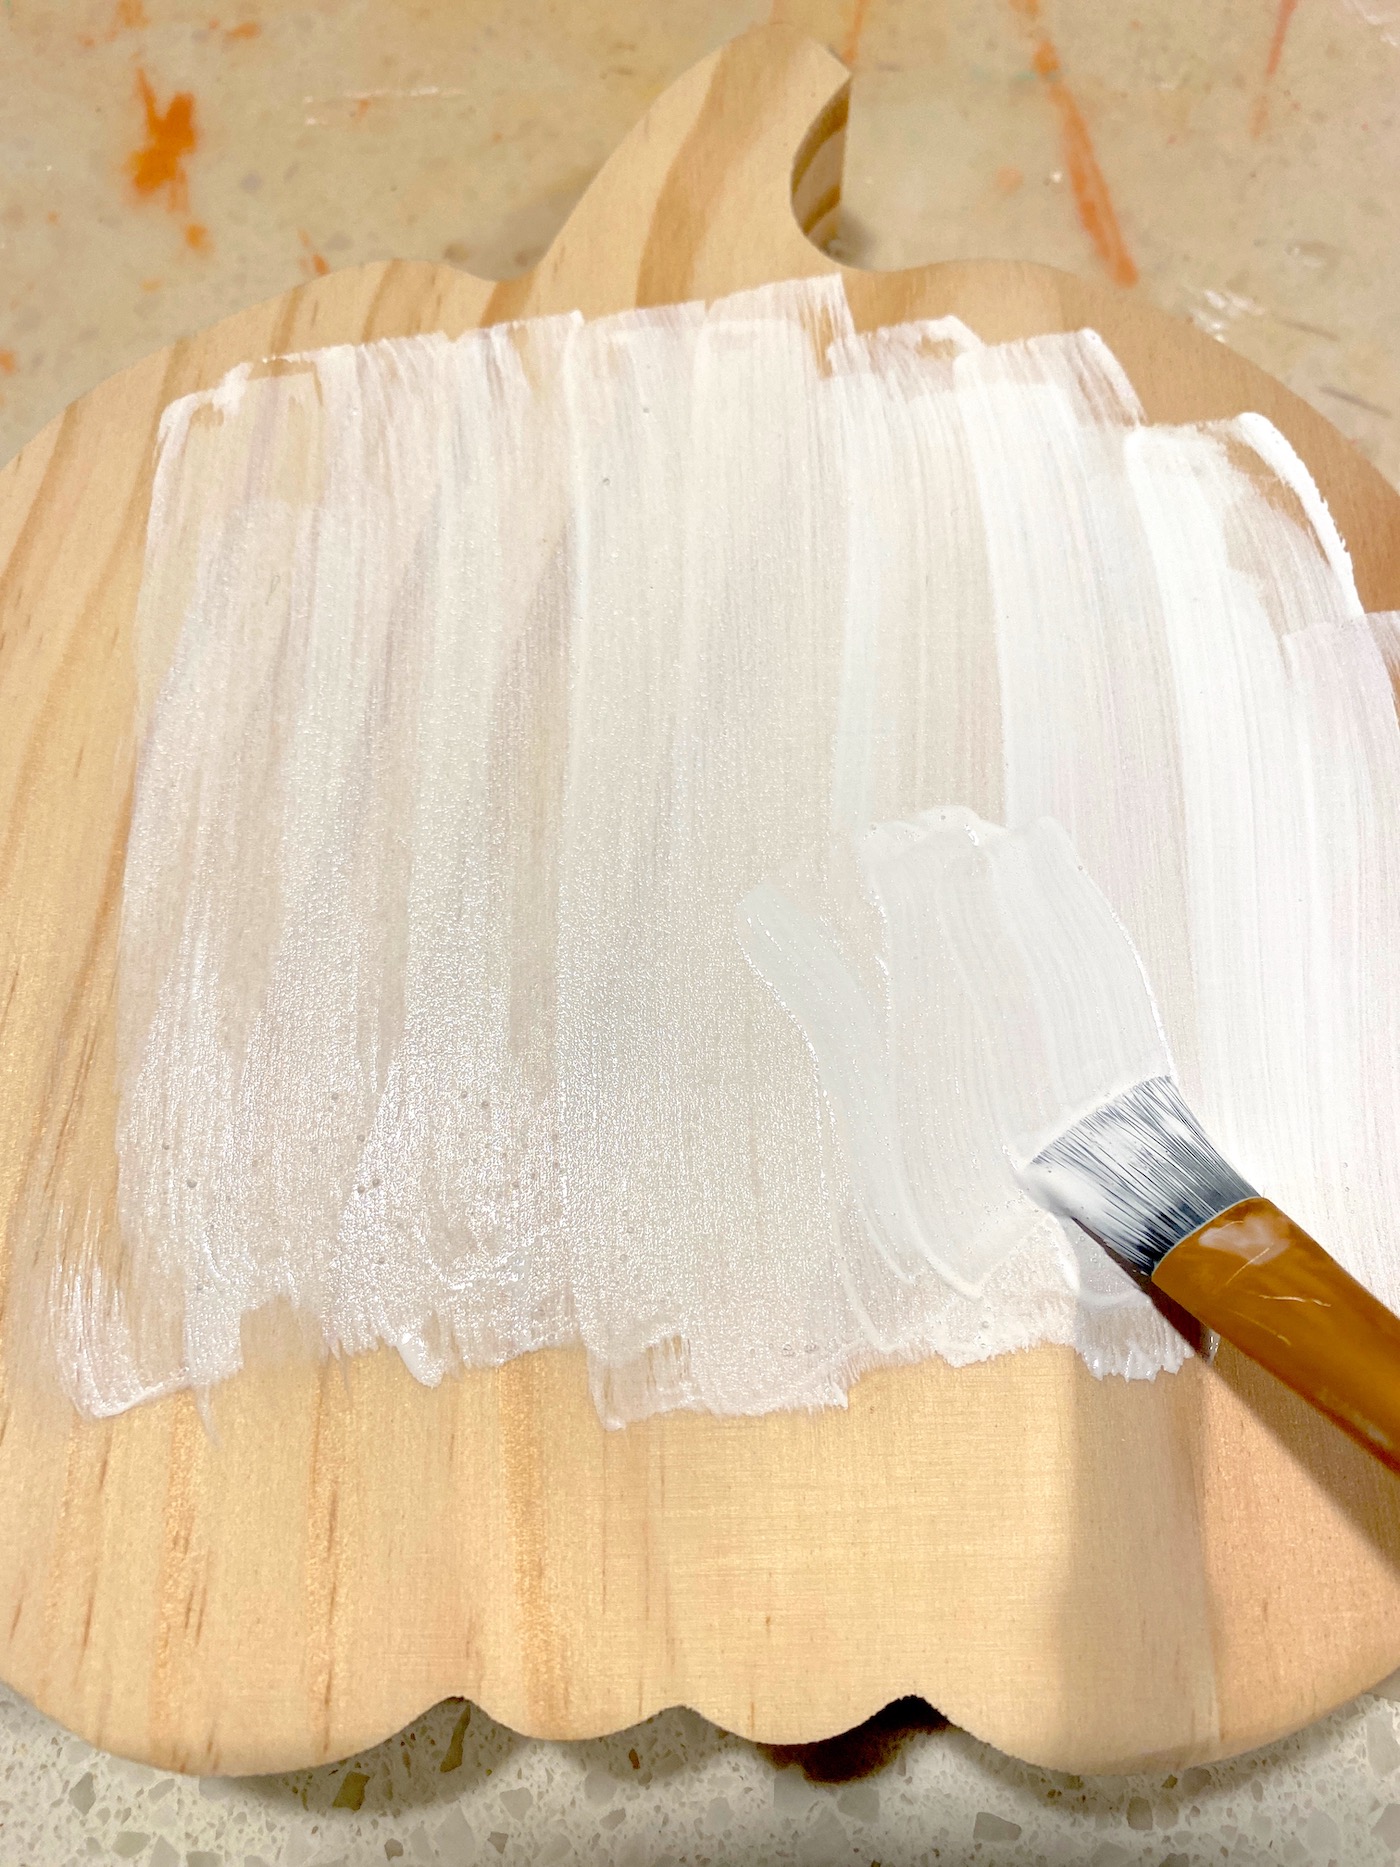
- Paint the entire pumpkin—front, back, and sides—with white paint. Apply several coats, letting each coat dry completely between applications.
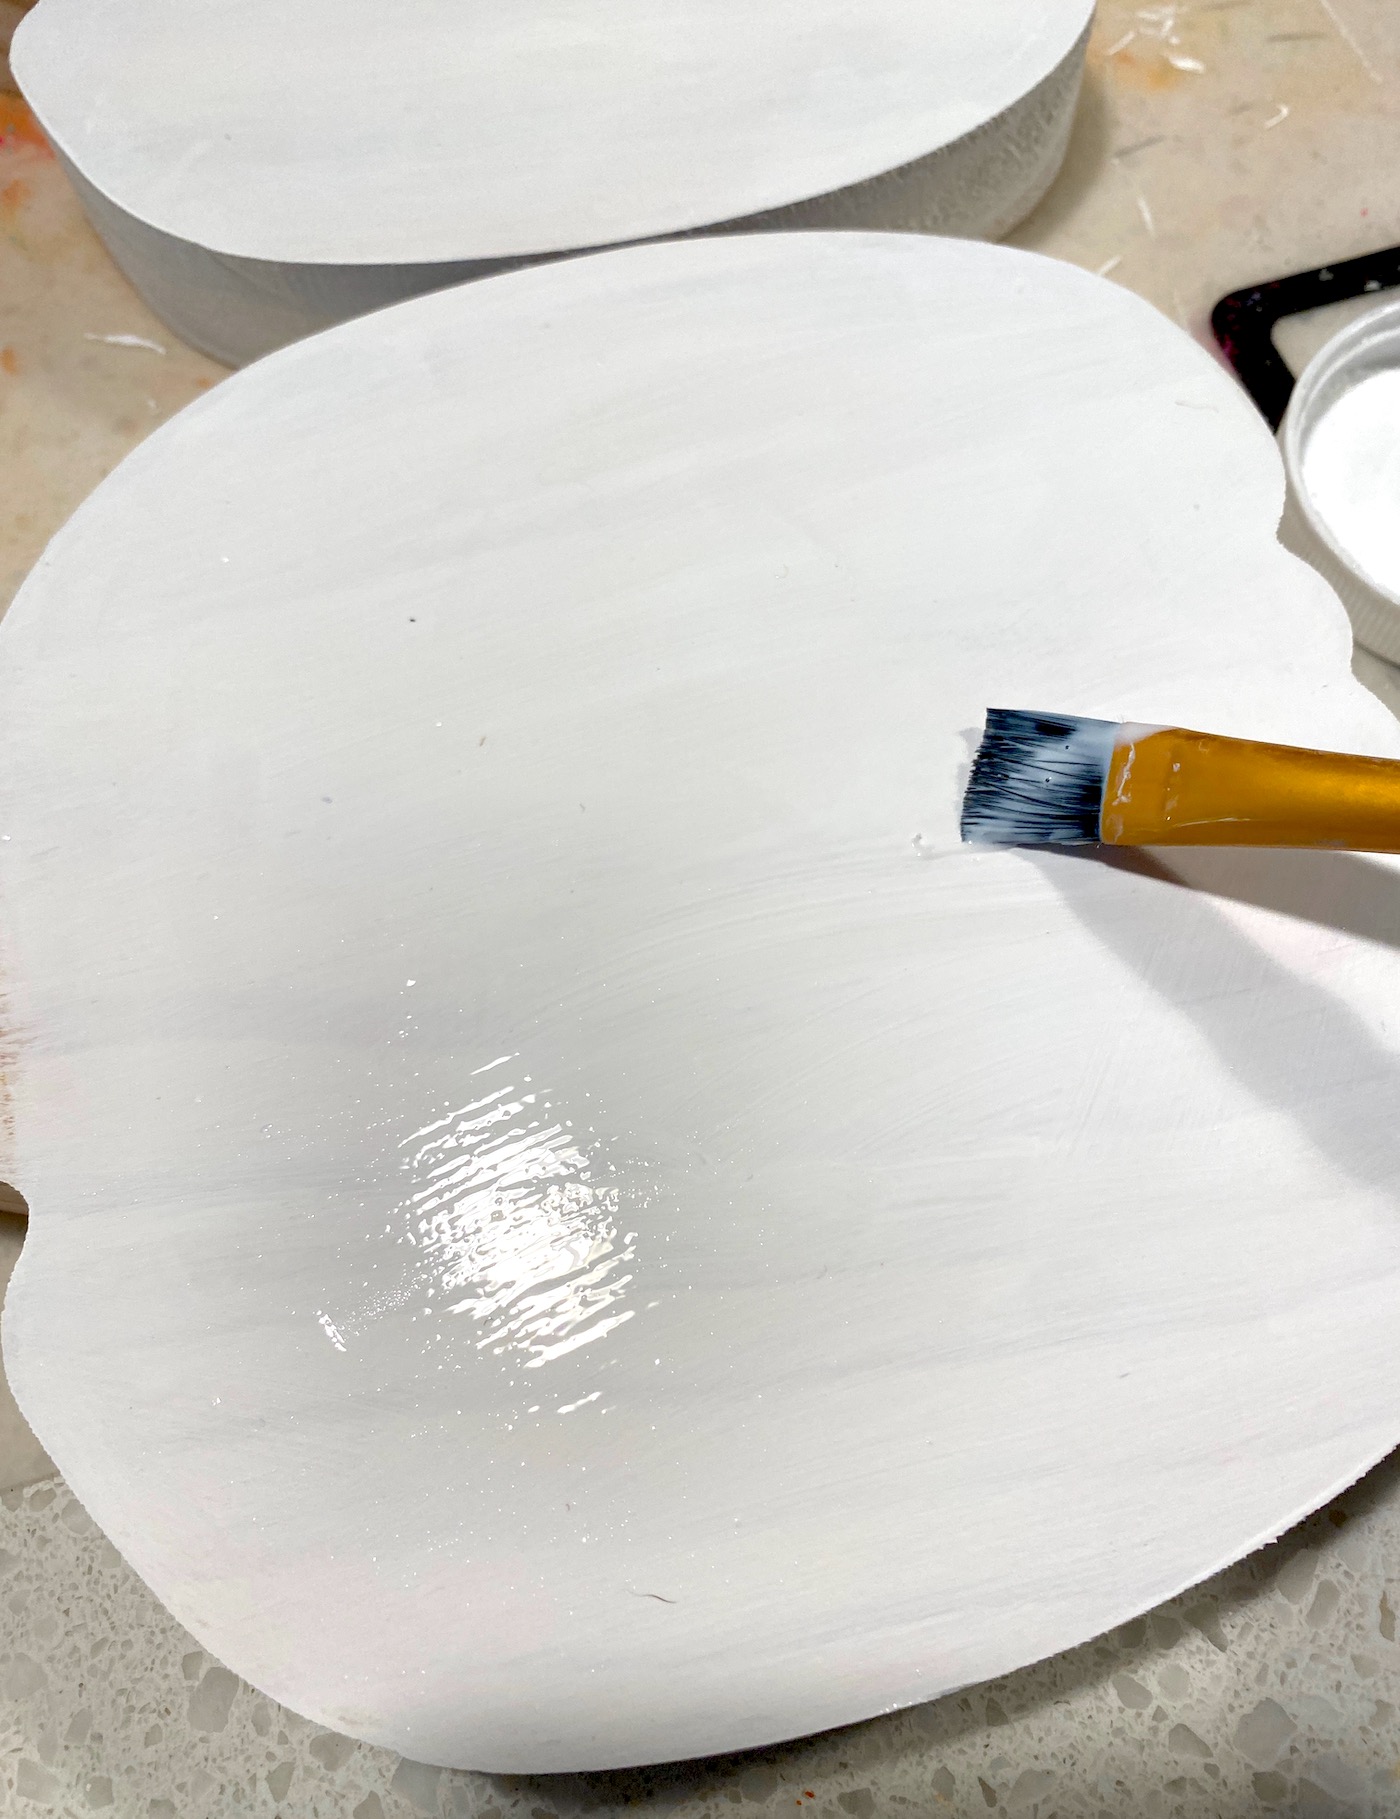
- Once the paint is dry, apply two coats of Mod Podge to the front of the pumpkin, covering the edges but avoiding the stem. Let the first coat dry before applying the second. The Mod Podge will dry clear.
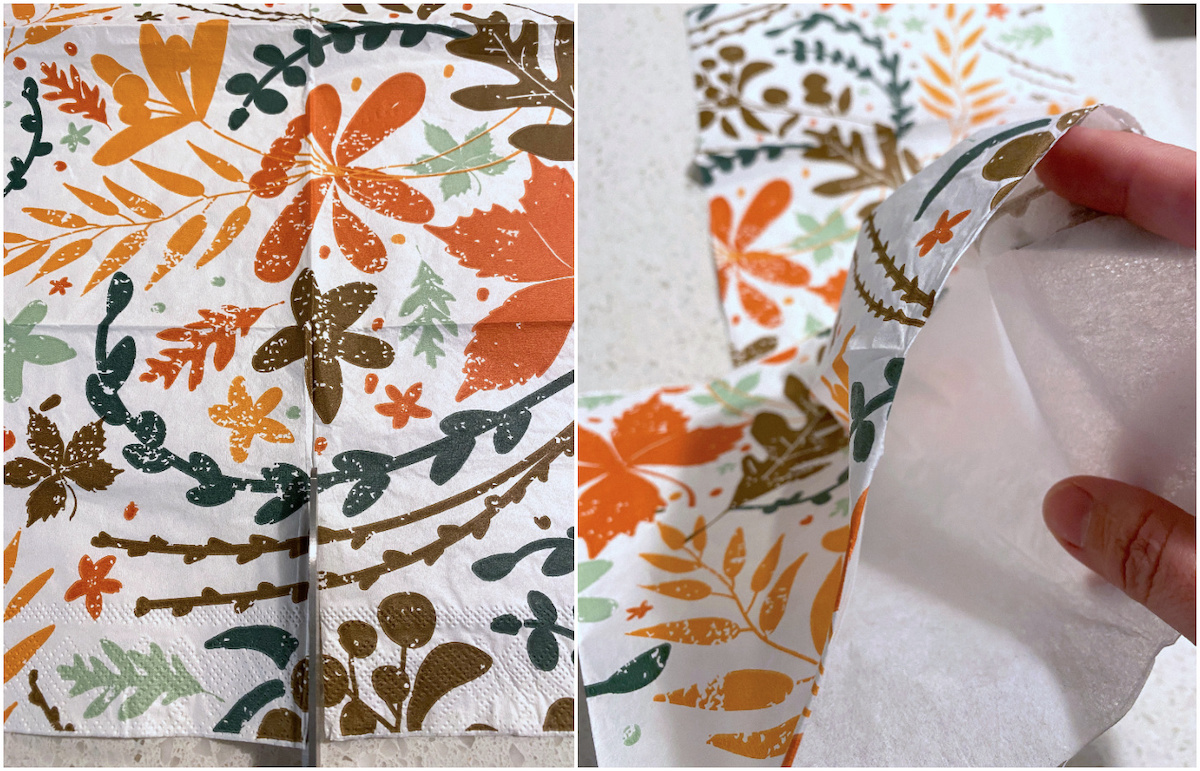
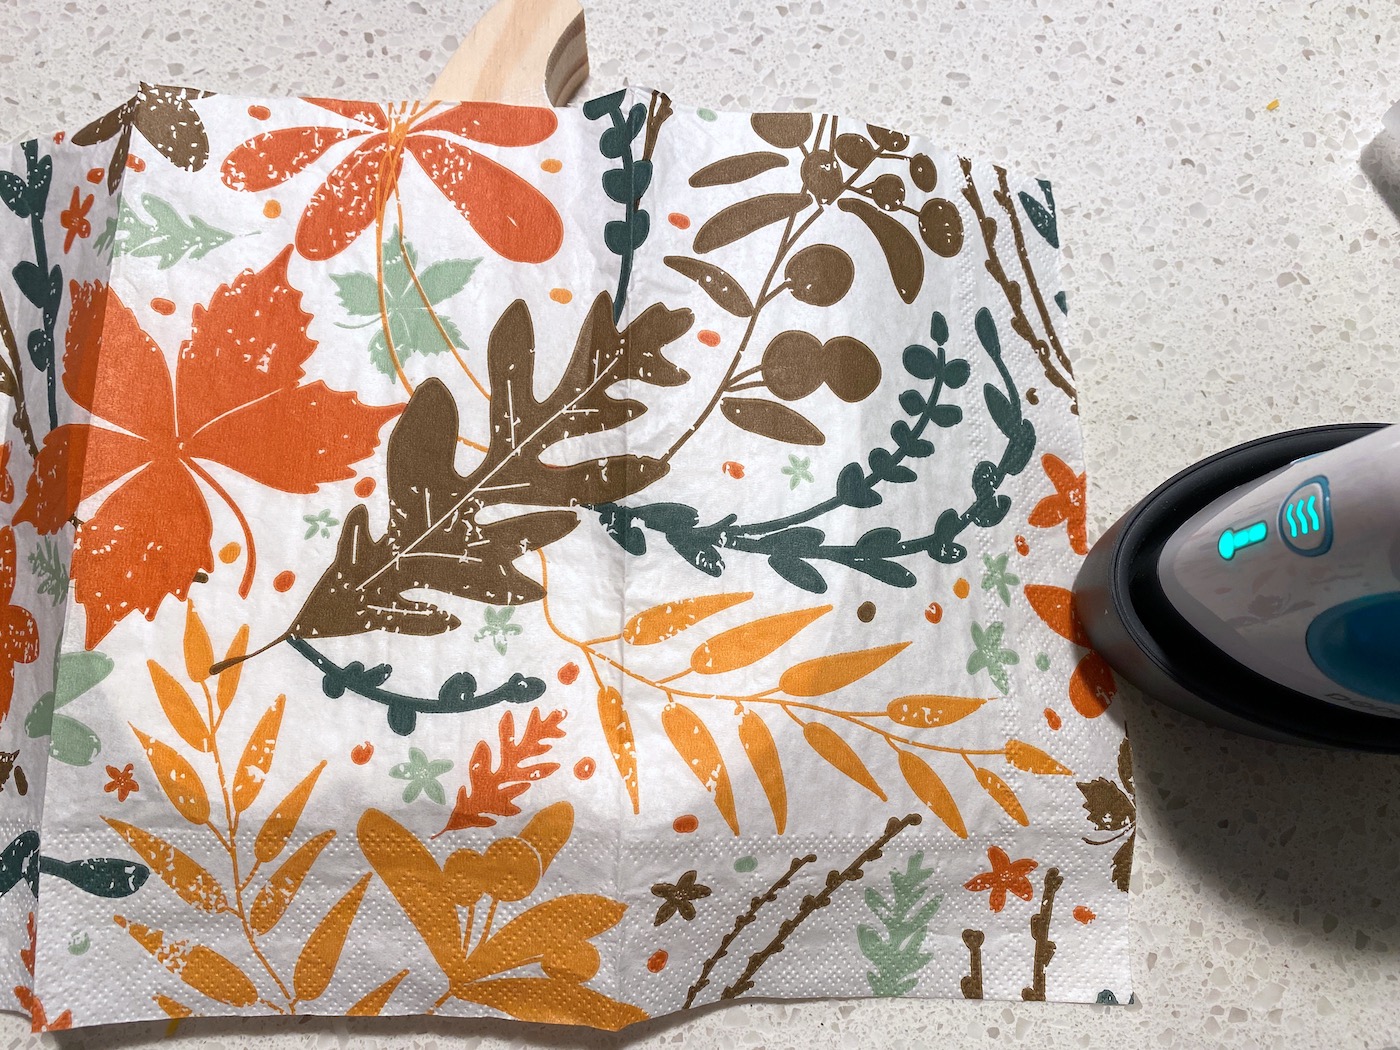
- While the Mod Podge dries, separate the napkin layers. Cut the napkin slightly larger than the wood shape. Gently rub the layers apart, or use a piece of Scotch tape on a white corner to pull them apart.
- Place the wood piece with the Mod Podge side up on your work surface. Position the napkin on the pumpkin as desired. Set your mini craft iron to the highest setting (level three). If using a regular iron, set it to medium heat with no steam.
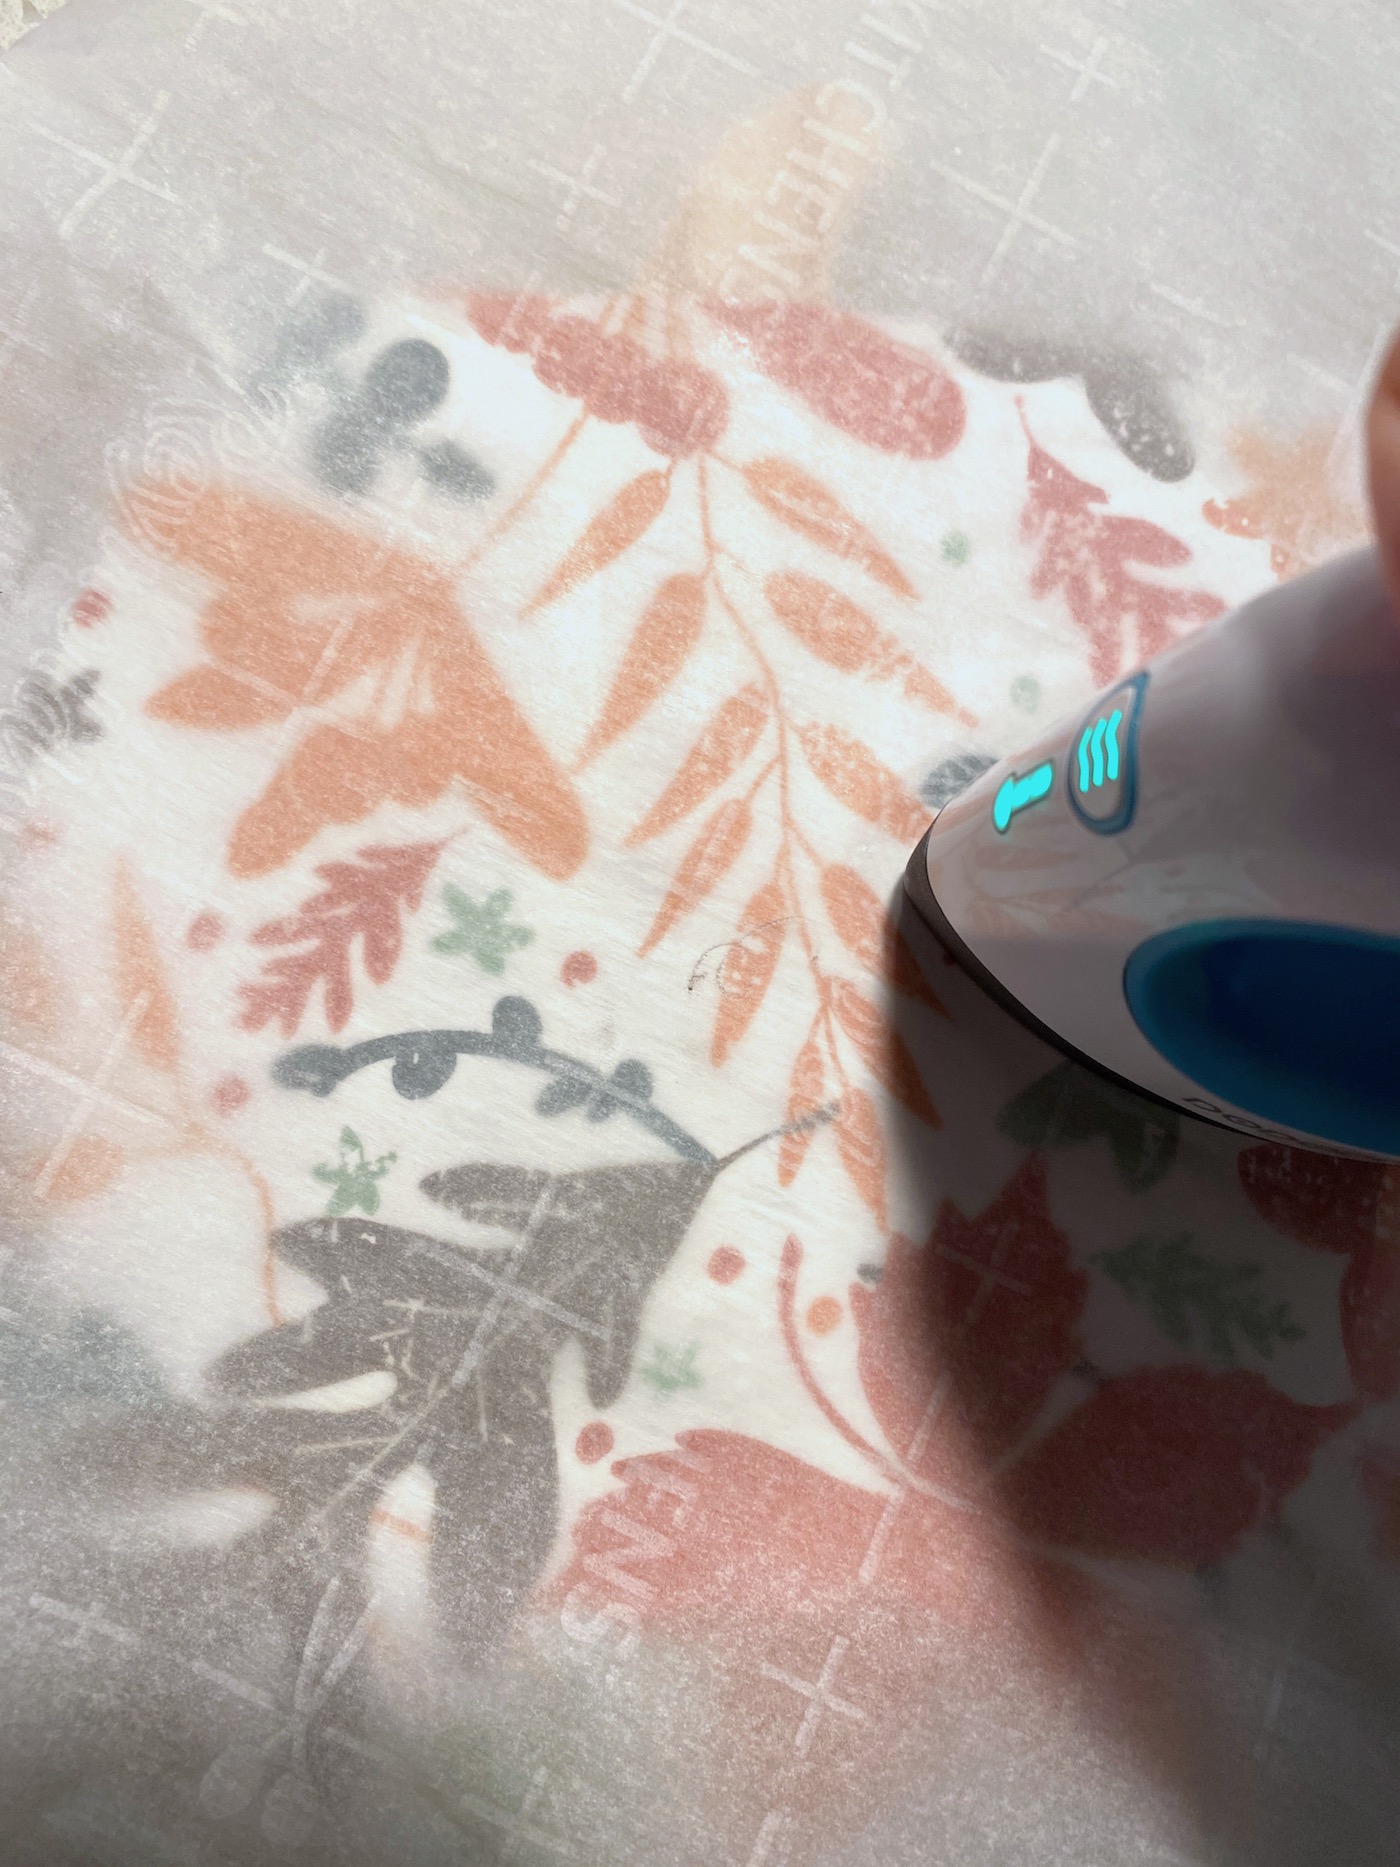
- Lay a piece of parchment paper over the napkin and run the iron across it several times. The heat melts the Mod Podge, adhering the napkin. Continue until the napkin is fully attached, usually a minute or two for a small surface. Lift the parchment to check for missed spots.
- Remove the parchment paper and let the pumpkin cool. The surface should be fairly smooth. Turn the pumpkin over and use a craft knife to trim the excess napkin around the edges, including the stem area.
- Now paint the stem. Apply a base coat of paint (such as orange) to the stem and let it dry.
- Rub a piece of white or light-colored wax over the stem, covering the front and sides.
- Paint over the stem and the wax with a second color. Let it dry.
- Lightly sand the stem on the edges, front, and sides to reveal the base paint underneath. The wax acts as a resist, creating a distressed look.
- Optionally, seal the napkin front by applying two coats of Mod Podge, letting each dry. Note that sealing may cause a few bubbles or wrinkles in the napkin, but it adds protection. If desired, you can place parchment over the napkin and iron again to smooth them.
More photos
Photos hosted by modpodgerocksblog.com.





