Painted PumpkinsNo. 2910 · The 2026 edition
EYE’M WATCHING YOU \ DIY Tattooed Pumpkins with Printable Eyes
Transform plain white pumpkins into spooky, watchful companions with this easy DIY project using temporary tattoos!
Our own summary of the original — the full post and photos live at theproperblog.com.

This project guides you through applying temporary eye tattoos to white mini pumpkins using a printable sheet and inkjet printer. Key steps include printing on the glossy side, allowing the ink to dry, adhering the backing sheet, smoothing out bubbles, cutting out the designs, and transferring them to the pumpkin with a damp paper towel for a custom, tattooed look.
You'll need
Directions
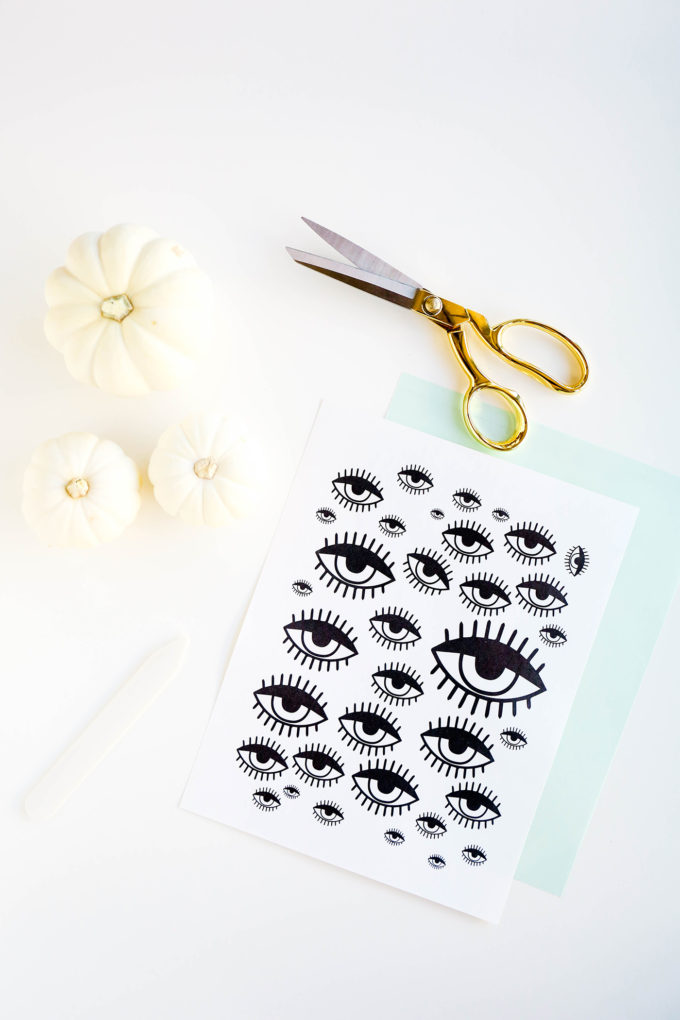
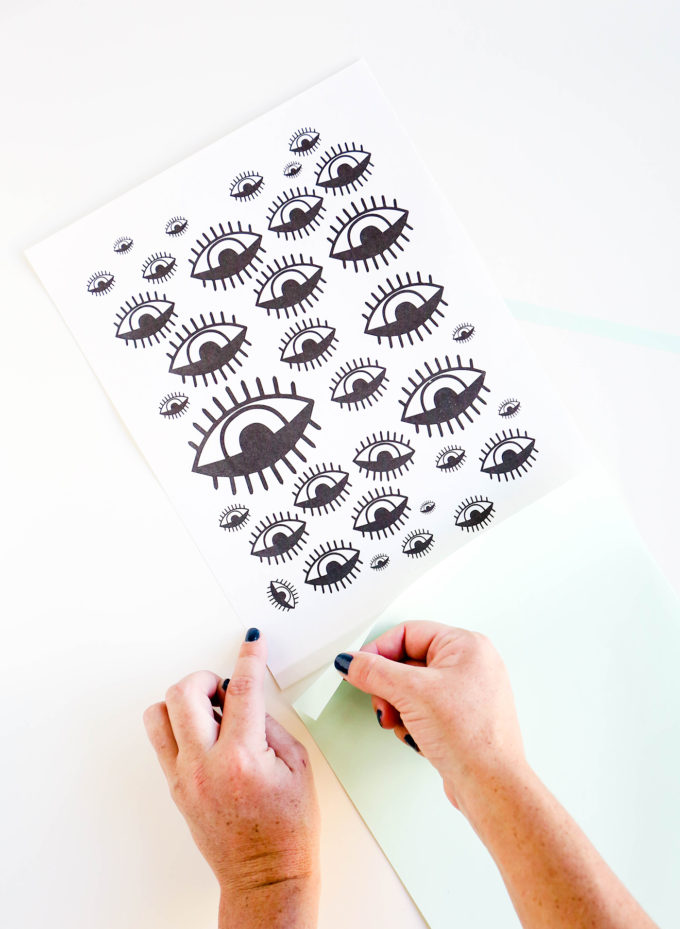
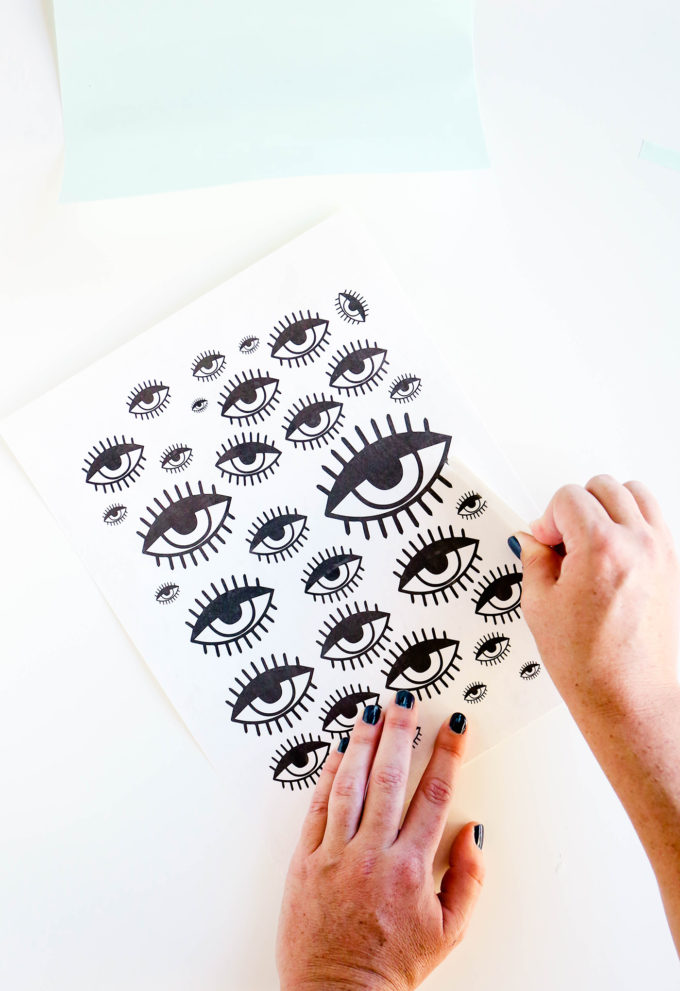
- Download the eye design file and print it onto the glossy surface of the temporary tattoo paper. Let the ink set for about 15 to 20 minutes. Position the clear backing sheet over the printed images, aligning the edges carefully. Lift one corner of the backing, then slowly press it down across the entire surface to bond it to the ink.
- Run a bone folder or a flat wooden stick over the paper to push out trapped air pockets, ensuring a perfectly flat surface for crisp results.
- Carefully cut out each individual eye design, staying as close to the inked edges as you can.
- Peel off the clear plastic layer from the back of a cut-out tattoo. Position it face-down on your white mini pumpkin, arranging it wherever you like.
- Take a damp paper towel and press it firmly against the tattoo backing for 15 seconds to saturate the paper. Gently slide the backing off, leaving the ink design on the pumpkin skin.
- If any edges look uneven, lightly dab the area again with the damp towel to blend the design seamlessly.
More photos
Photos hosted by theproperblog.com.





