Painted PumpkinsNo. 5703 · The 2026 edition
Glow in the Dark Pumpkins
Transform ordinary gourds into radiant Halloween decorations with this simple glow-in-the-dark project!
Our own summary of the original — the full post and photos live at onelittleproject.com.
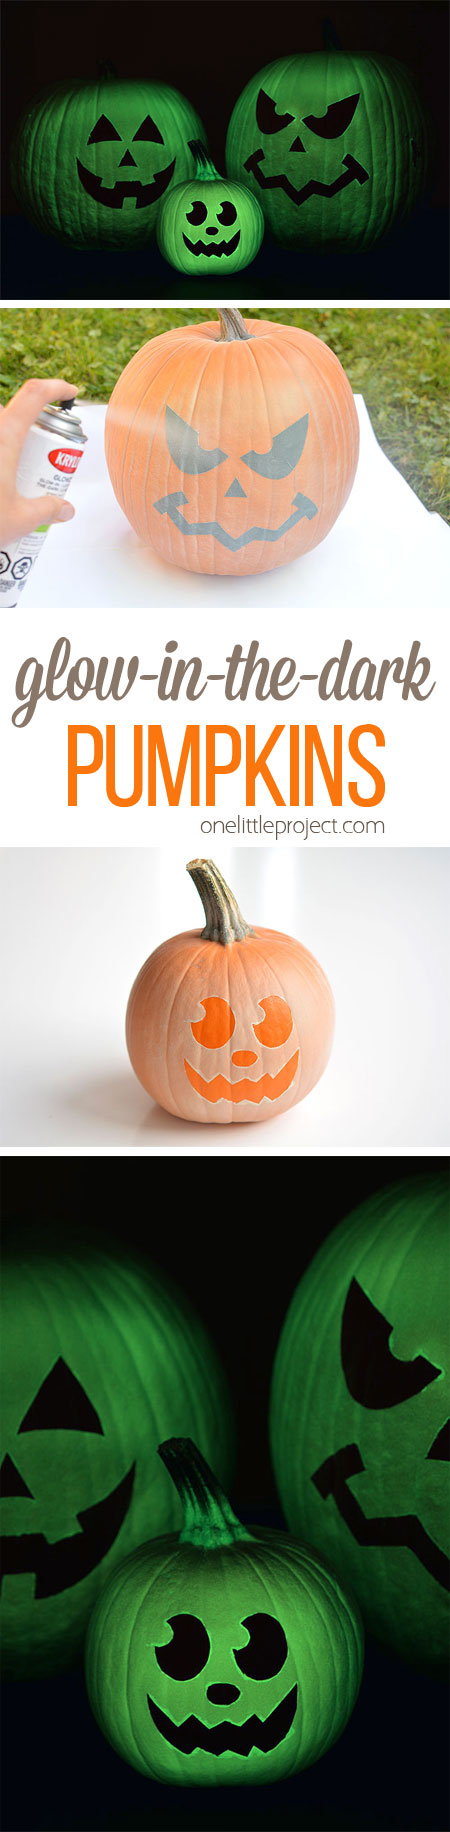
This guide walks you through preparing a pumpkin, applying adhesive face cutouts, and layering glow-in-the-dark spray paint to create luminous jack-o'-lanterns.
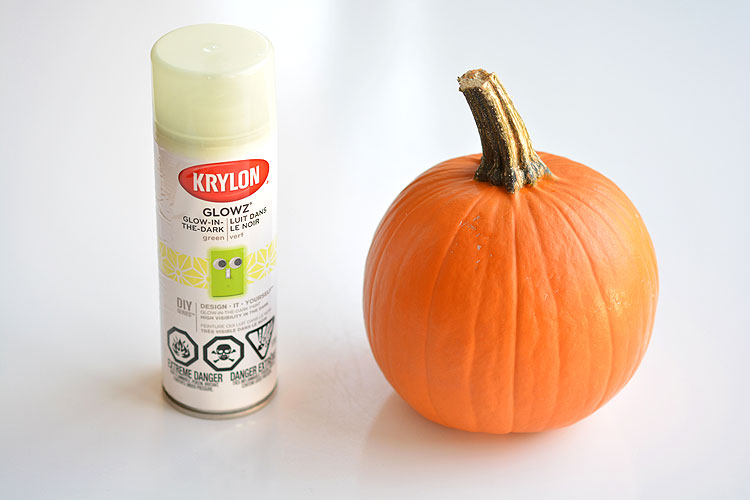
You'll need
Directions
- Begin by ensuring your pumpkin has reached room temperature to prevent moisture buildup. Gently wipe away any soil or debris to create a clean surface for the adhesive labels and paint.
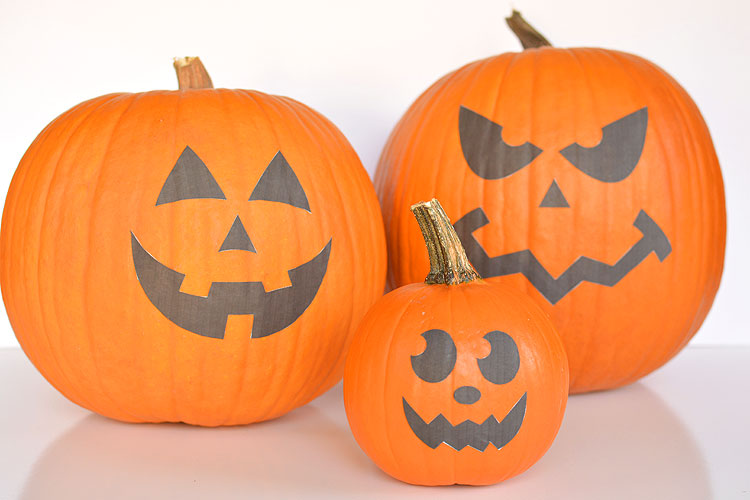
- Sketch your desired designs directly onto the pumpkin or download free templates from the internet. Print these designs onto full-page adhesive sheets and carefully cut out the individual face shapes.
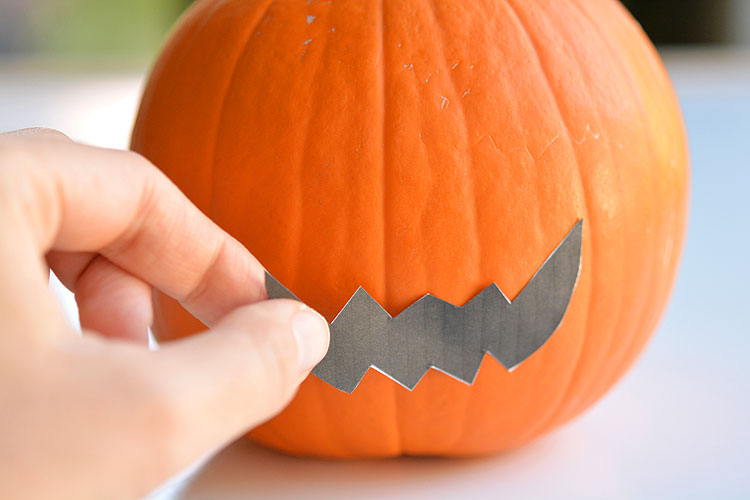
- Peel the protective backing from each cut-out label and apply them to the pumpkin's surface. Firmly press along all borders to ensure a tight seal, preventing the spray paint from bleeding underneath.
- Work in a space with good airflow and cover nearby items to avoid overspray. Apply light, even layers of the glow-in-the-dark paint, allowing one minute of drying time between each application.
- Allow the paint to cure for a minimum of sixty minutes. Gently lift the labels using a craft knife along the edges to preserve the painted design.
More photos



Photos hosted by onelittleproject.com.





