Candies & ChocolatesNo. 5530 · The 2026 edition
Halloween Chocolate Covered Strawberries
Turn ordinary strawberries into spooky Halloween treats with these easy chocolate-covered designs.
Our own summary of the original — the full post and photos live at partylicious.net.
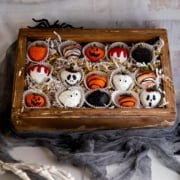
This guide walks you through making Halloween-themed chocolate-covered strawberries, from basic dipping to decorating with colorful drizzles, sprinkles, and monster faces. You'll learn how to prepare the berries, melt and thin chocolate, and create fun designs like blood drips and candy eyes. With a little practice, you can craft a whole batch of creepy-cute treats perfect for parties or gifting.
Ingredients
Directions
- Rinse the strawberries and pat them thoroughly dry. Any moisture will prevent the chocolate from sticking properly.
- Insert toothpicks into the stem ends of the strawberries, then gently pull the leaves back toward the toothpick so they stay out of the chocolate.
- Melt the candy melts according to the package directions.
- If the melted chocolate seems too thick, stir in about ½ to 1 teaspoon of coconut oil or vegetable shortening per ½ cup of candy melts. This is usually only needed if the melts were overheated, but it can vary by brand.
- Holding the toothpick, dip a strawberry into the melted chocolate and rotate it to coat the entire berry.
- After dipping, turn the strawberry upside down and gently shake and rotate it to help the chocolate spread evenly.
- Place the coated strawberry on a styrofoam board or a sheet of parchment or wax paper to set.
- If adding sprinkles, immediately after dipping, hold the strawberry over a piece of parchment and pour sprinkles over it while turning the berry to cover all sides.
- The parchment catches excess sprinkles so you can pour them back into the container for reuse.
- Set the sprinkle-covered strawberry on the styrofoam or a clean piece of parchment to dry.
- Allow the base chocolate layer to dry completely before adding more colors.
- Place a second color of melted candy melts into a tipless pastry bag and snip off a tiny tip.
- The size of the cut determines the thickness of the lines you'll drizzle.
- Gently drizzle the chocolate back and forth over the strawberry to create stripes or patterns.
- If adding sprinkles to the drizzle, apply them while the chocolate is still wet, then let the strawberry dry completely before removing excess sprinkles.
- Work with one color at a time and let each layer dry fully before adding the next.
- Once the chocolate is completely dry, use a clean paintbrush, pastry brush, or your fingers to gently wipe away any loose sprinkles. The parchment underneath catches them for reuse.
- Repeat with different colors until your strawberries look exactly how you want.
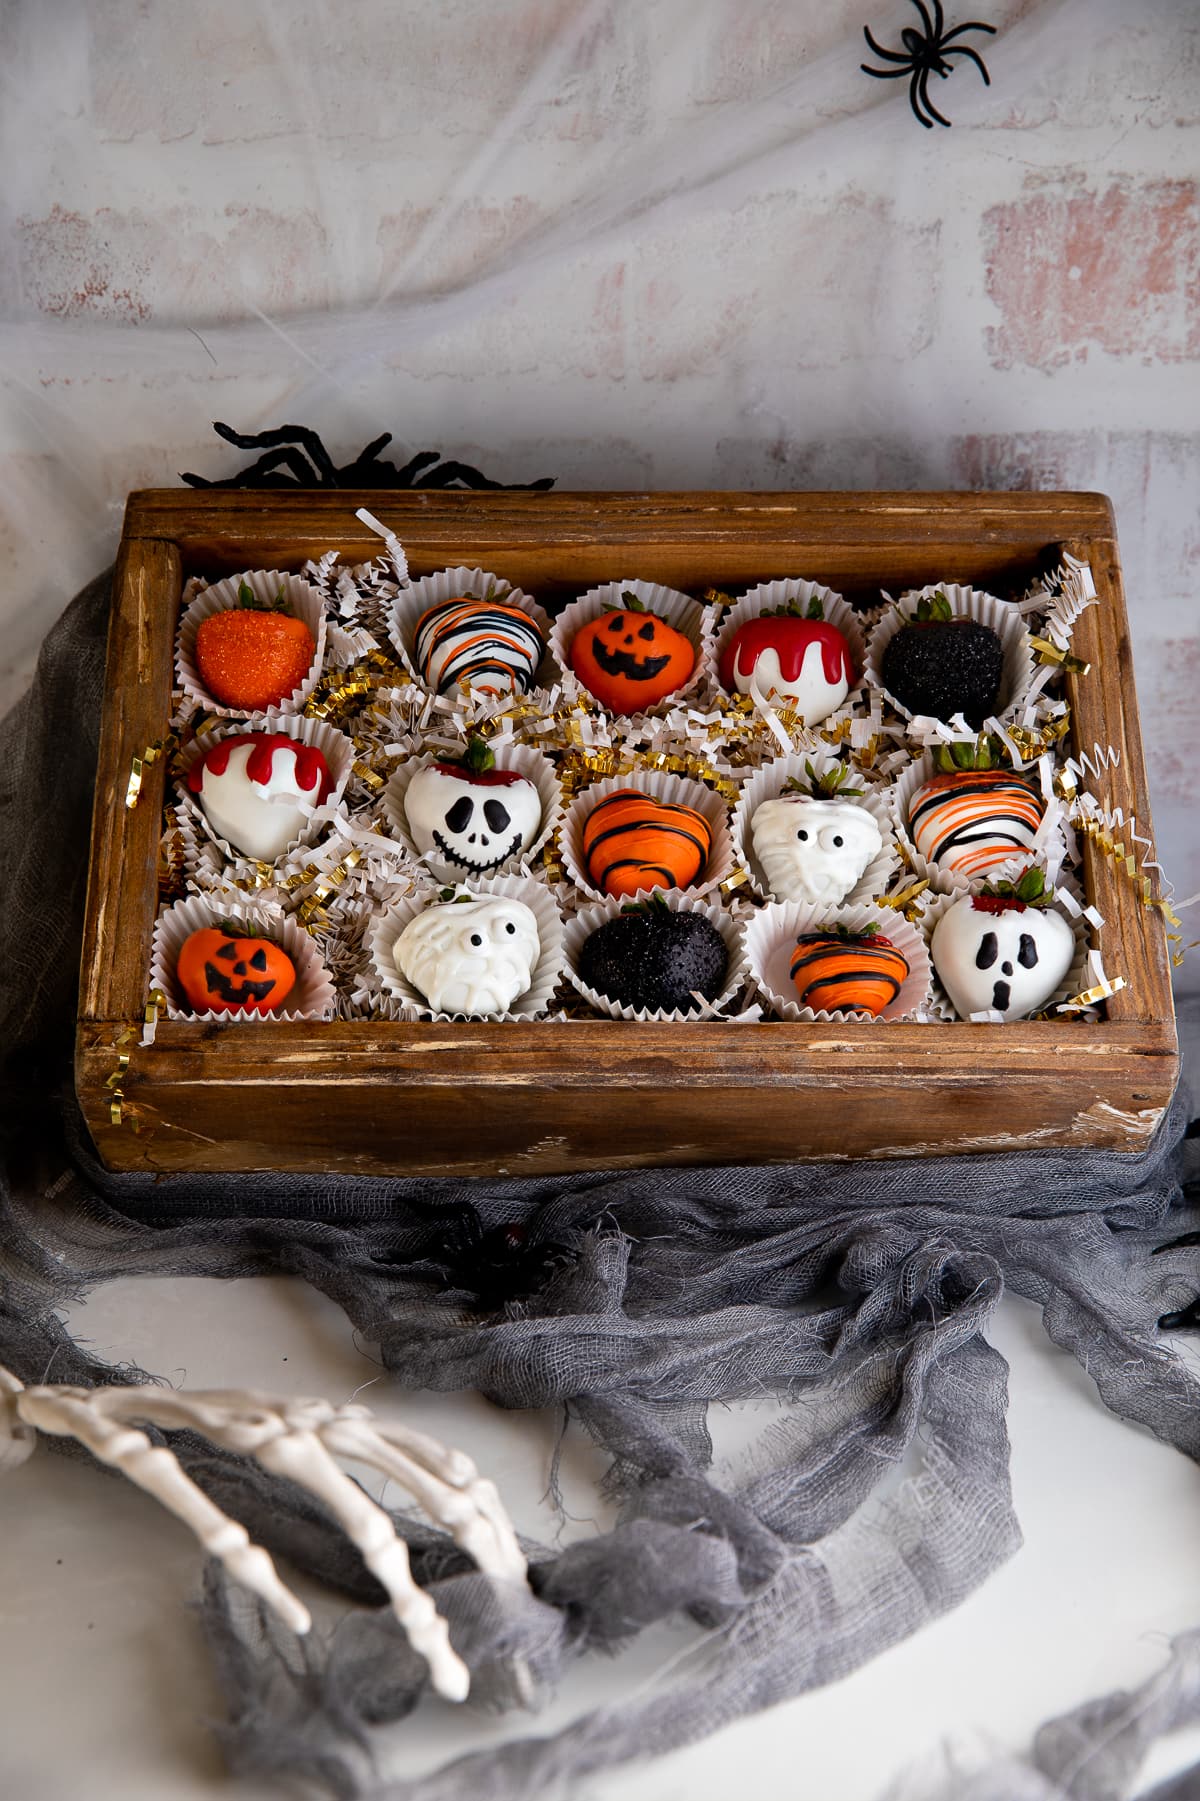
- For a monster face, put melted white chocolate into a piping bag or ziplock bag, snip the tip, and drizzle it over a dried white chocolate–covered strawberry, leaving a small gap in the center for the eyes.
- Add two small dots of white chocolate where the eyes will go, then press candy eyes into the wet chocolate.
- Let the eyes set until dry.
- Start with a completely dry white chocolate–covered strawberry for the next step.
- Melt red candy melts and put them in a piping bag. Snip the tip and drizzle the red chocolate over the top of the strawberry so it looks like dripping blood.
- Use the toothpick to hold the strawberry and control where the drips fall.
- Since drawing faces takes practice, try sketching your designs on a piece of parchment first until you're happy with them.
- Melt black candy melts and thin them with a little shortening or coconut oil. Transfer to a pastry bag and snip a tiny tip.
- Draw faces onto the dried white and orange chocolate–covered strawberries using the black chocolate.
- Use a toothpick or scribe tool to gently move the melted chocolate into the exact shape you want. This technique, common in royal icing work, helps create sharp corners and fine lines.
- Let the finished strawberries dry completely before serving or storing.