Painted PumpkinsNo. 1032 · The 2026 edition
Hello Kitty Pumpkin (No Carve)
No carving required! Transform a foam pumpkin into an adorable Hello Kitty with paint, foam, and glue.
Our own summary of the original — the full post and photos live at funmoneymom.com.
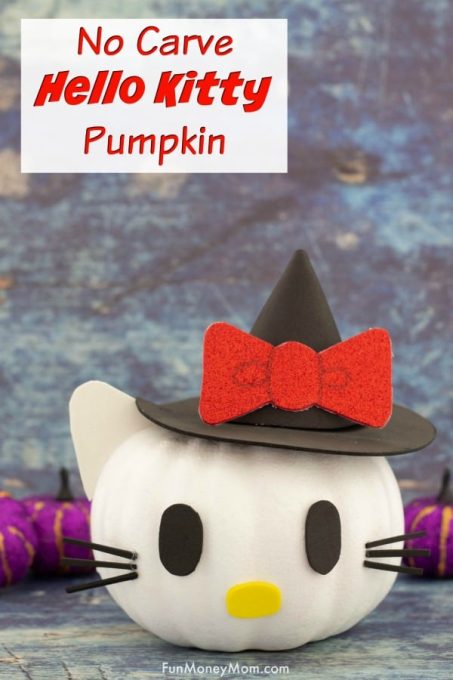
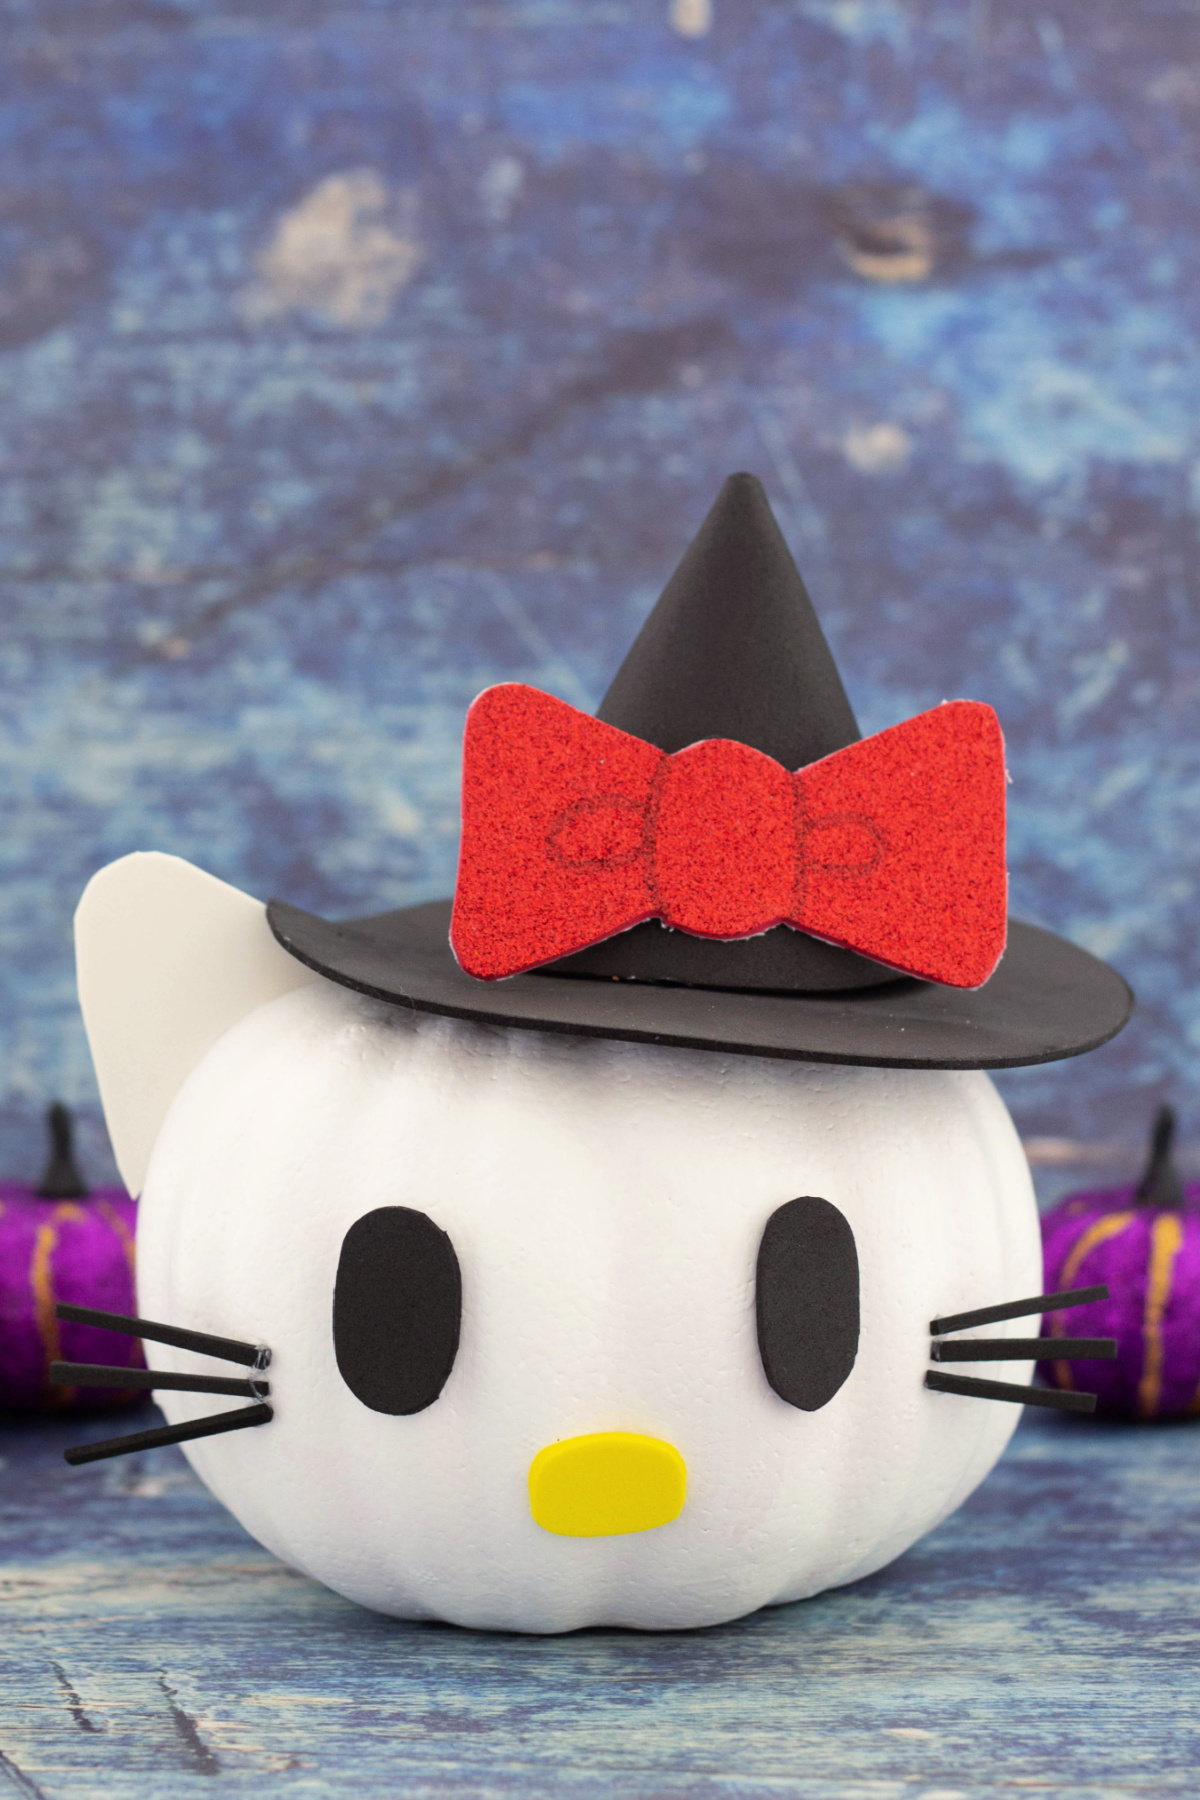
This no-carve Halloween craft uses a foam pumpkin, white paint, and craft foam to create a cute Hello Kitty face and hat. You'll paint the pumpkin white, then assemble a pointed hat with a sparkly bow and add eyes, nose, and whiskers. It's an easy, family-friendly project that yields a charming result.
You'll need
Directions
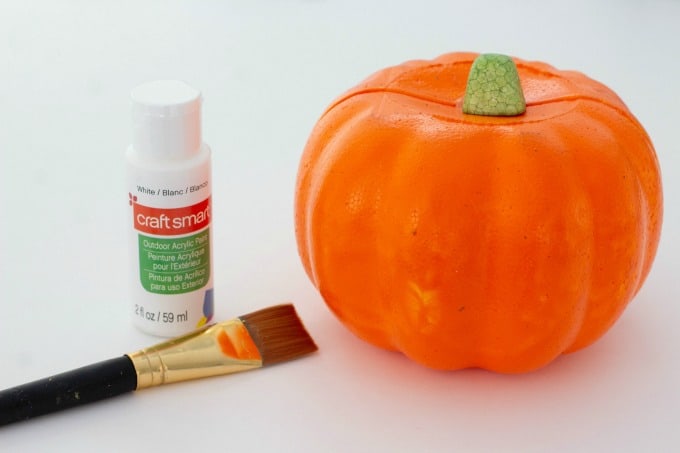
- Remove the stem from the foam pumpkin by snapping it off so there is space for the hat.
- Apply white acrylic paint to the foam pumpkin, typically needing two to three coats for full coverage.
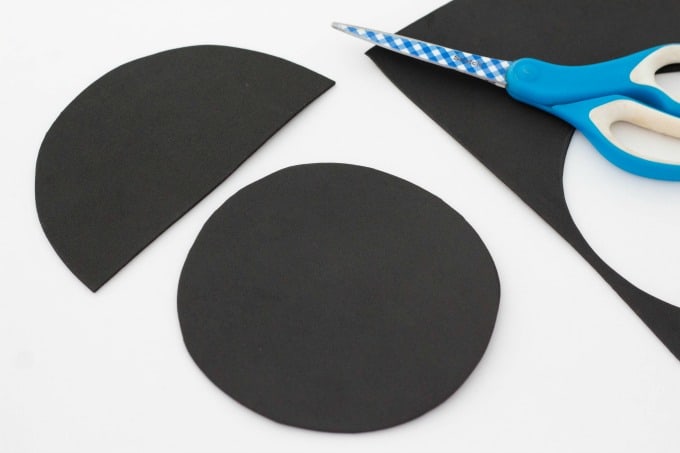
- As the paint dries, cut out a circular piece of black foam and a half circle that is a bit bigger to create the hat.
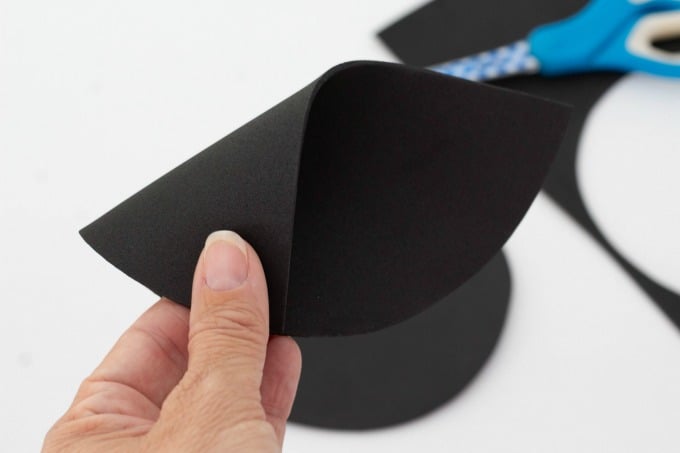
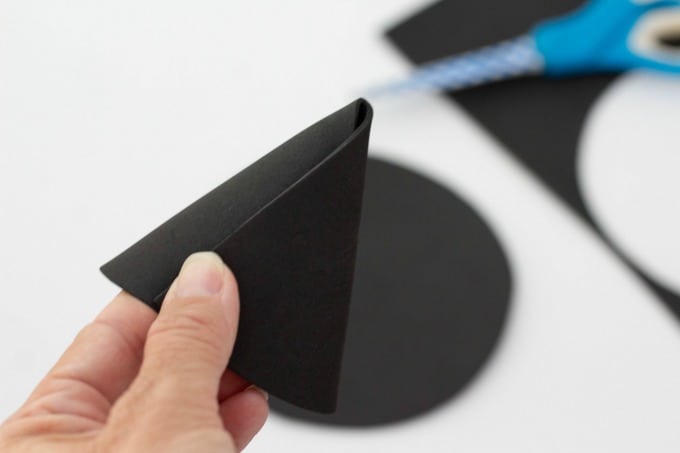
- Take the half circle, fold one side over, then fold the opposite side over, and secure the pointy shape with hot glue.
- Attach the pointed section to the round black base using hot glue.
- On the reverse side of sparkly craft foam, sketch a bow shape, then cut it out and add details with a black marker.
- Use hot glue to adhere the bow to the black hat.
- Outline one ear on black craft foam, then cut it out. Glue both the ear and the hat onto the top of the pumpkin.
- From the craft foam, trim out shapes for the eyes and nose.
- Apply hot glue to the eye and nose cutouts and fix them onto the pumpkin face.
- Snip three whiskers from black foam, each approximately 1.5 inches in length, and secure them to the face with hot glue.
More photos
Photos hosted by funmoneymom.com.





