Dressed-Up PumpkinsNo. 5352 · The 2026 edition
How to Make a DIY Rope and Twine Pumpkin
Transform a plain pumpkin into a rustic centerpiece with rope and twine—no carving required!
Our own summary of the original — the full post and photos live at anorganizedseason.com.
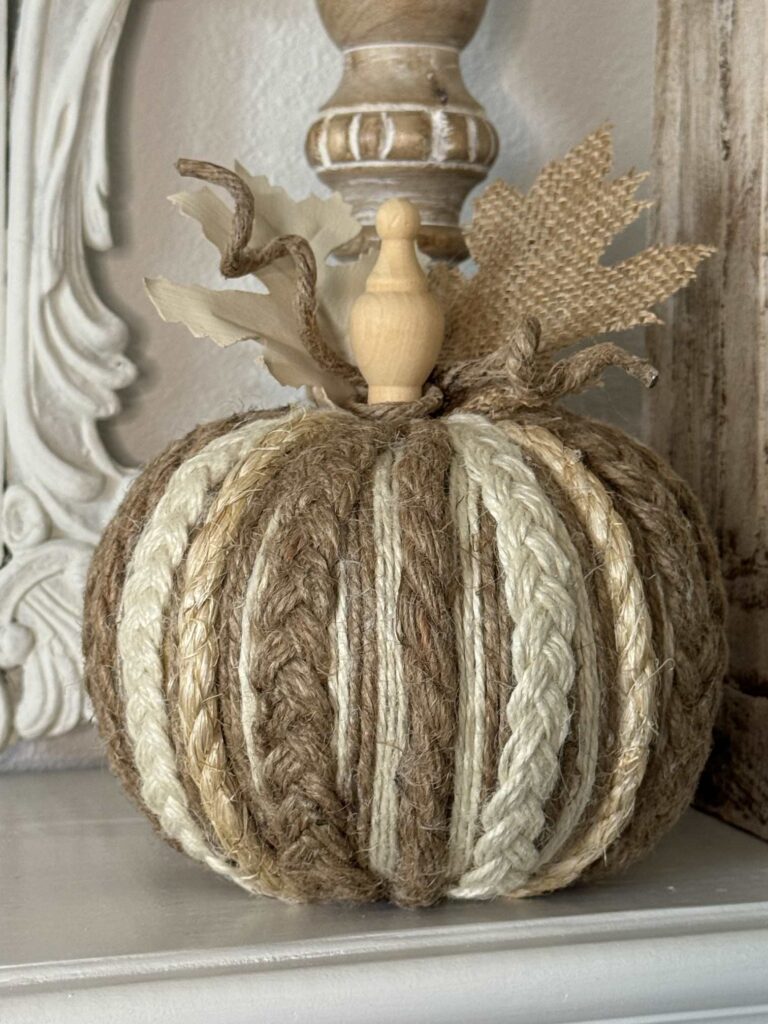
This DIY project covers a pumpkin with alternating dark and light ropes and twine braids for a textured fall look. You'll add a curled jute stem and small leaves to complete the charming decoration. Perfect for adding warm, natural style to your autumn tablescape.
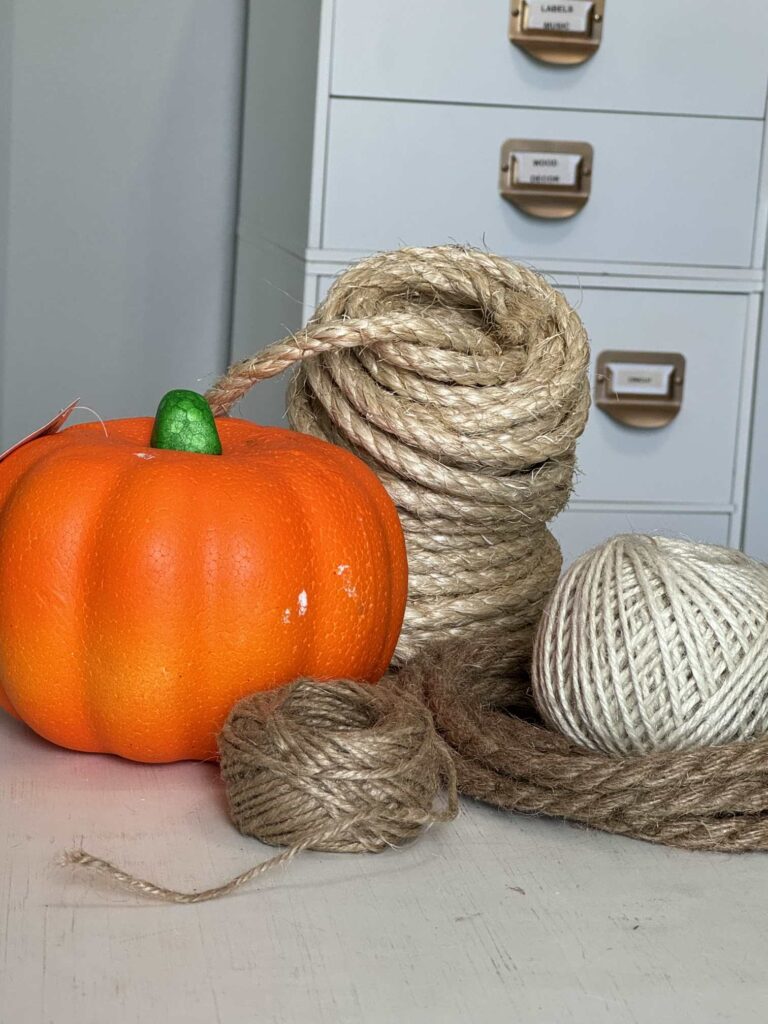
You'll need
Directions
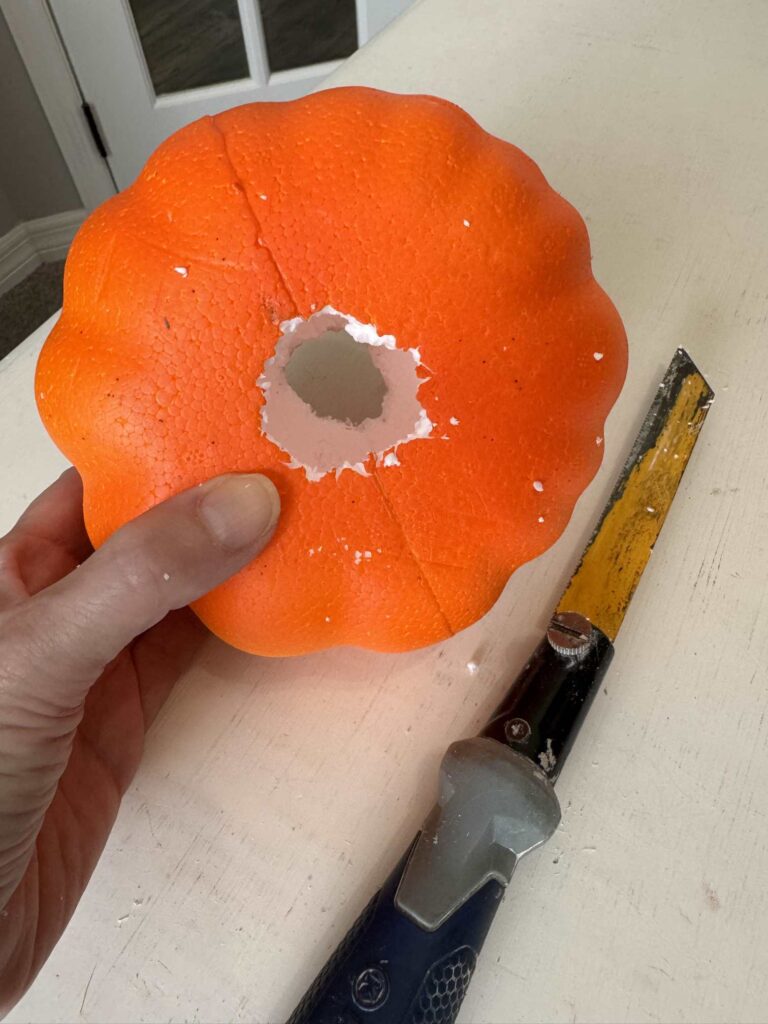
- Prepare your pumpkin by removing the tag and original stem. Use a knife or tool to cut a hole through the top and bottom of the pumpkin. Paint the entire pumpkin with a color that matches the rope or twine you selected.
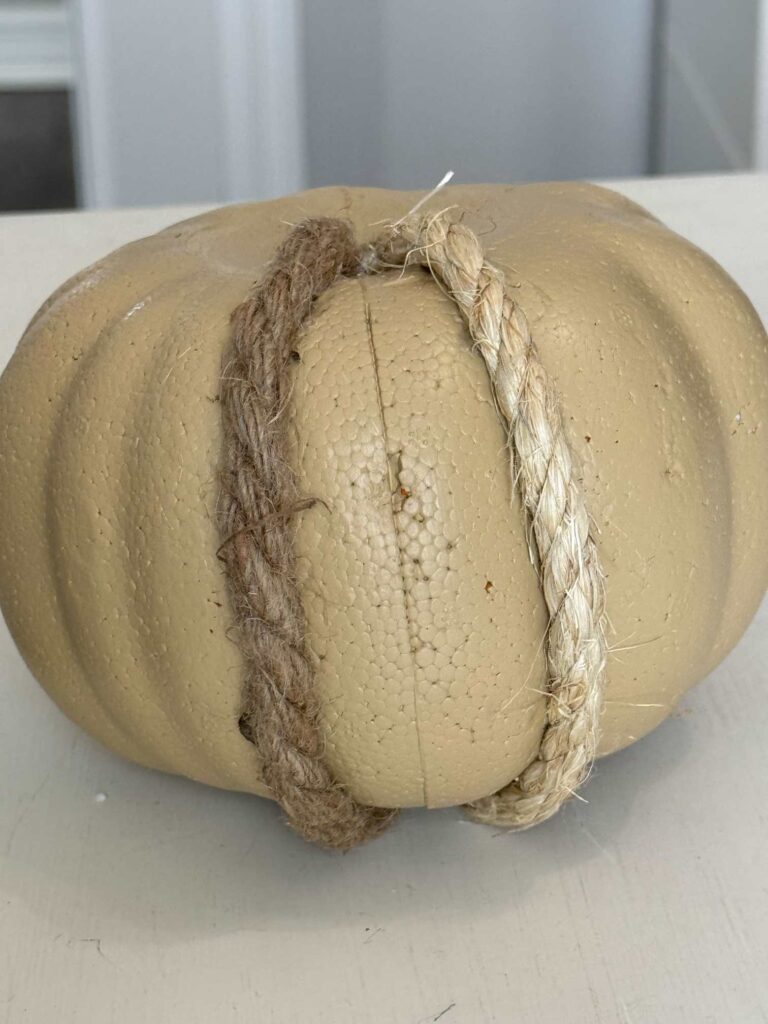
- Measure from the top hole to the bottom hole's edge to find the pumpkin's height. Cut your rope 2 inches longer than this measurement so it tucks into both holes. Apply hot glue along the pumpkin's natural indentations and press the rope in place, alternating between dark and light rope as you go around.
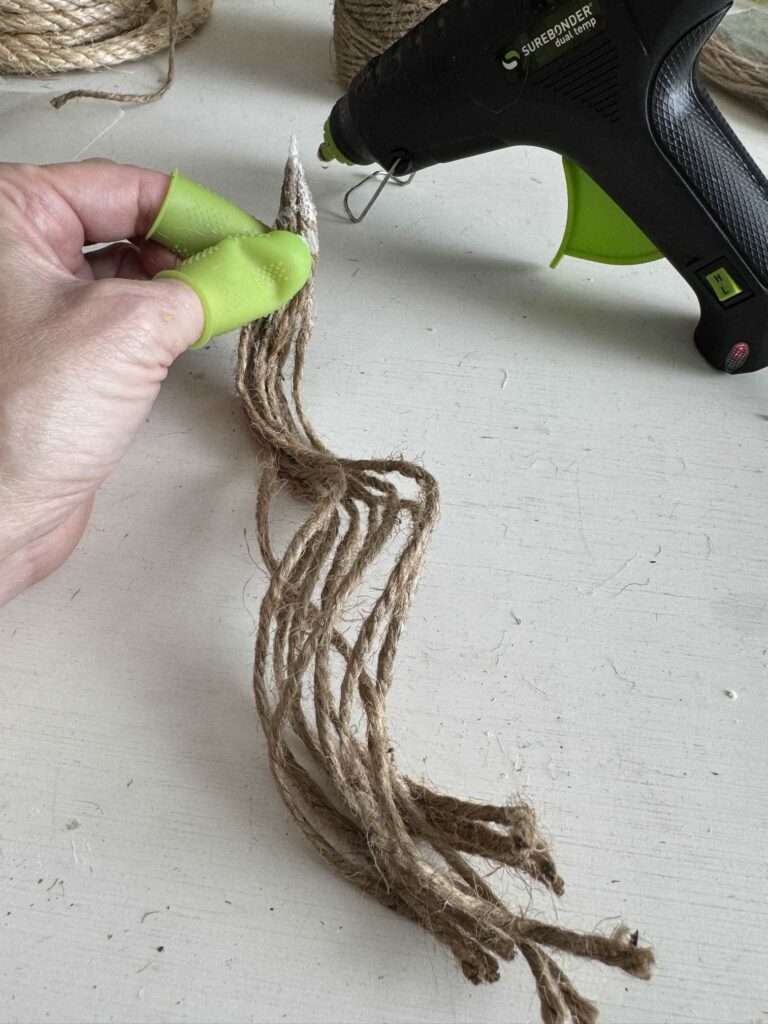
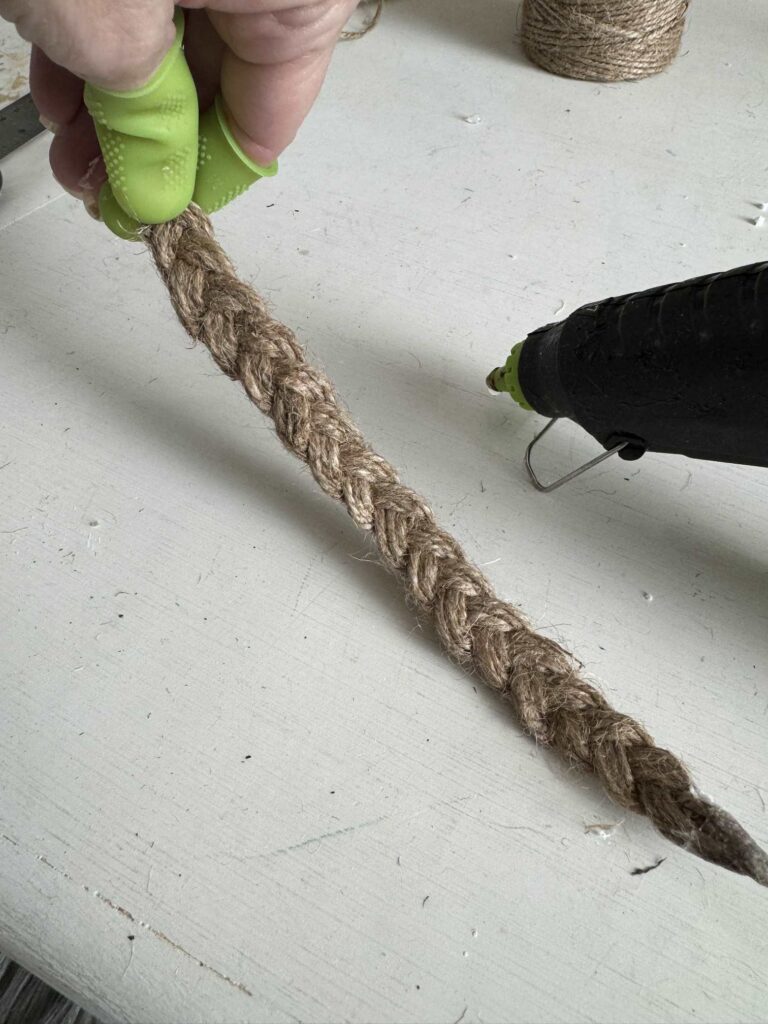
- To make decorative braids, cut nine 10-inch pieces of twine. Gather all nine and glue one end together to hold them. Separate into three groups of three strands each. Braid by taking the right group over the center, then the left group over the center, repeating to the end. Glue the bottom to secure. Repeat to create ten identical braids.
- Fill any exposed foam by placing a braid over an empty area. If the braid isn't wide enough, glue additional twine strands beside it. Use both dark and light twine to match the alternating pattern. Secure the braid with hot glue, wrapping its ends into the top and bottom holes. Continue adding alternating dark and light braids until the pumpkin is fully covered.
- For the stem, cut a 12-inch piece of wired jute rope. Spray it with adhesive and let it dry completely. Wrap the wire around a paintbrush handle to create a curled shape. Hot glue small leaves into the top hole, then wrap the stem around a wooden finial and glue the finial into the hole.
More photos
Photos hosted by anorganizedseason.com.