Painted PumpkinsNo. 1645 · The 2026 edition
How to Make DIY Marbled Pumpkins
Create spooky-chic Halloween decor with this easy marbled pumpkin craft using nail polish and water.
Our own summary of the original — the full post and photos live at glitterinc.com.
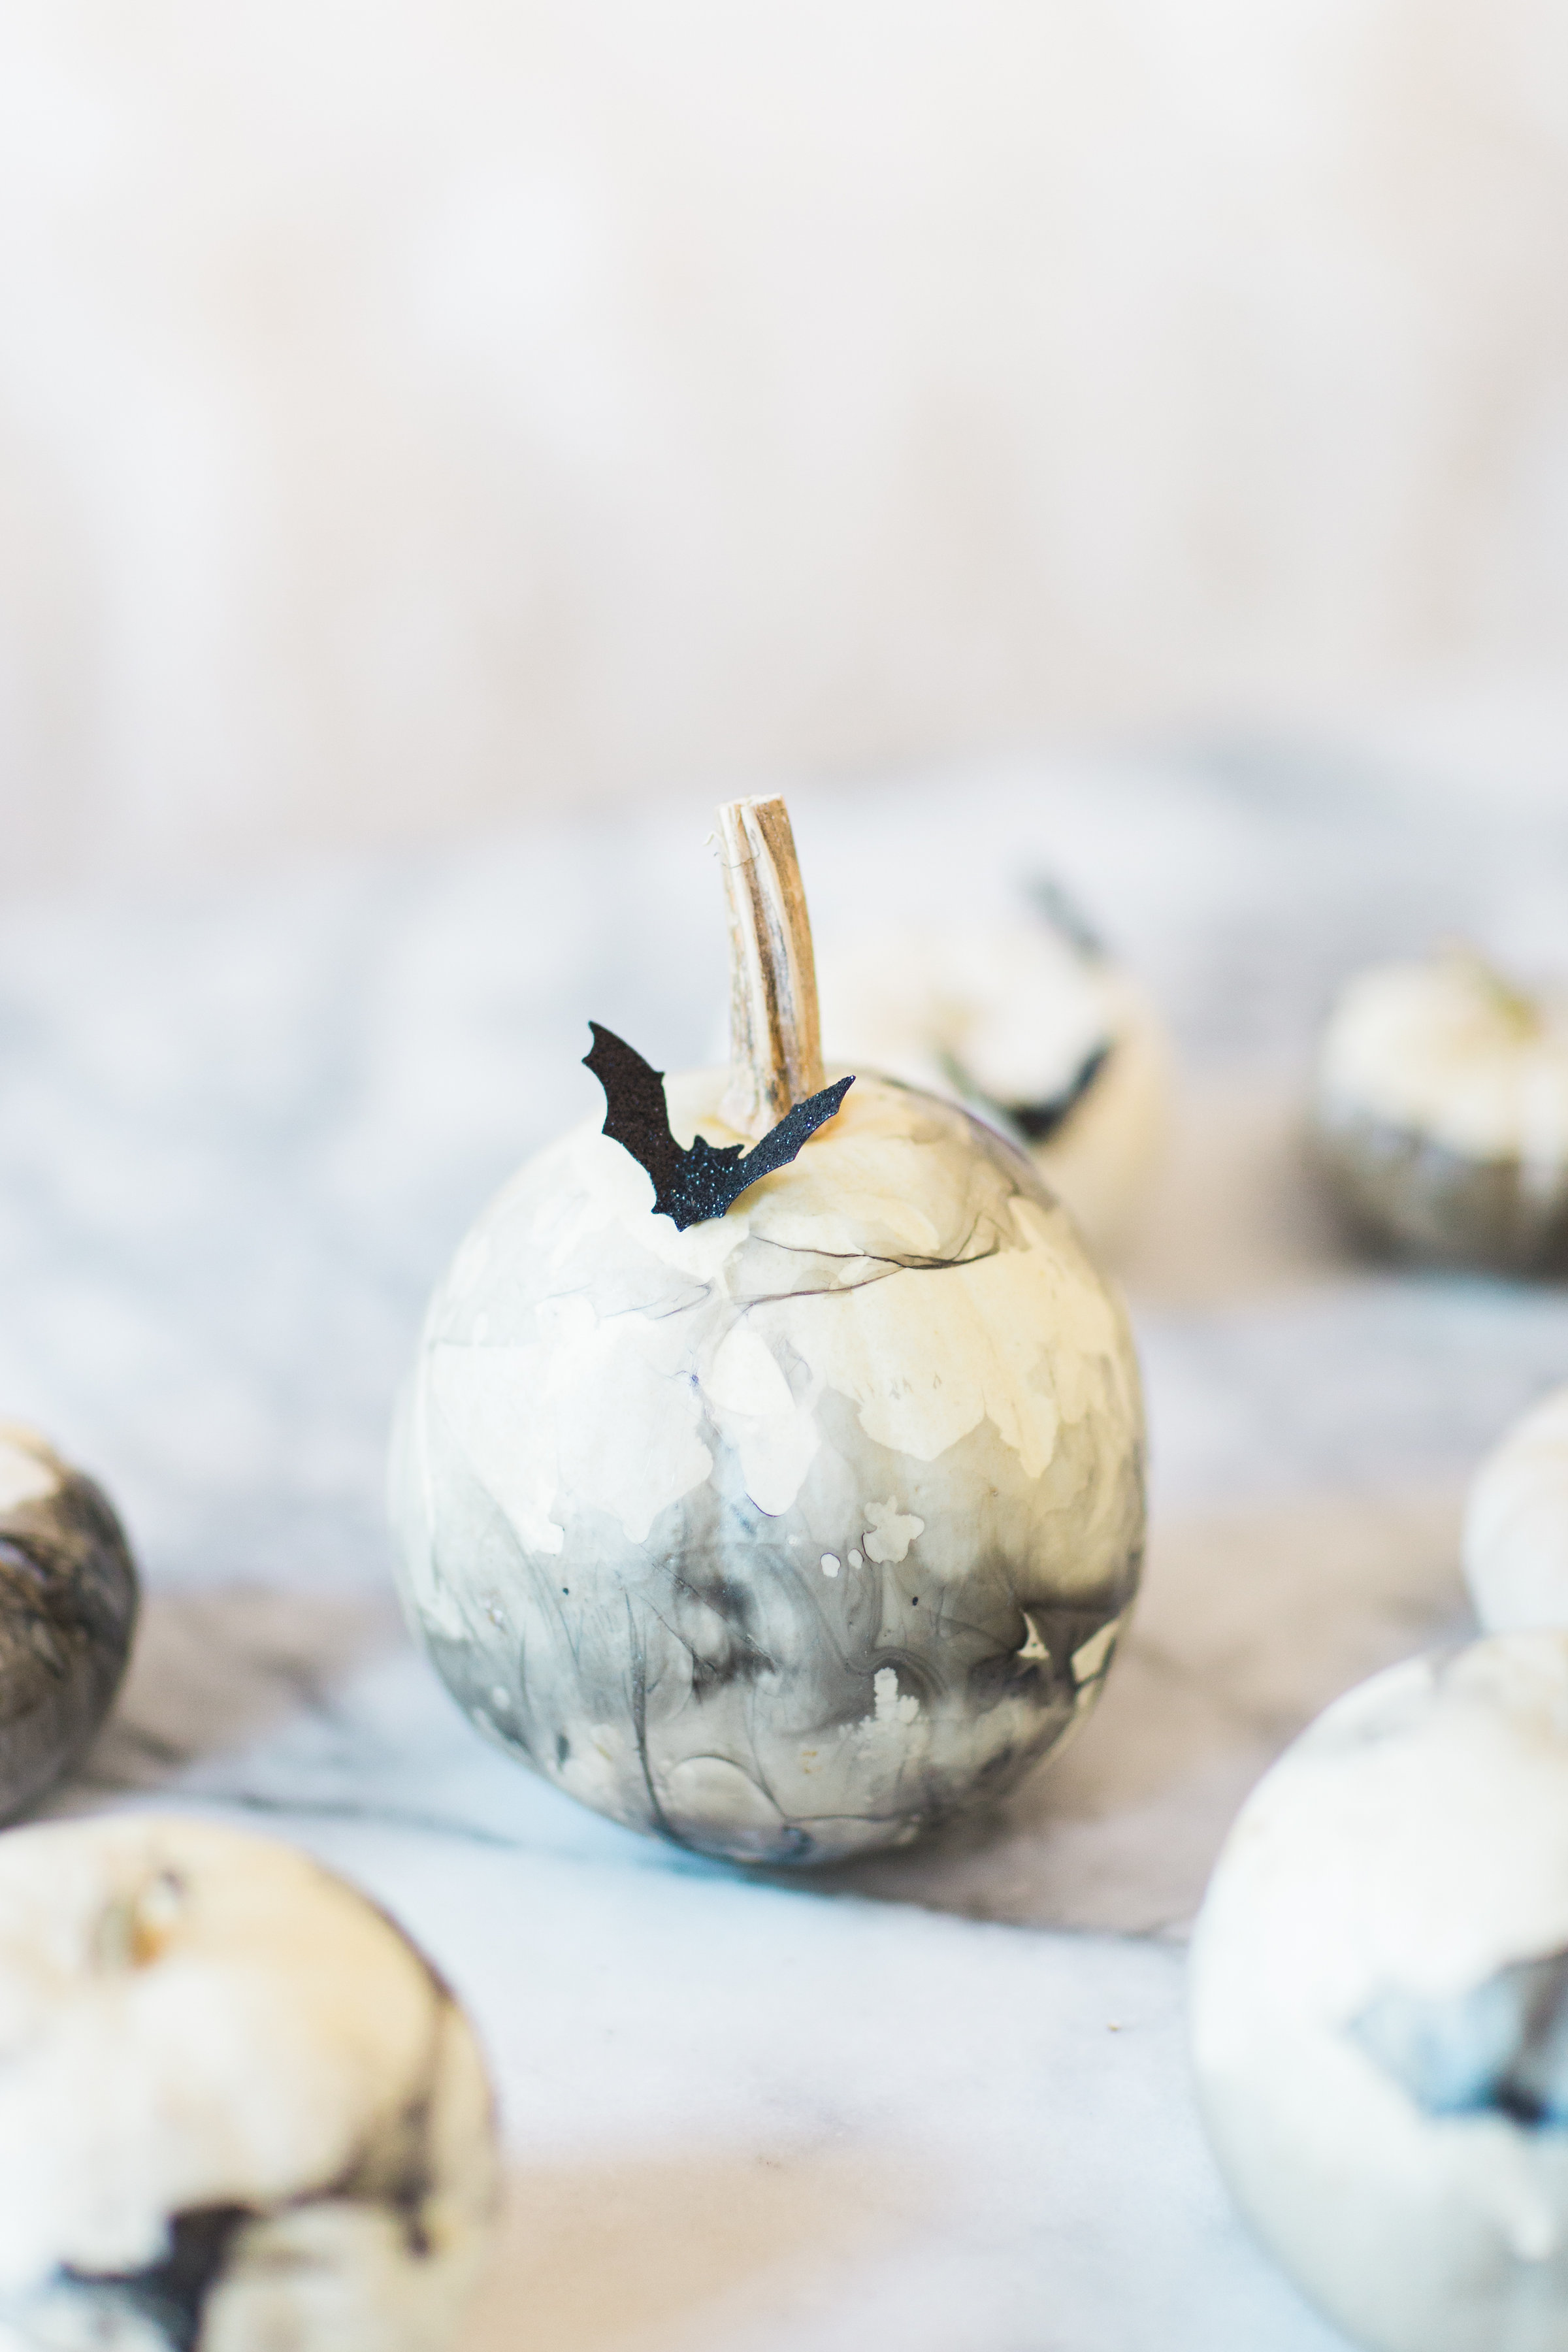
This DIY project uses a simple water-marbling technique with nail polish to transform white pumpkins into unique decorations. You'll dip each pumpkin into a container of lukewarm water topped with floating polish, then twist to create patterns. Allow them to dry completely, flipping once halfway through.
You'll need
Directions
- Fill a disposable plastic container about three-quarters full with lukewarm water. If the water is too cold, the polish will sink, so warm it up slightly if needed.
- Drizzle black nail polish onto the water's surface. It will spread and float, creating a thin film.
- Take one white pumpkin by the stem and gently dip it into the water. Twist it a little so the polish adheres in a marbled pattern.
- Lift the pumpkin out and set it on wax paper or several layers of paper towel to dry. Repeat with each pumpkin, adding a few more drops of polish to the water as needed.
- After about 20 minutes, flip the pumpkins so the other side can dry. Let them sit until completely dry.





