Painted PumpkinsNo. 7948 · The 2026 edition
How To Make No-Carve Glow-In-The-Dark Pumpkins
Transform ordinary pumpkins into radiant, no-carve masterpieces using simple tape and spray paint! This guide shows you how to create stunning geometric and star patterns that glow brightly in the dar
Our own summary of the original — the full post and photos live at brit.co.
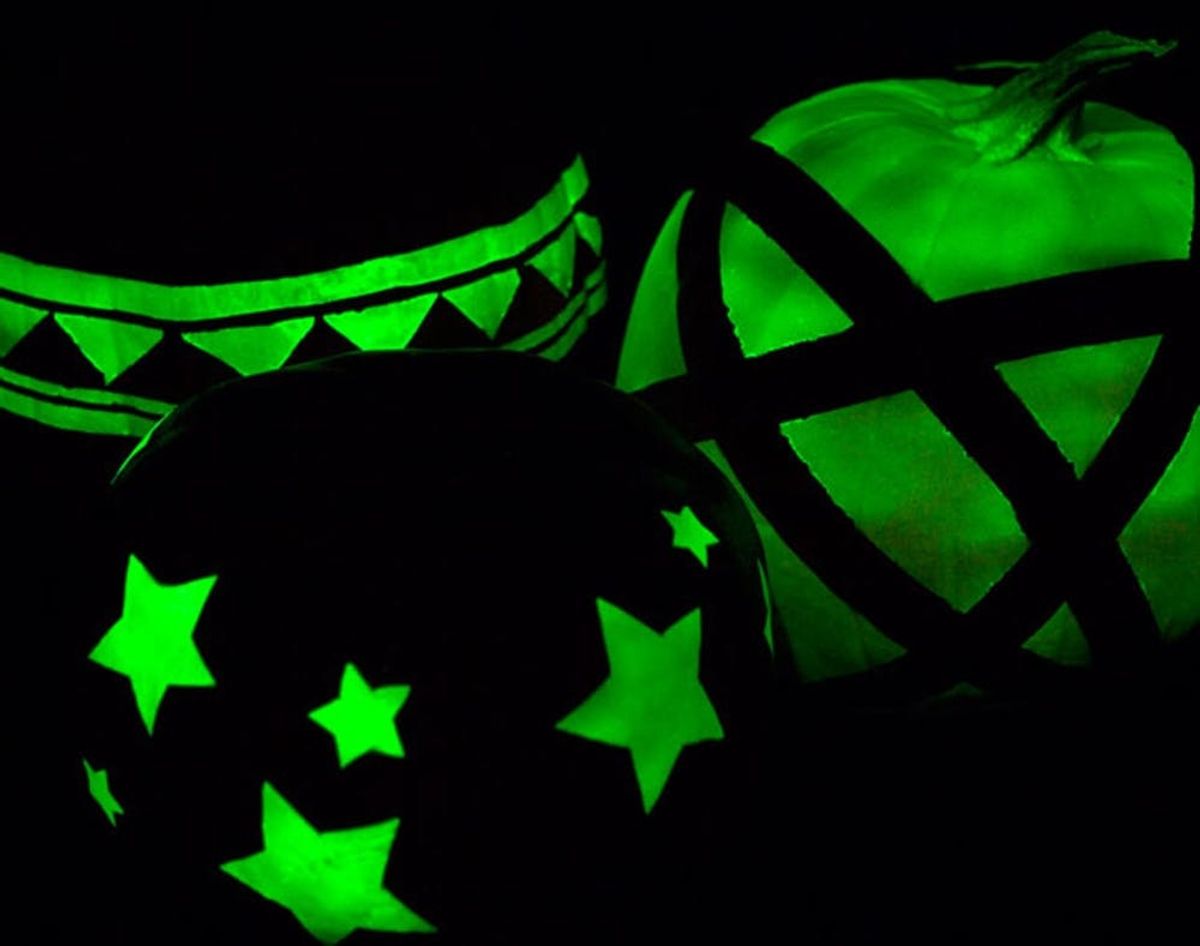
This tutorial outlines a creative, mess-free method for decorating pumpkins without carving. By utilizing blue painter's tape, printable stencils, and glow-in-the-dark spray paint, you can achieve intricate geometric and star designs. The process involves taping the pumpkins, applying paper templates, cutting through the tape to create patterns, and finally spraying the exposed surfaces to make them shine in the dark.
You'll need
Directions
- Wrap the entire surface of your pumpkin with strips of blue painter's tape, working vertically from the stem down to the base. Smooth each strip firmly to ensure a tight seal against the skin.
- Trace the geometric pattern onto the printable template, then carefully cut along the dotted lines. Trim away any excess white borders from the edges of the cutouts.
- Apply adhesive to the reverse side of the paper strips and arrange them around the pumpkin's middle. Since the paper will naturally curve, focus on maintaining a circular flow around the center rather than forcing it flat. You may need multiple printed sheets to complete the circle.
- Using your X-Acto knife, cut through the gray designated areas of the paper stencil. It is acceptable if the blade slightly penetrates the pumpkin's surface during this step.
- Peel away the cut gray sections of the stencil, which will also remove the underlying layer of tape.
- Prepare your second pumpkin by wrapping it completely in fresh blue painter's tape, following the same method used for the first one.
- Cut out the gray star-shaped sections from the star stencil template.
- Position the star stencil on the taped surface and use a marker to trace the stars in a layout that appeals to you.
- Carefully cut out the traced star shapes with your X-Acto knife, then remove the tape from within those cutouts.
- Apply half-inch wide painter's tape to your third pumpkin to form geometric designs.
- Once all three pumpkins are prepared, apply a generous layer of glow-in-the-dark spray paint to each one.
- After allowing one or two coats to dry, peel off all the tape to reveal the glowing designs.





