Painted PumpkinsNo. 7159 · The 2026 edition
Painted Fingerprint Pumpkins for Kids
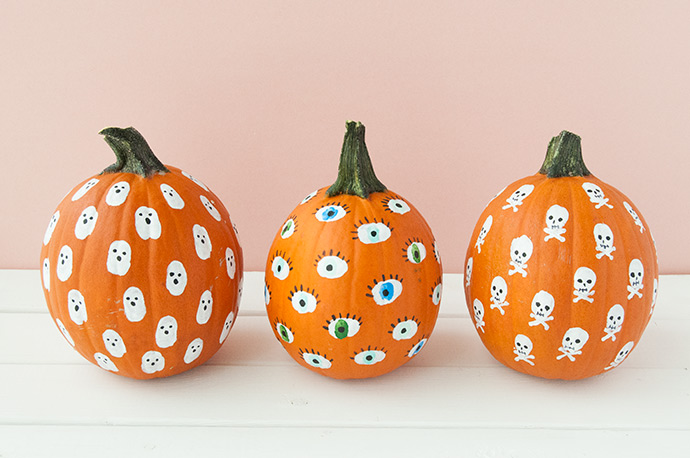
Turn your pumpkin into a spooky gallery with painted fingerprint ghosts, eyeballs, and skulls!
Our own summary of the original — the full post and photos live at handmadecharlotte.com.

This kid-friendly craft transforms a plain pumpkin using thumbprints and finger stamps. You'll create three designs: floating ghosts, funny eyeballs, and skulls with crossbones. All you need is acrylic paint, a pumpkin, and your own fingers!
You'll need
Directions
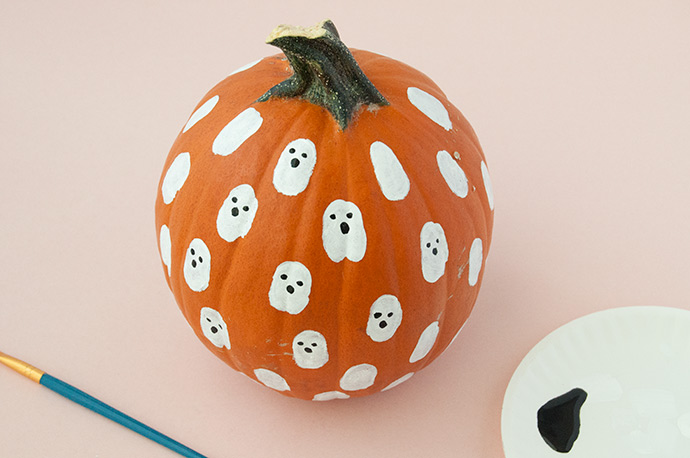
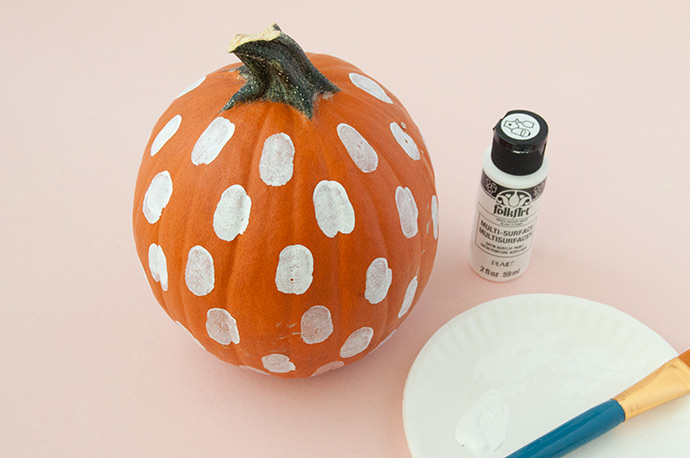
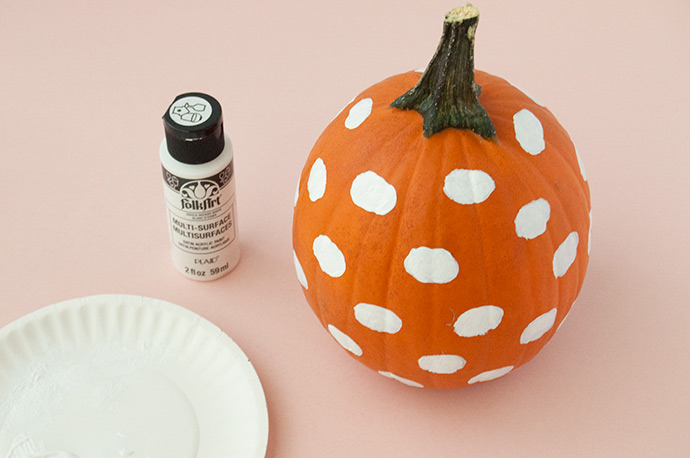
- Place a small amount of white paint on a paper plate. Use a brush to coat your thumb with paint, then practice stamping on scrap paper or the plate. Once comfortable, press your thumb onto the pumpkin in various spots, aiming for elongated prints to evoke ghost shapes. Let dry.
- With a fine-tip paintbrush, add eyes and a mouth to each ghost shape. Let dry.
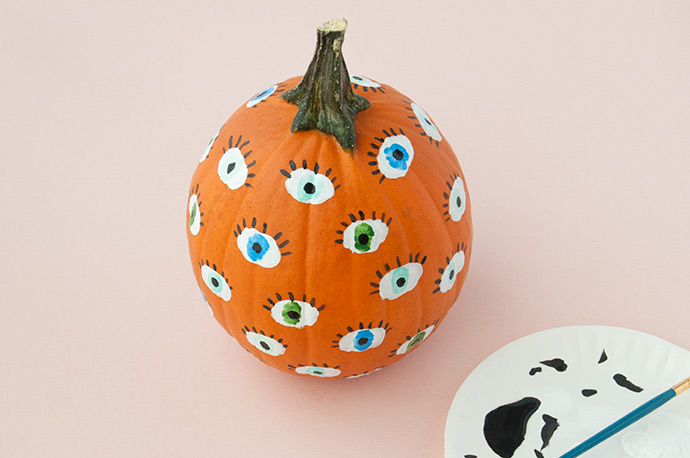
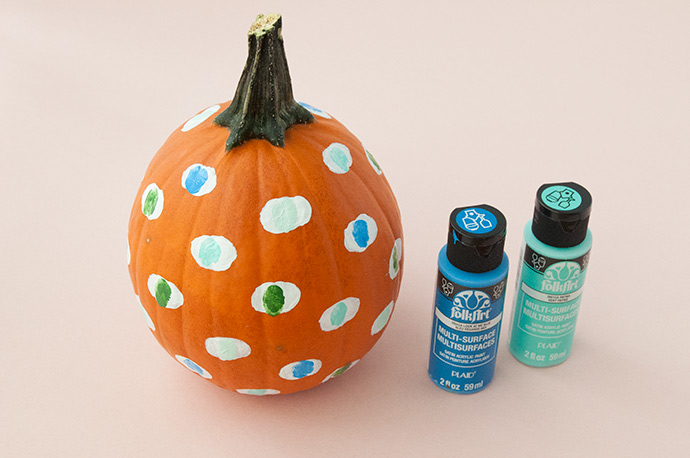
- For eyeballs, coat your thumb with paint and stamp horizontally onto the pumpkin. Let dry.
- Dip a finger in colored paint and stamp it vertically inside each thumbprint to create the iris. Use a few colors for variety, then let dry.
- With a fine-tip paintbrush, paint small black pupils and a row of eyelashes along the top of each eyeball. Let dry.
- For skulls, coat your thumb in white paint and stamp vertically onto the pumpkin, but keep the prints round rather than elongated.
- Use a fine-tip brush to paint an X beneath each skull to resemble crossed bones.
- Paint black eyes, a nose, and a mouth on each skull. For small details like the mouth, children may prefer using a black permanent marker instead.
More photos
Photos hosted by handmadecharlotte.com.





