Painted PumpkinsNo. 4802 · The 2026 edition
Painting Pumpkins for Halloween: 37+ Creative Ideas for Any Skill Level
Transform ordinary pumpkins into stunning works of art with these creative painting ideas perfect for all skill levels.
Our own summary of the original — the full post and photos live at momooze.com.
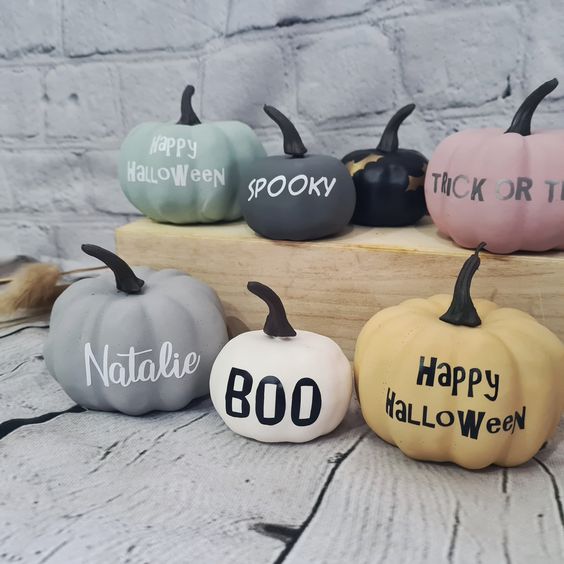
This guide covers everything you need to know to paint pumpkins for Halloween, from surface prep to sealing. It includes tips on cleaning, sanding, choosing the right paint, and using brushes or stencils to create your design. With proper drying and a clear sealant, your painted pumpkin will stay vibrant all season.
You'll need
Directions
- Start by washing your pumpkin and letting it dry completely. If there are any rough spots or bumps, you can lightly sand them smooth with fine-grit sandpaper for a polished look.
- Spread drop cloths or newspapers over your workspace and wear old clothes or an apron. This will save you time on cleanup later.
- Choose acrylic or craft paint that is designed to adhere to smooth surfaces like pumpkins. Not every paint will stick well, so check the label.
- Apply your paint using brushes, stencils, or freehand techniques. Feel free to get creative with patterns, designs, or layers.
- If you are painting multiple coats or adding stencils over dried paint, allow each layer to dry in a sheltered area away from wind or debris that could stick to the wet paint.
- Finish with a clear acrylic sealer spray or brush-on sealant. This protects your design from moisture, sunlight, and handling so it lasts longer.
More photos
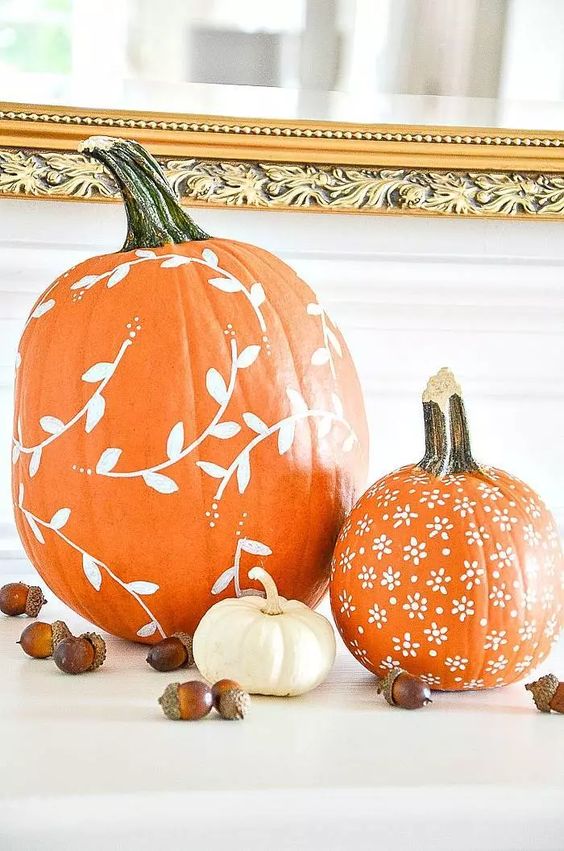
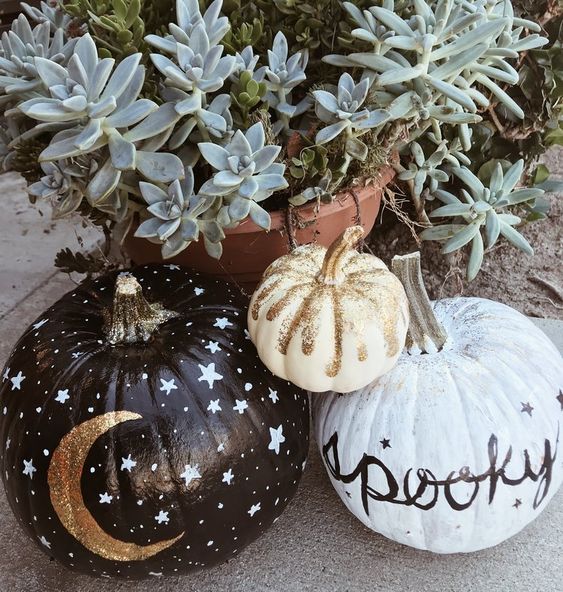
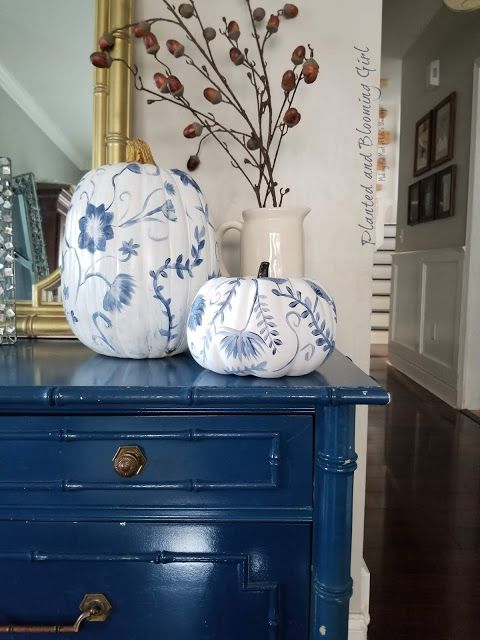
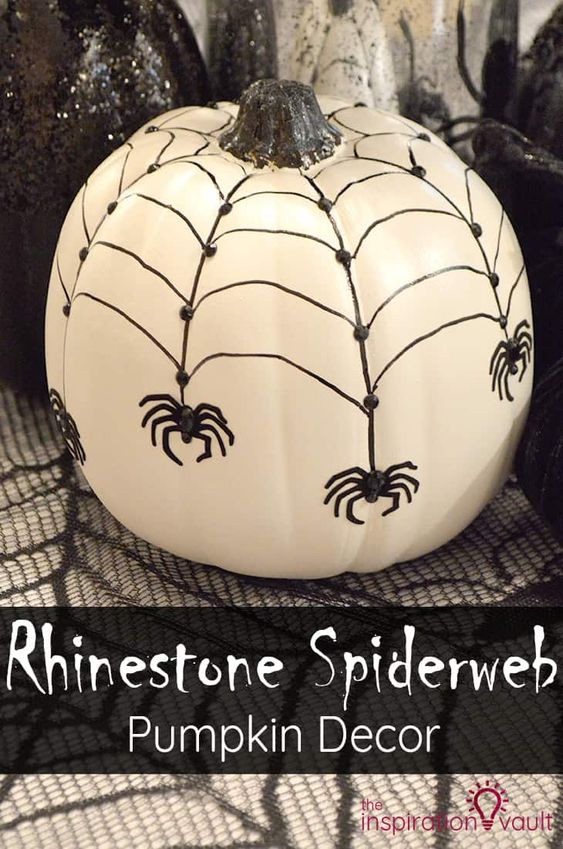

Photos hosted by momooze.com.





