Painted PumpkinsNo. 2208 · The 2026 edition
Reach for the Stars With These No-Carve DIY Cosmic Pumpkins
Transform ordinary gourds into celestial masterpieces without making a single cut! This project uses simple painting techniques to mimic the deep, swirling beauty of the night sky.
Our own summary of the original — the full post and photos live at brit.co.
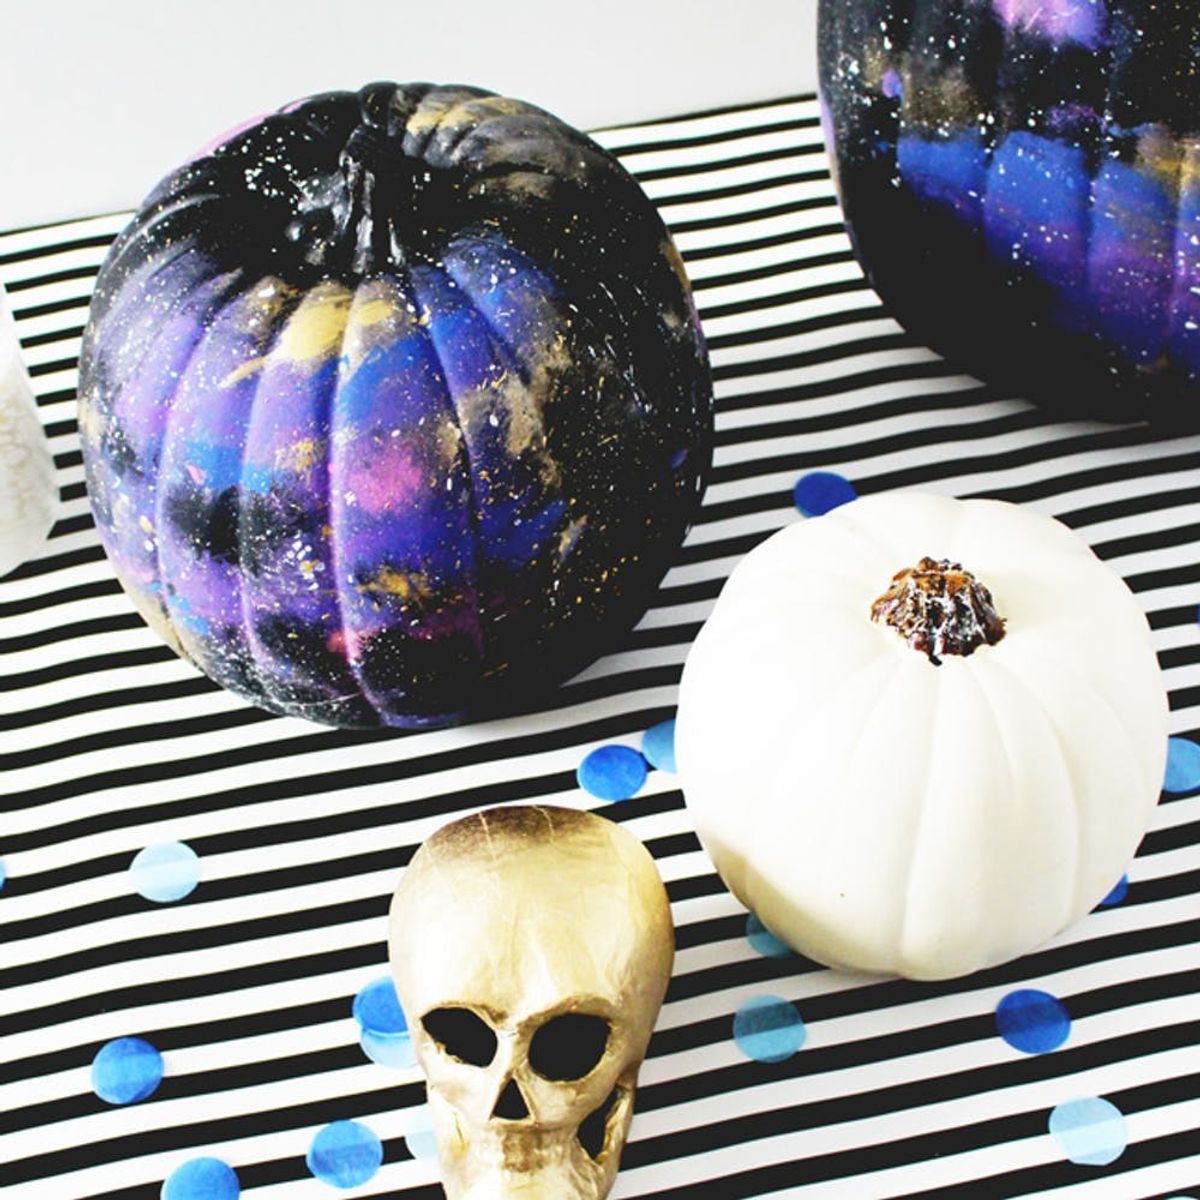
This guide walks you through painting a realistic galaxy effect on a pumpkin using black spray paint as a base and various acrylic colors. By employing techniques like dabbing, misting, and splattering, you can create a layered, starry appearance. The process concludes with an optional sealing step for added shine and longevity.
You'll need
Directions
- Start by wiping down your chosen pumpkin—whether it is made of plastic or natural gourd—and take it to a space with good airflow. Apply a coat of black spray paint to create a dark base, or simply purchase a pre-colored black plastic pumpkin to save time.
- After the black layer has fully cured, dip a foam brush into your acrylic colors. Gently press the brush against the surface to dab on shades of blue, purple, pink, and gold. While the paint is still wet, you can drag the brush lightly to mix the hues and achieve a soft, nebula-like transition.
- For a starry texture, load a bristle brush with gold paint and run your thumb across the tips to mist the color onto the pumpkin. Alternatively, tap the handle of the brush lightly with another finger to flick tiny droplets across the surface. Repeat this process using white paint to add more stellar details.
- Continue building depth by alternating between dabbing, misting, and flicking techniques. Combine these methods to layer the colors and craft a rich, multi-dimensional cosmic scene on your pumpkin.
- If you want your creation to have a glossy finish and last longer, apply a clear sealing spray over the finished artwork.





