Painted PumpkinsNo. 8876 · The 2026 edition
That Trick or Treat Life: A No-Carve Pumpkin Project Using Custom Color Paint Markers
Skip the knife and mess this season! Transform your pumpkins with vibrant, custom hues using a refillable paint marker system.
Our own summary of the original — the full post and photos live at papernstitchblog.com.
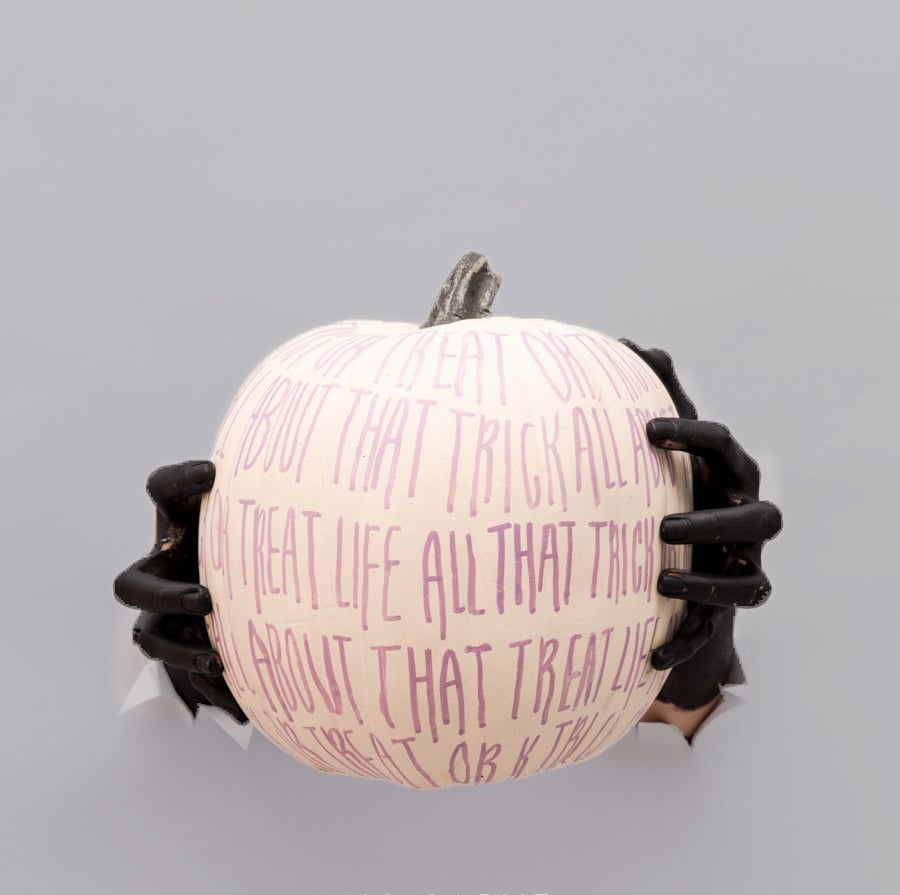
This project guides you through creating personalized Halloween decorations by mixing acrylic airbrush paints and loading them into a reusable marker. You will blend your chosen colors, assemble the marker, fill it with the mixture, and then apply your unique artwork to both real or artificial gourds.
You'll need
Directions
- Combine two or more shades of acrylic airbrush paint in your mixing bowl or palette. Blend them thoroughly until you achieve your target hue. If you need guidance on which pigments to combine, consult an online color mixing tool or purchase a physical color wheel guide for around six dollars.
- Prepare your Testors Acrylic Make-Your-Own Marker by attaching the nib to the tip, following the visual directions provided on the product box.
- Draw the custom paint mixture into a syringe. Inject the liquid into the rear opening of the marker body. Secure the brush cap onto the front end, then shake the device vigorously for half a minute to ensure the pigment is evenly distributed.
- Press the marker tip firmly against a solid surface until the paint flows through the nib. You are now ready to decorate your pumpkins with witty or playful designs and text.
More photos


Photos hosted by papernstitchblog.com.





