Painted PumpkinsNo. 8984 · The 2026 edition
You Only Need Two Supplies for This No-Carve Hobnail Pumpkin
Transform a plain pumpkin into a vintage hobnail look using only pins and spray paint—no carving needed.
Our own summary of the original — the full post and photos live at apartmenttherapy.com.
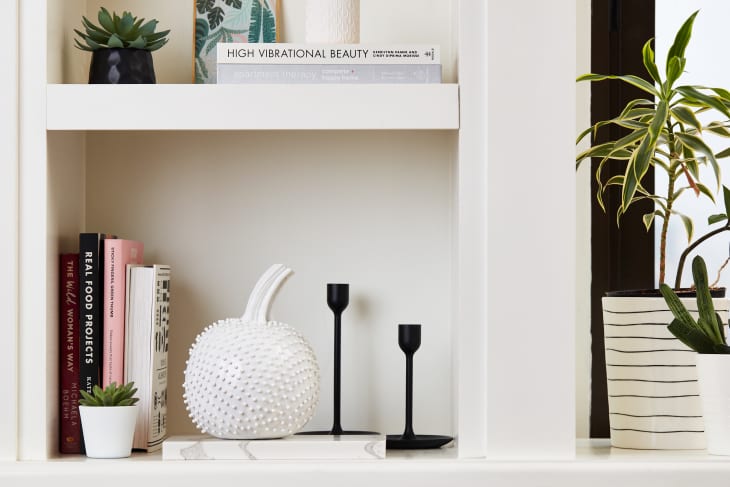
This no-carve pumpkin project gives you a classic hobnail texture with just a small pumpkin, 500 quilting pins, and white spray paint. Simply insert pins in diagonal rows to cover the pumpkin, then apply two coats of high gloss paint with two hours of drying time between coats. The result is a beautifully textured, carving-free decoration that lasts.
You'll need
Directions
- Insert a row of quilting pins diagonally into the pumpkin, starting right at the top next to the stem and continuing all the way down to the lower curve. Be sure to stop before the bottom so the base stays bare of pins.
- After finishing one diagonal line, go back up to the top and begin another parallel row right next to the first. Repeat this process until the entire pumpkin surface is packed with pins.
- Set up your work area in a ventilated space, preferably outdoors, and lay down protective covering. Spray the entire pumpkin with high gloss white paint, then wait two hours before adding a second coat. Allow another two hours for that final layer to dry.





