Painted PumpkinsNo. 6399 · The 2026 edition
C-3PO and R2-D2 Pumpkins
Transform ordinary artificial gourds into iconic Star Wars companions with this easy painting guide. Learn how to layer spray paint and markers to create detailed droid figures complete with foam appe
Our own summary of the original — the full post and photos live at diycandy.com.

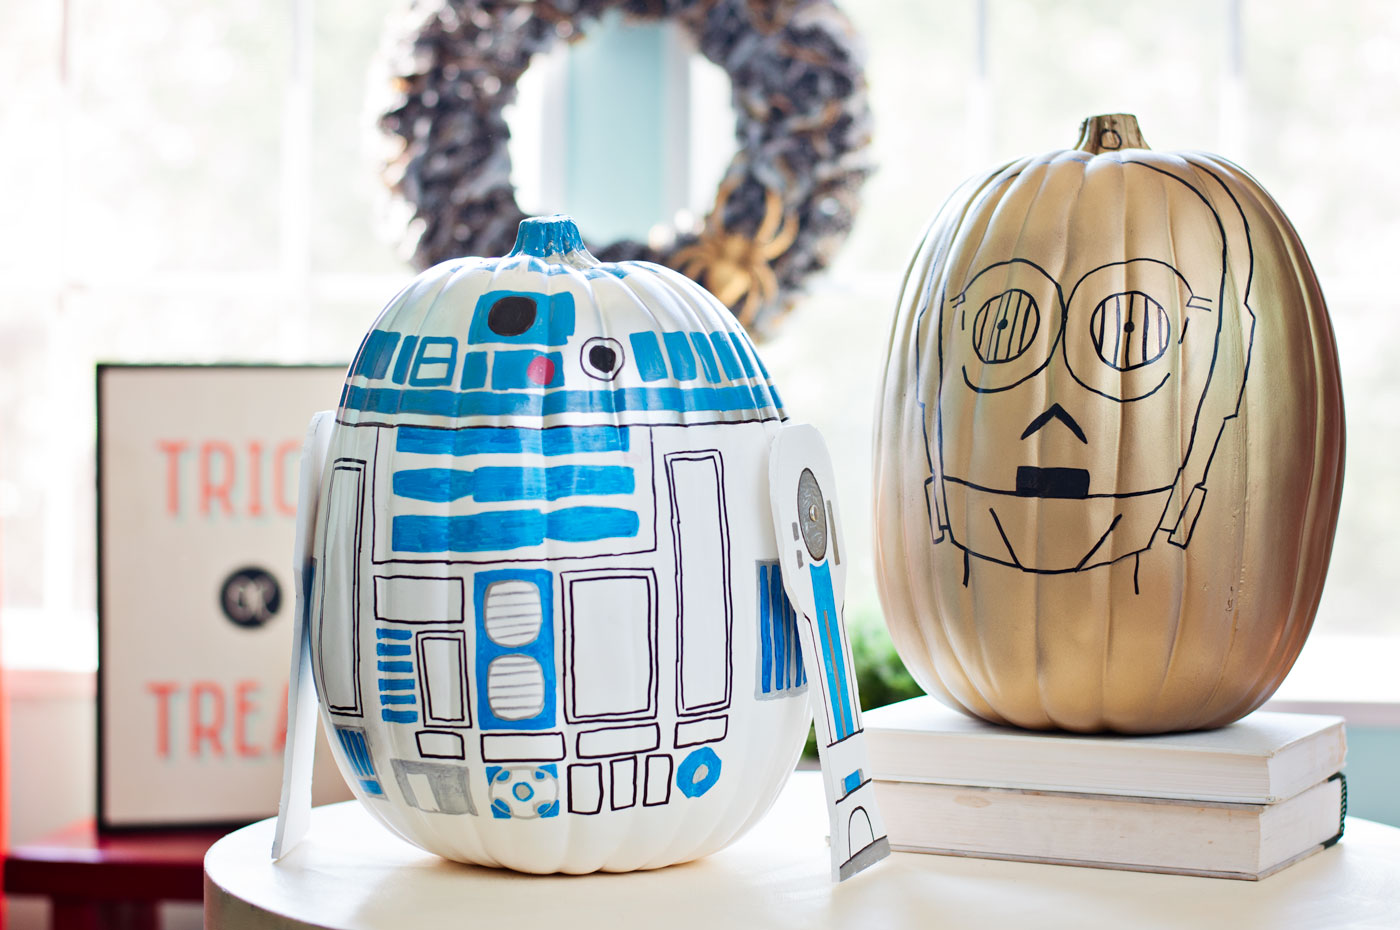
This project guides you through painting two artificial pumpkins to resemble C-3PO and R2-D2. You will apply base coats, use tape for clean lines, and add intricate details with paint markers. The process concludes by crafting and attaching foam legs to complete the droid look.
You'll need
Directions
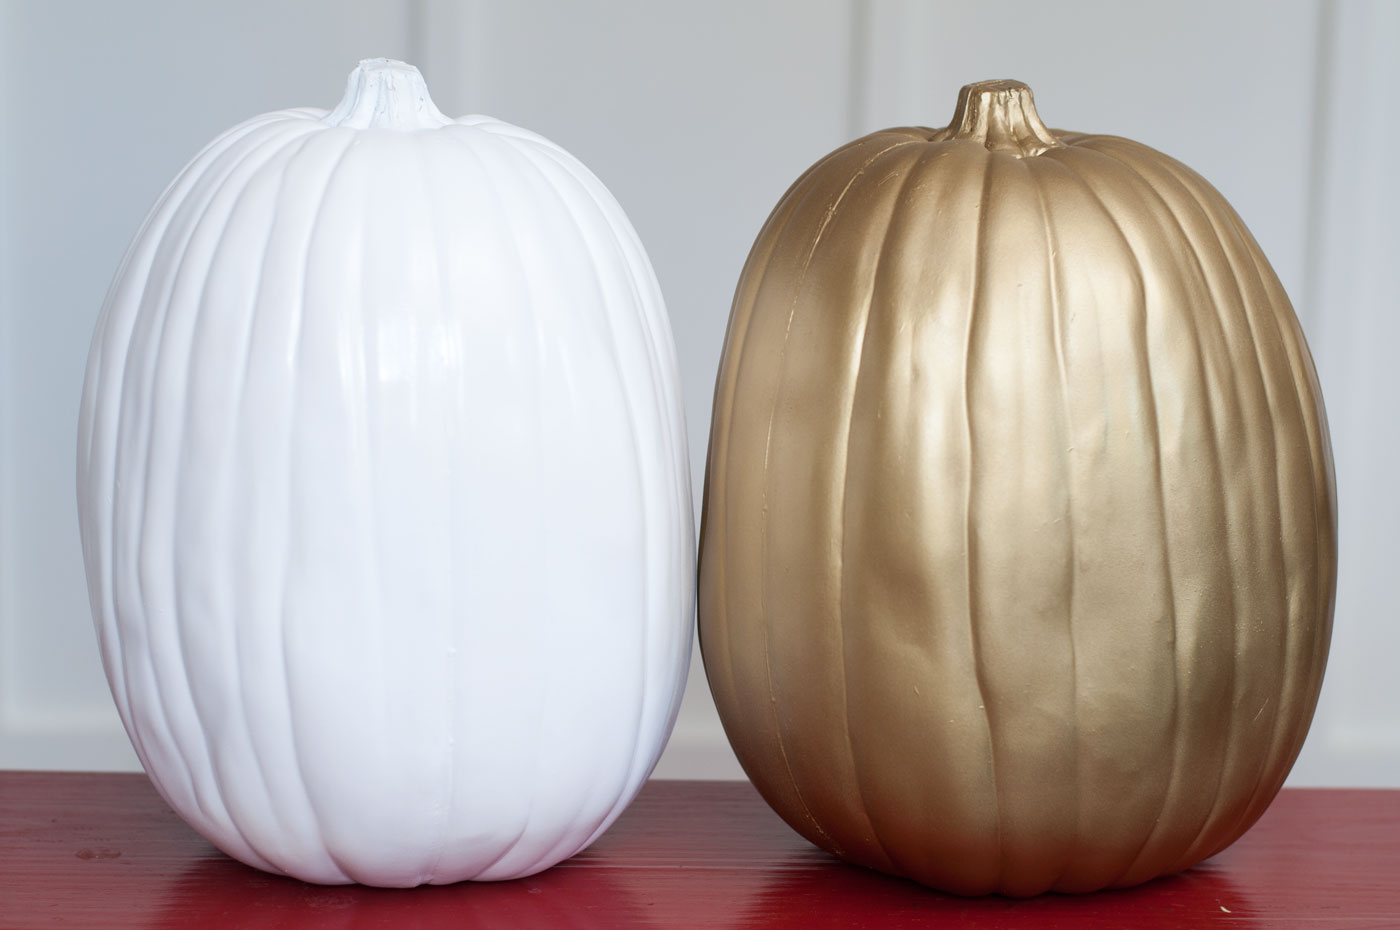
- Begin by applying your chosen base coat to each artificial gourd. Shield sections you wish to preserve with masking tape, then apply multiple thin layers. Allow the pumpkins to cure for 20 minutes before checking for complete coverage, touching up any missed spots as necessary.
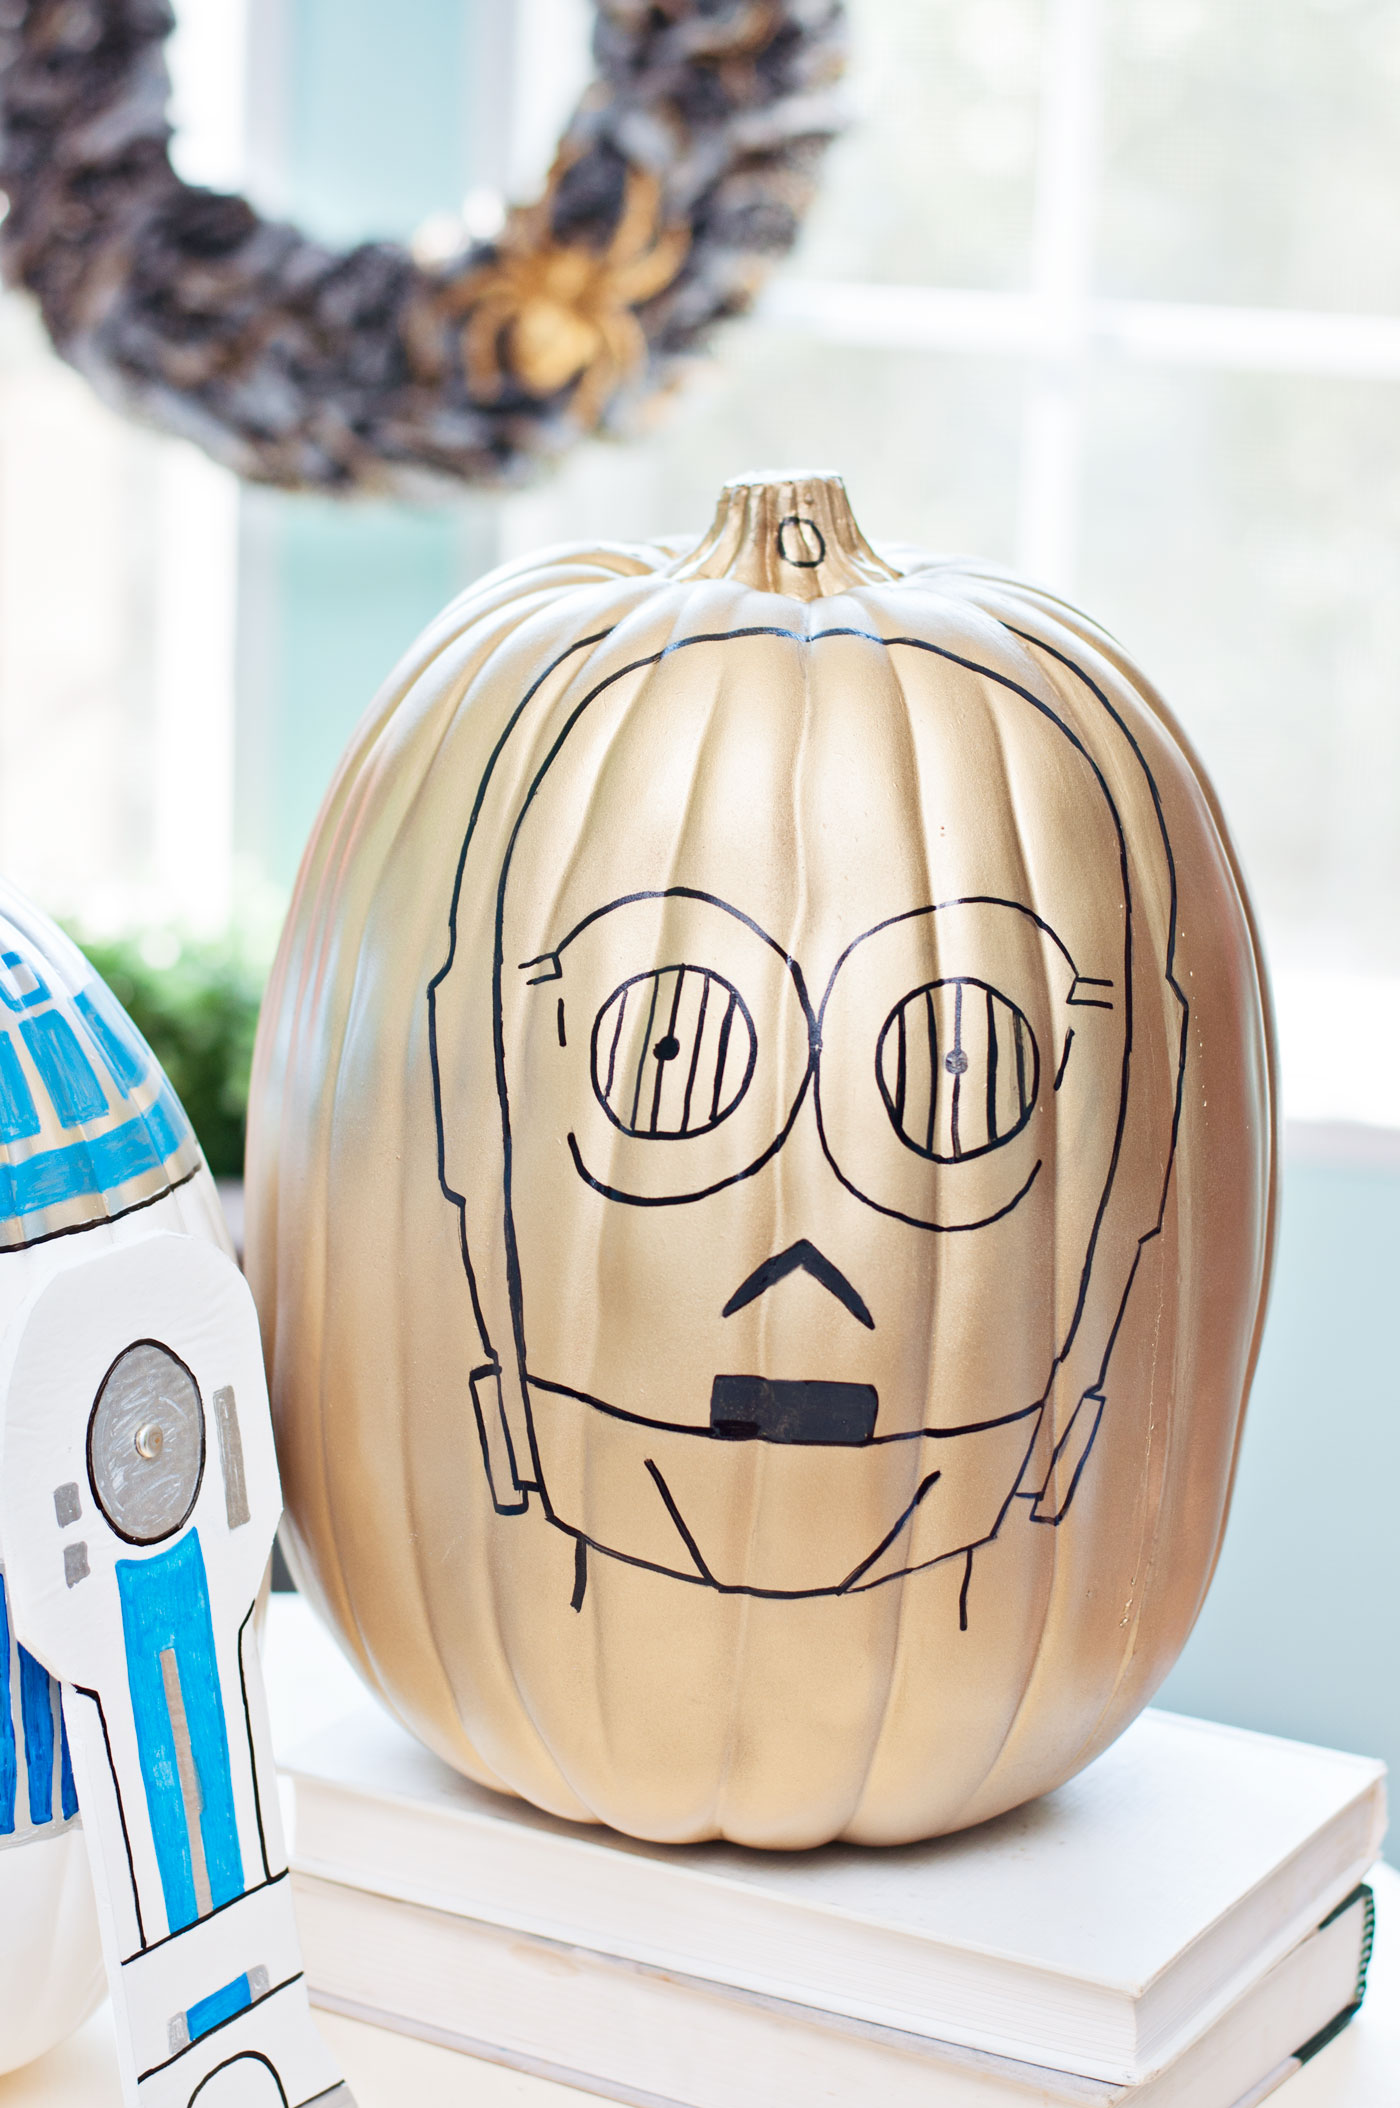
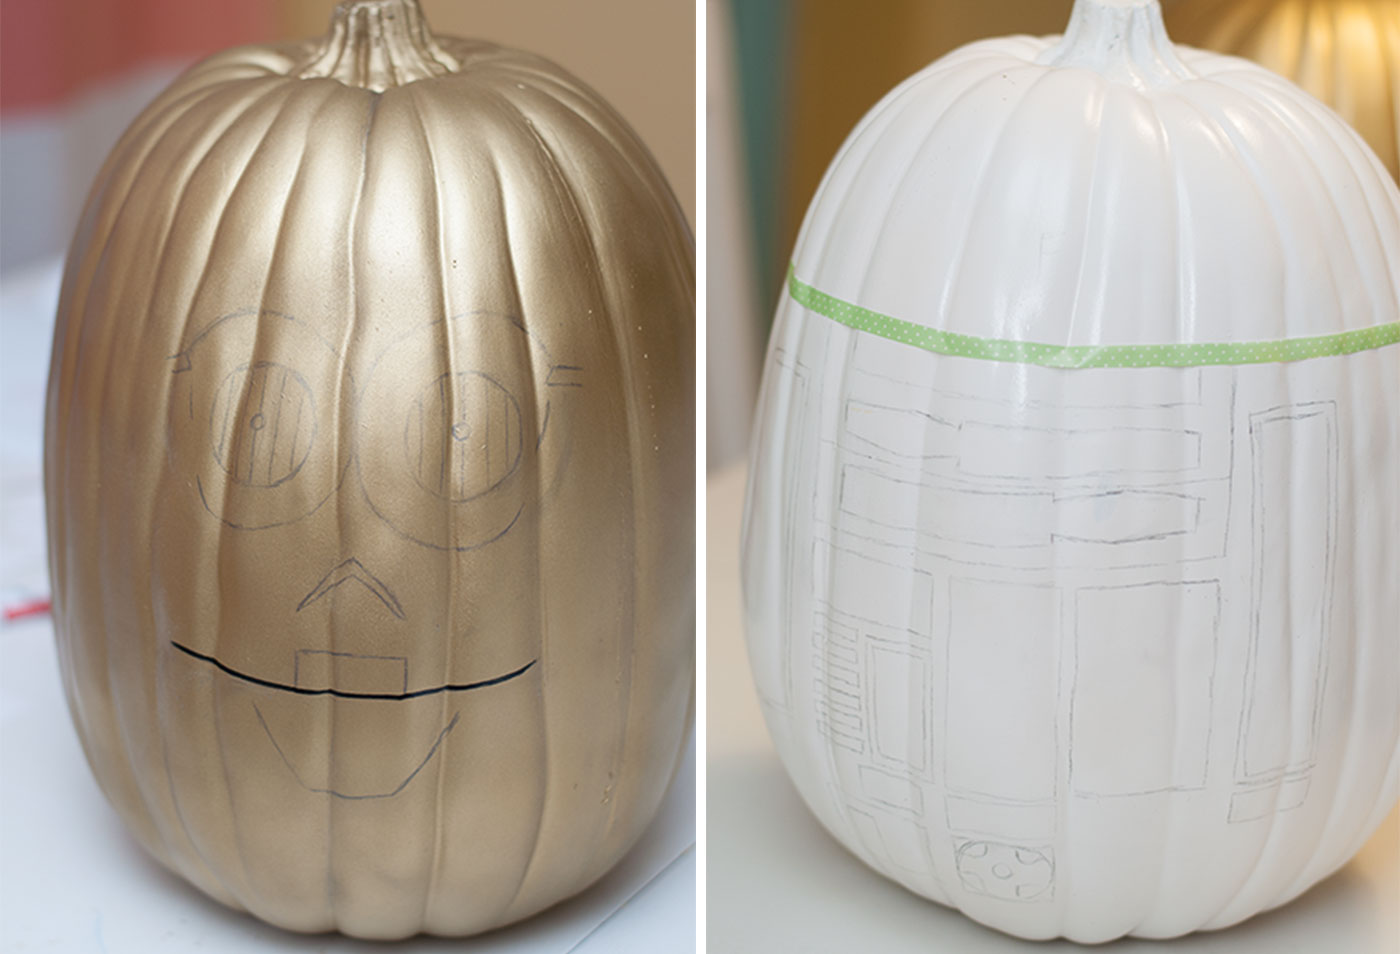
- Reference official droid designs to sketch your layouts directly onto the painted surfaces. Employ masking tape to guide your lines and ensure crisp, straight edges for the character outlines.
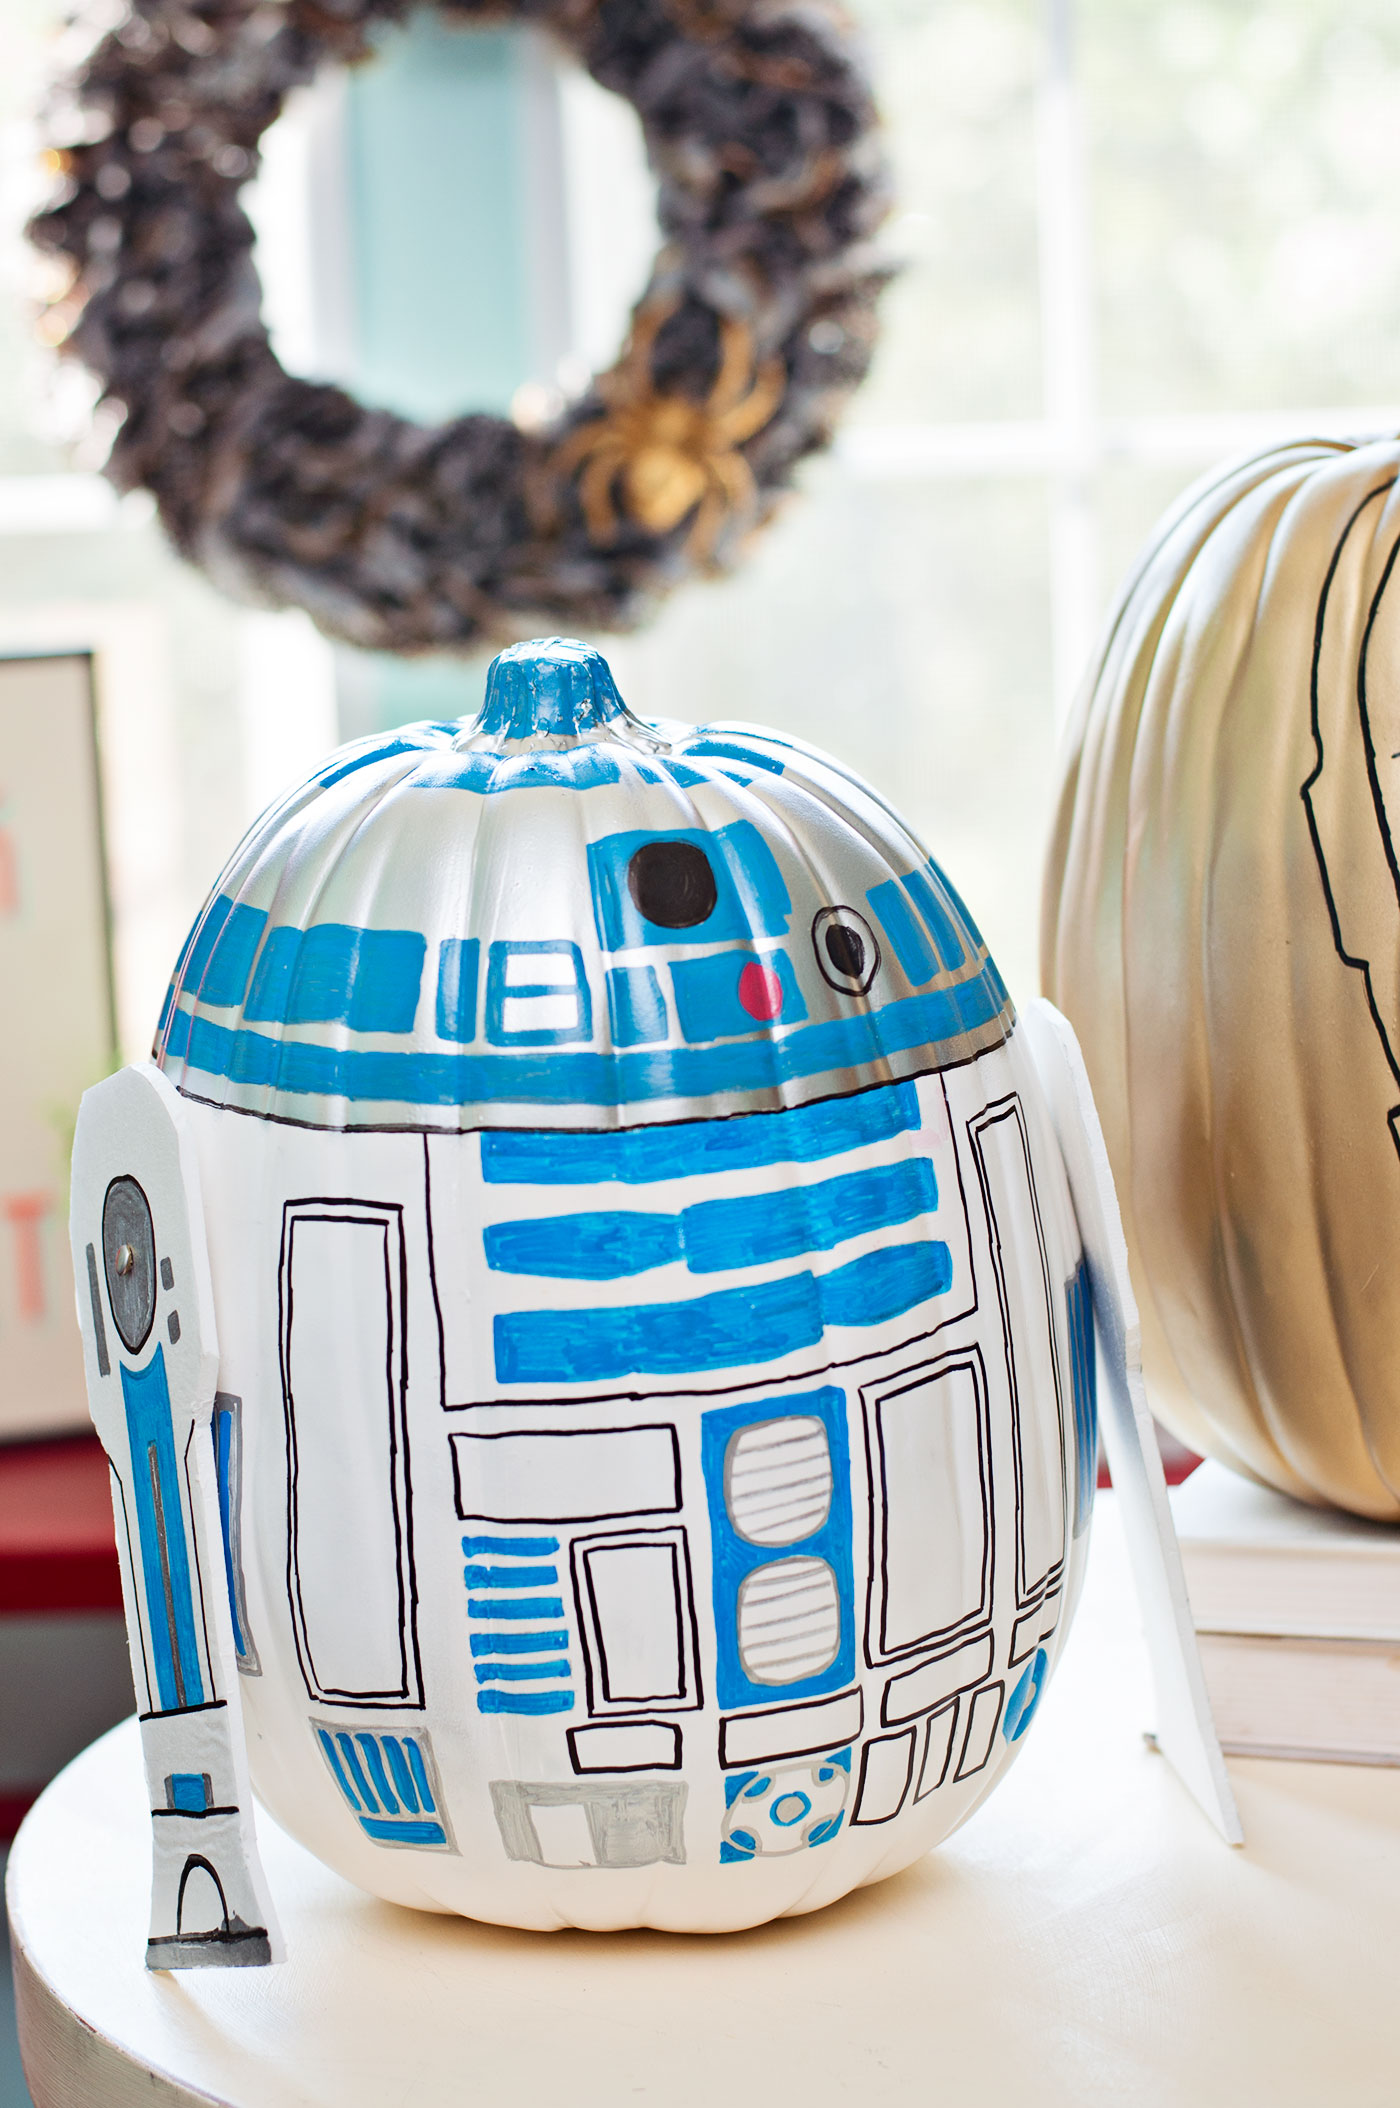
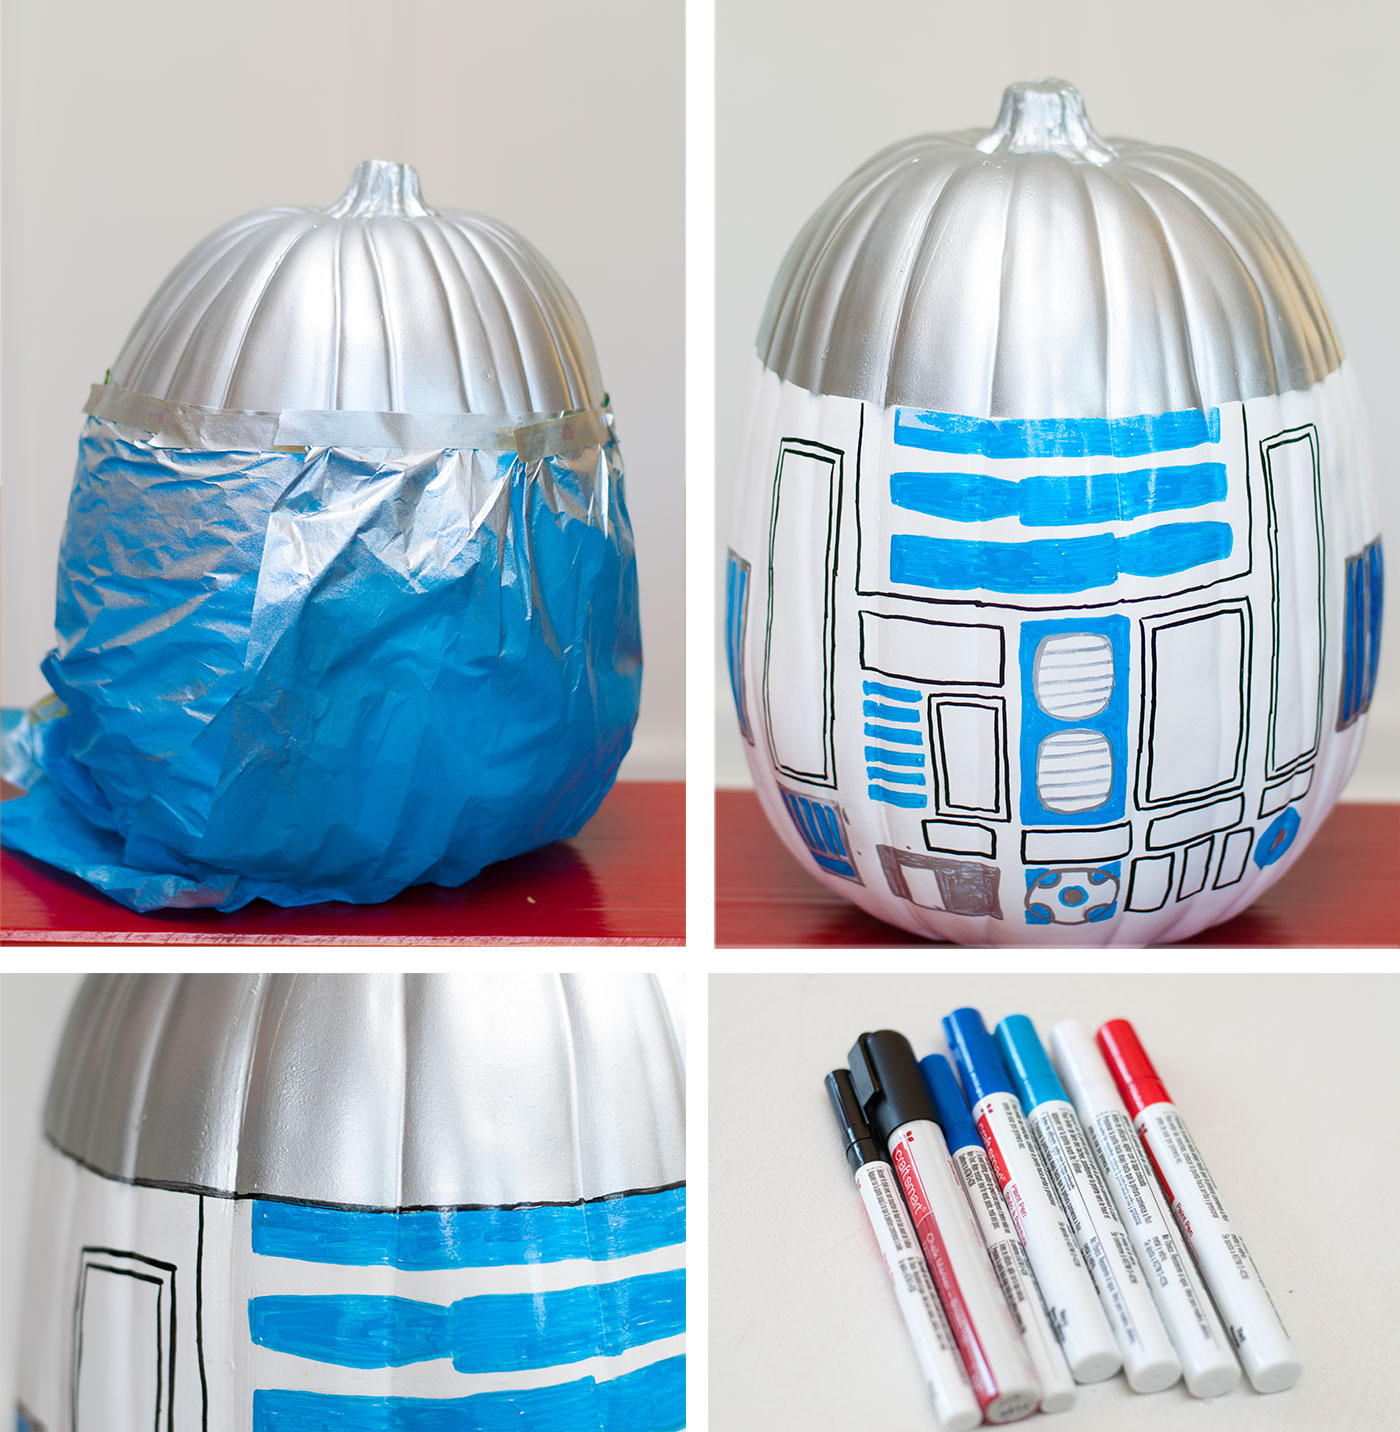
- For the astromech unit, apply a silver spray coat to the upper section outdoors for quicker application than using a marker. Once that layer is dry, switch to your paint pens to begin adding the intricate details.
- Continue using the markers to fill in the finer elements, allowing the ink to dry between coats and when changing colors. The markers glide smoothly over the spray base, but be careful not to smudge the artwork with your hands while it is still wet.
- Trace and cut the necessary appendages from white craft foam using a sharp blade. Enhance these pieces with additional pen details and allow them to dry fully.
- Secure the foam appendages to the pumpkin bodies using brads. If the material is too thick, pre-puncture holes with an awl before inserting the fasteners and adjusting the positioning to your preference.
More photos
Photos hosted by diycandy.com.