Advanced & SculptedNo. 2803 · The 2026 edition
Carving the Death Star
Turn a massive pumpkin into the Death Star with precise carving, candles, and lights for an epic Halloween centerpiece.
Our own summary of the original — the full post and photos live at fantasypumpkins.com.
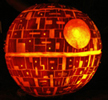
This guide walks you through carving a large round pumpkin into the Death Star from Star Wars. You'll create a center groove, horizontal lines, a laser circle, and a grid of boxes using basic carving tools. Finish with internal scraping and strategic lighting for a stunning display.
You'll need
Directions
- Pick a large round pumpkin weighing 70–120 pounds. Lay it on its back and use a sewing tape measure to find the center line across the front. Trace along both sides of the tape with a pen, then cut a groove about half an inch wide along those lines.
- Create horizontal lines by measuring 2–3 inches up and down from the center groove along the pumpkin's veins. For large pumpkins, aim for 5 lines above and 5 below. Mark these points on the veins to account for the pumpkin's uneven shape.
- Position the laser circle in a space about 5 inches wide between veins on the upper part of the pumpkin, at least 1 inch above the top horizontal line. Use a round object like a small bowl or teacup base to trace a circle.
- Carve along the circle outline using Speedball tools. Then cut a small hole in the center of the circle to represent the laser beam.
- Carve the horizontal lines by following the dot markings on the veins. Use a medium-sized Speedball V-line cutter. The lines don't need to be perfectly straight, just proportional.
- Smooth the center groove with a flat clay loop tool, making it deep and straight-walled. Smooth any skinned areas as you go.
- Widen the fourth horizontal lines above and below the middle groove by carving 3 or 4 V-lines side by side. This creates the apex of the Death Star's curve.
- Carve the first row of boxes by making vertical cuts between the horizontal lines every 2 inches all the way around the pumpkin. Keep the vertical lines parallel to the pumpkin's veins.
- Continue carving boxes in subsequent rows, staggering vertical lines between those above and below. Create varied shapes like rectangles that span multiple lines. Carve all the way to the top and bottom.
- Customize by cutting small squares, shaving sides, or making complex shapes within the blocks. Avoid cutting the middle groove too deep to prevent the pumpkin from splitting.
- Finalize the circle by cutting deep into the pumpkin if meat remains inside the laser area, for a realistic effect. Alternatively, shine a laser pointer through a hole cut in the back.
- Finish by scraping the inside of the pumpkin to ensure even light transmission. Insert Lite Brites or Fright Lights, plus candles (one in the middle groove, others in muted square areas). Cut a hole in the back for airflow. Display the pumpkin 2–3 feet off the ground.
More photos
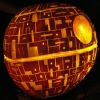
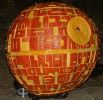
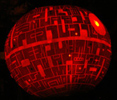
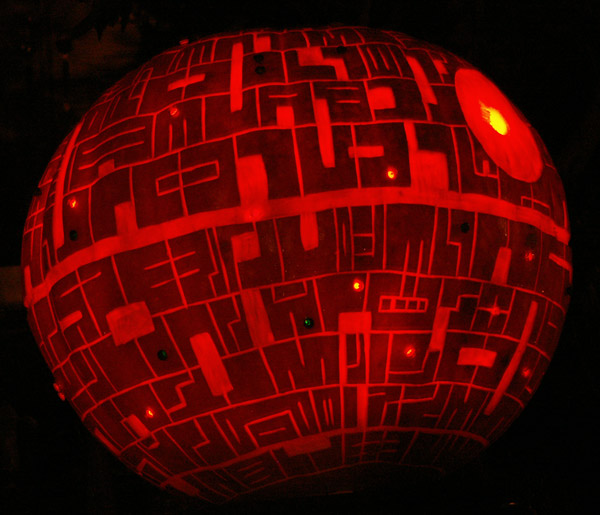
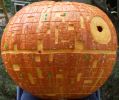
Photos hosted by fantasypumpkins.com.
:max_bytes(150000):strip_icc()/la102831_1007_pumpkins_vert_2-a42fb7113abc47d3b079fedb38935b9c.jpg)



:strip_icc()/pumpkin-fire-pit-log-frame-097398f9-63e141f8689d488eb85af8266b5491f8.jpg)