Advanced & SculptedNo. 3839 · The 2026 edition
Cookie Cutter Pumpkin Carving
Skip the traditional knife work and try a fun, safe alternative for your Halloween decor! Using everyday kitchen tools, you can create intricate pumpkin designs that will impress your guests.
Our own summary of the original — the full post and photos live at hgtv.com.
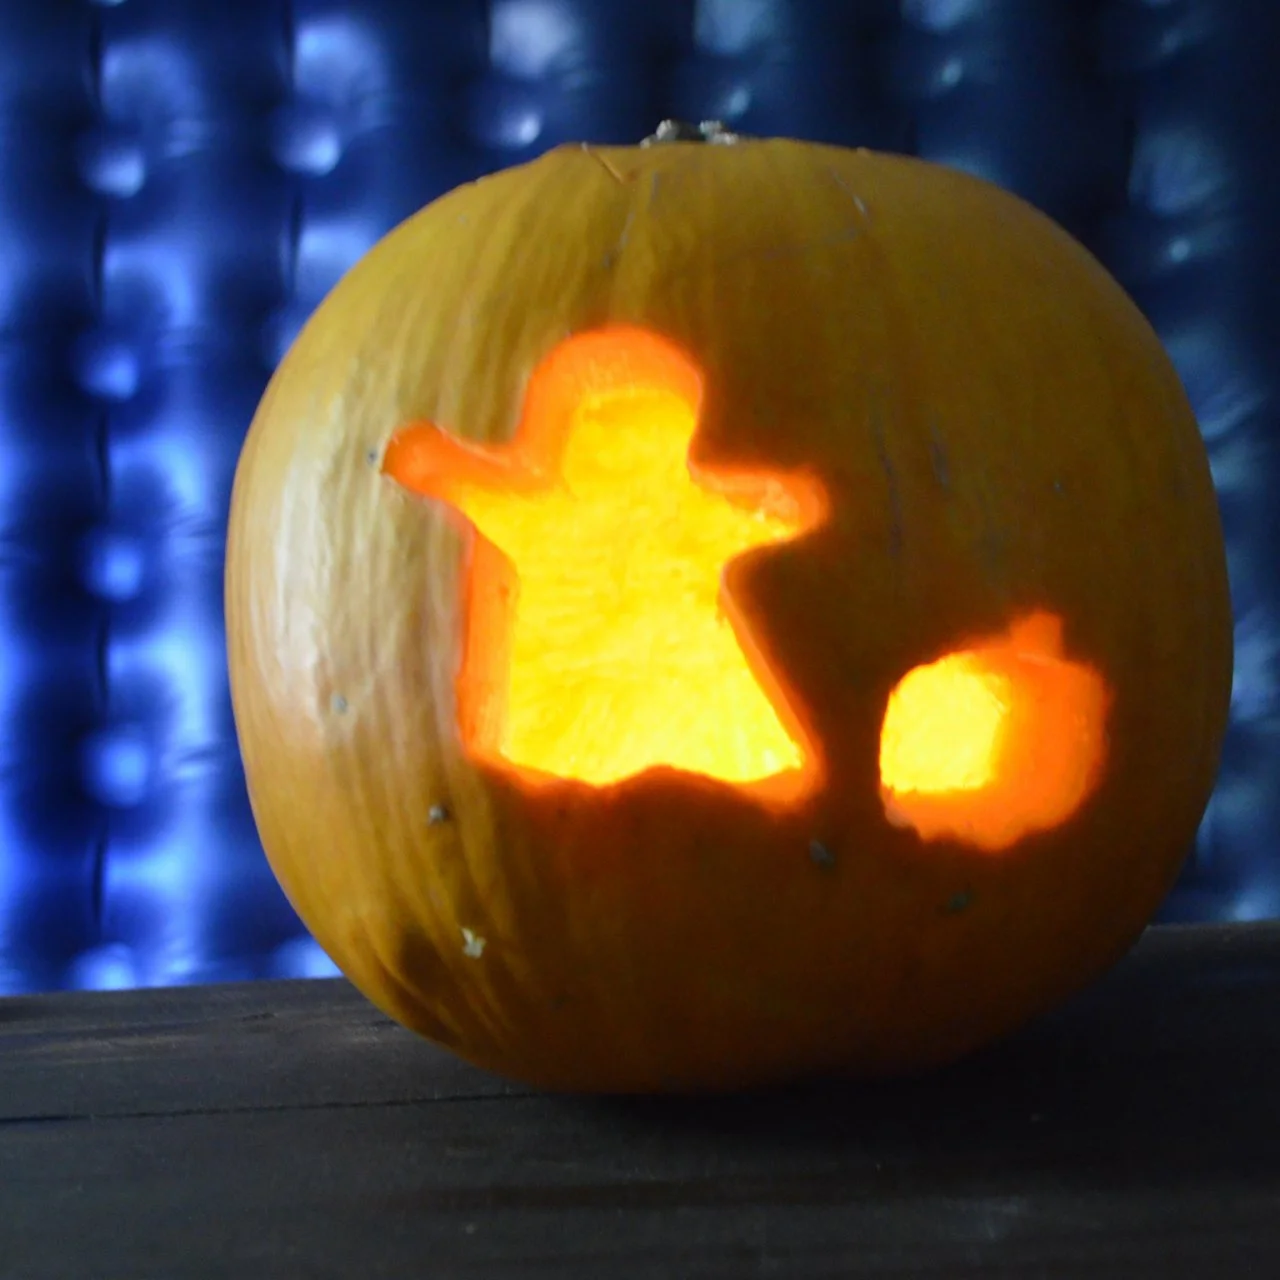
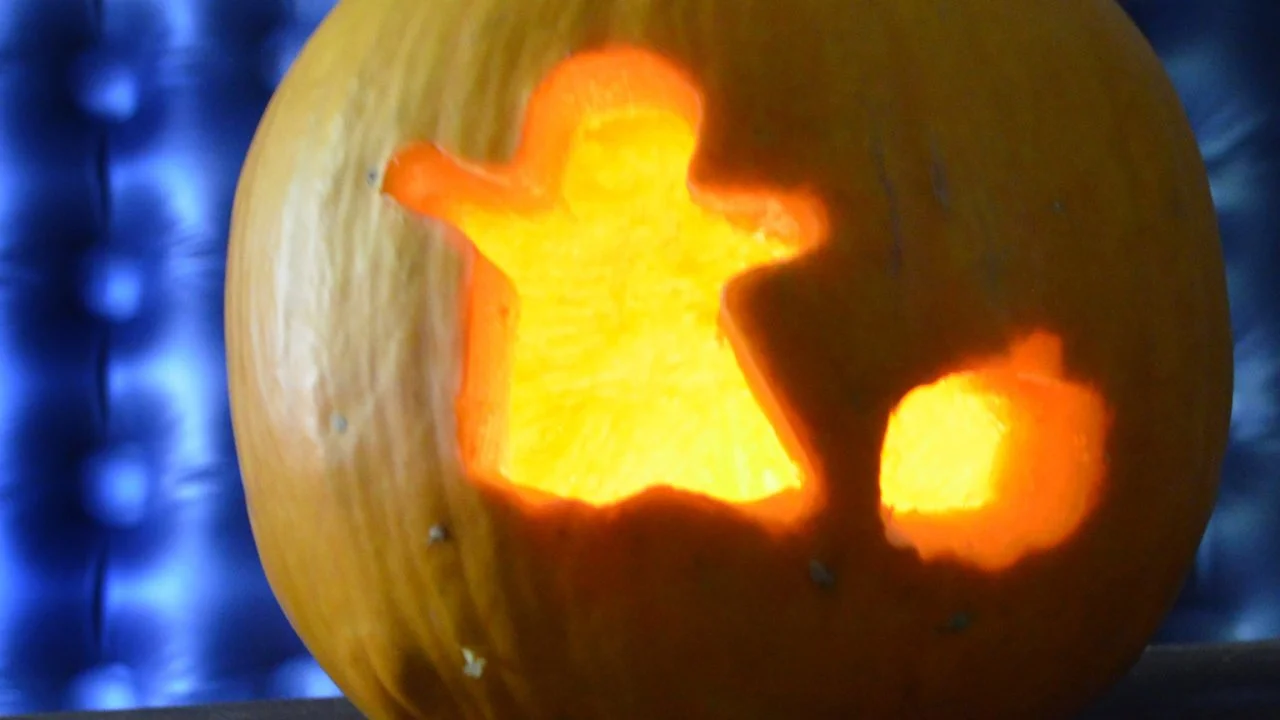
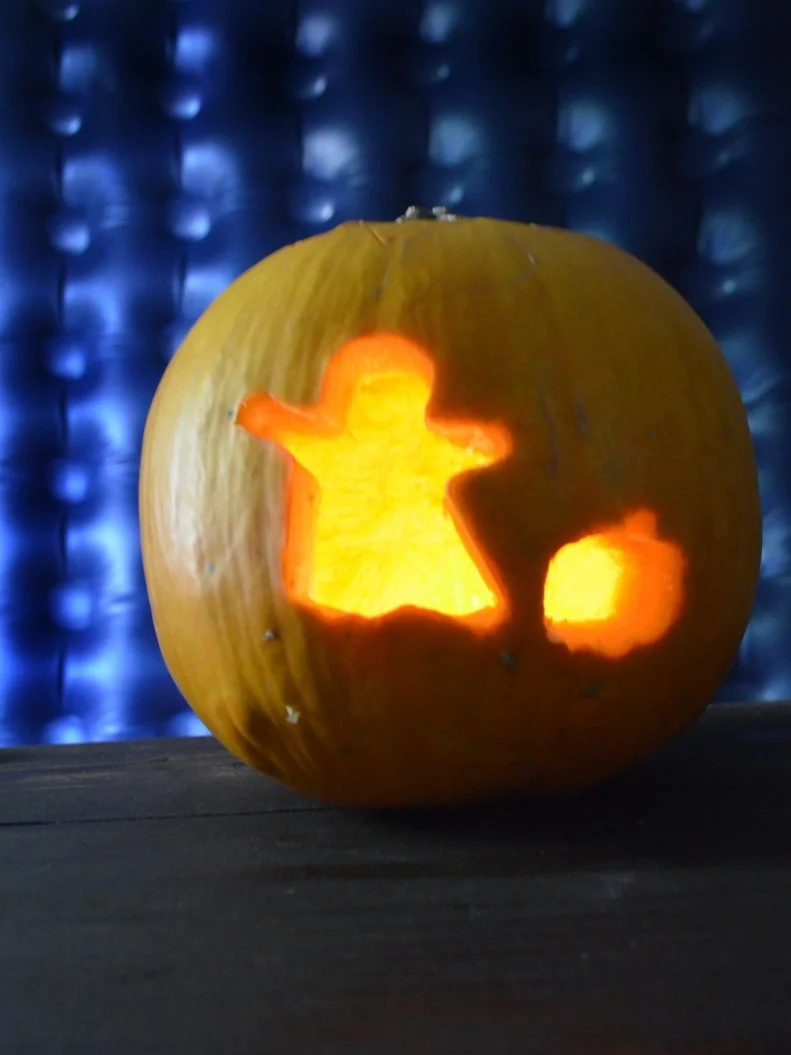
Transform a standard pumpkin into a festive light display by using metal cookie cutters and a rubber mallet to imprint shapes. This method simplifies the carving process, making it accessible for all skill levels while producing unique, glowing patterns.
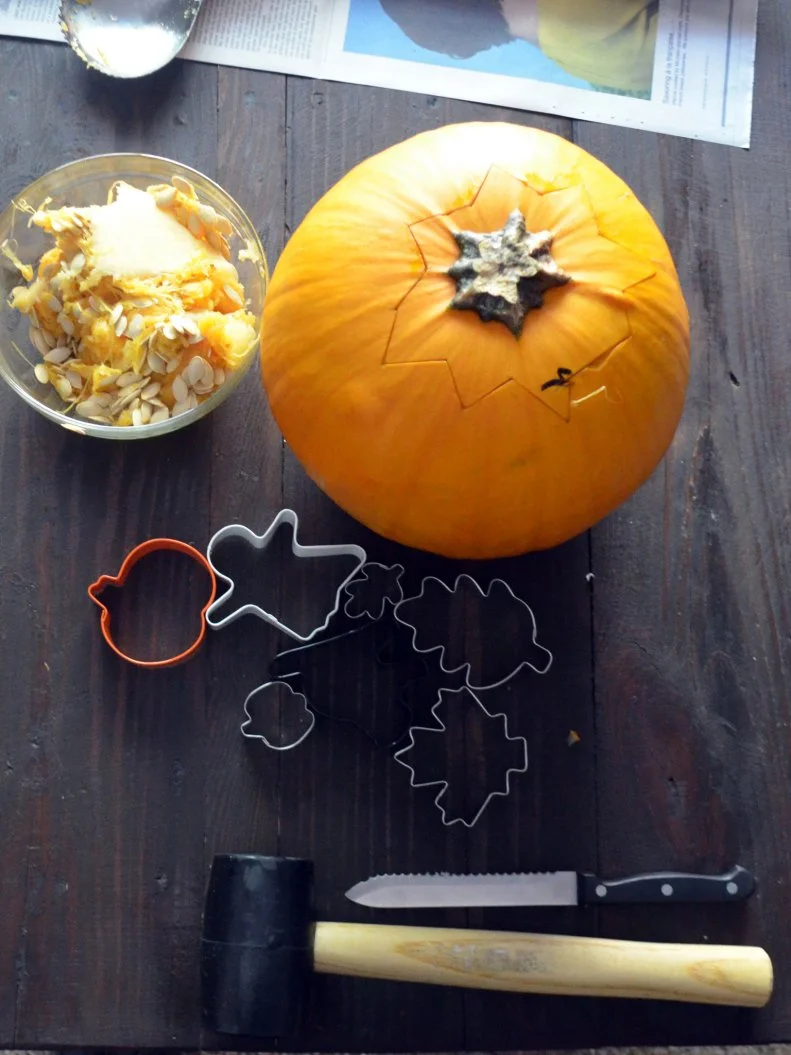
You'll need
Directions
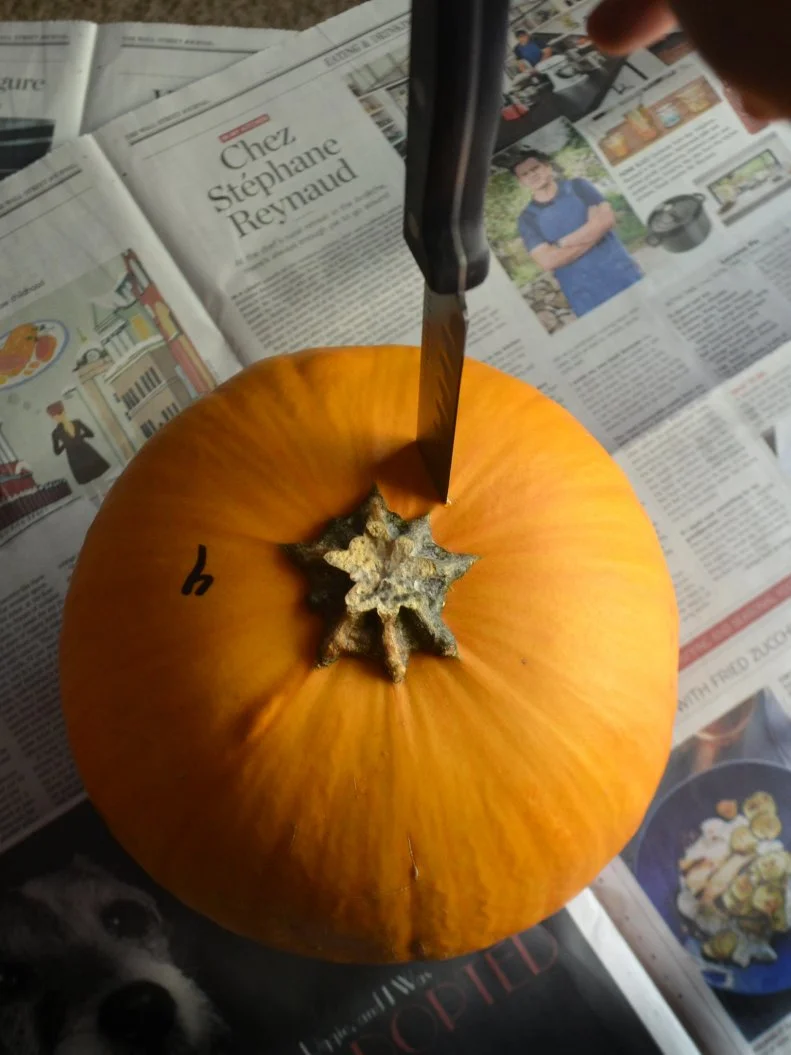
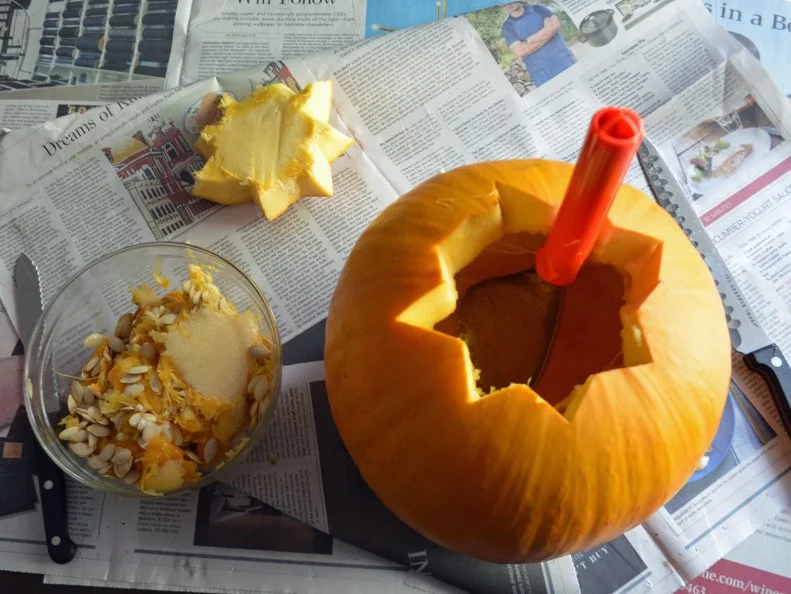
- Start by slicing around the pumpkin's stem to create an opening for cleaning.
- Empty the interior by scooping out the seeds, stringy pulp, and inner flesh using a large spoon, a specialized scraper, or a dedicated pumpkin tool.
- Select your metal cookie cutters now, as their sturdy construction handles the tough rind better than plastic versions. The variety of shapes available allows for endless creative designs.
- Position your chosen cutter on the cleaned pumpkin surface while holding the gourd securely in your lap.
- Gently tap the cutter into the pumpkin skin with a rubber mallet. If kids are assisting, ensure close supervision to keep everyone safe.
- After the cutter is fully embedded, trace the outline with a knife to separate the shape from the rest of the skin.
- Lift out the cutter along with the cut piece of skin, then reposition your tools to carve additional designs.
- Place a lit candle inside the hollowed pumpkin, wait for nightfall, and enjoy watching your carved patterns glow on the surrounding walls.
More photos

Photos hosted by hgtv.com.
:max_bytes(150000):strip_icc()/la102831_1007_pumpkins_vert_2-a42fb7113abc47d3b079fedb38935b9c.jpg)




:strip_icc()/pumpkin-fire-pit-log-frame-097398f9-63e141f8689d488eb85af8266b5491f8.jpg)