Painted PumpkinsNo. 7263 · The 2026 edition
Craft Pumpkin Painting
Transform ordinary gourds into spooky spirits with this simple painting project using satin acrylics and a few basic brushes.
Our own summary of the original — the full post and photos live at funwithmama.com.
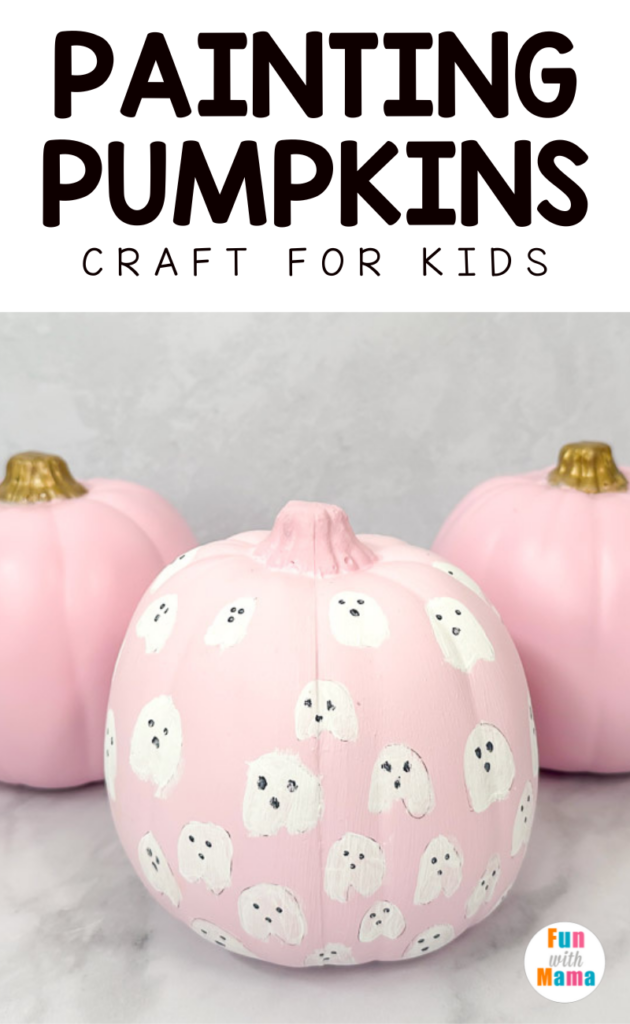
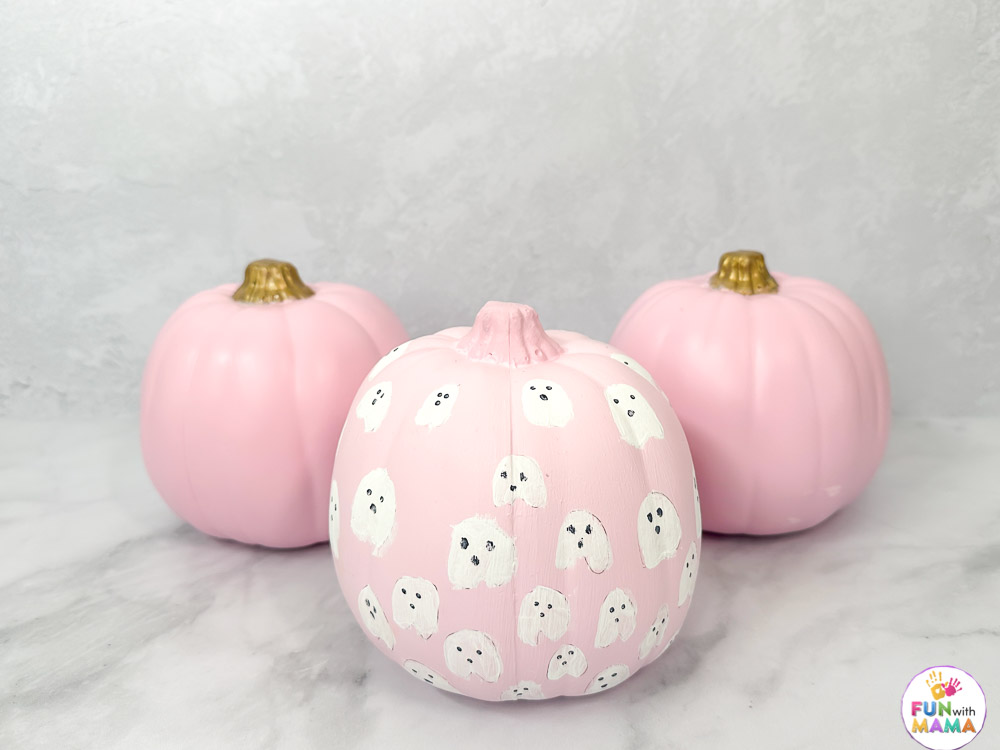
This guide walks you through painting craft pumpkins with satin acrylic paint, starting with a base coat and stem accent, sketching ghost outlines, filling them with white paint, and adding final details with black paint or a marker.
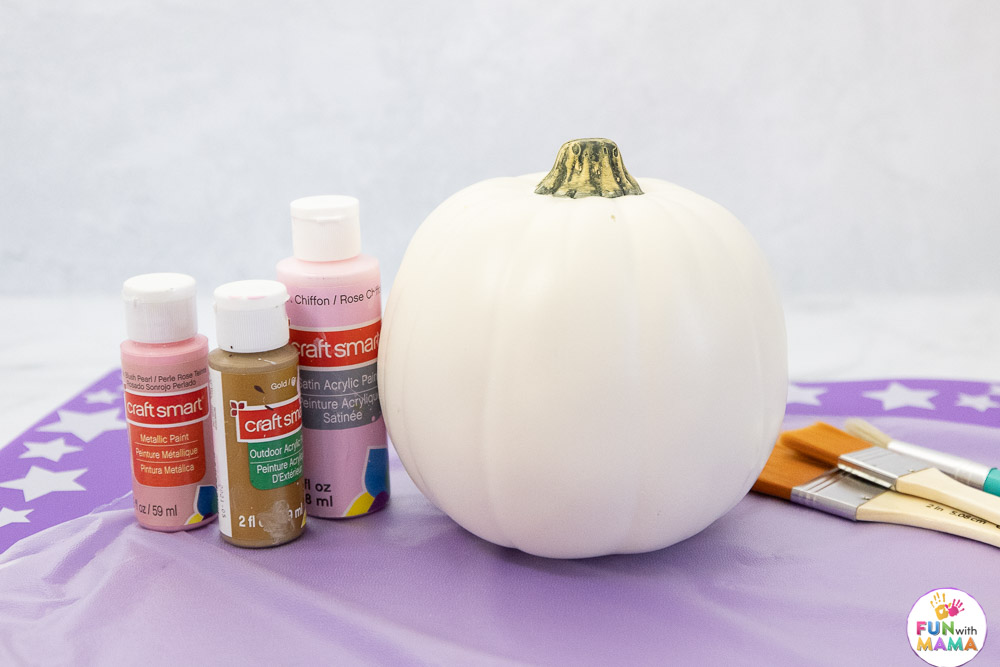
You'll need
Directions
- Protect your work area with newspaper or a drop cloth. Since acrylic paint does not rinse out easily, you will want to shield both your table and your clothing from splatters.
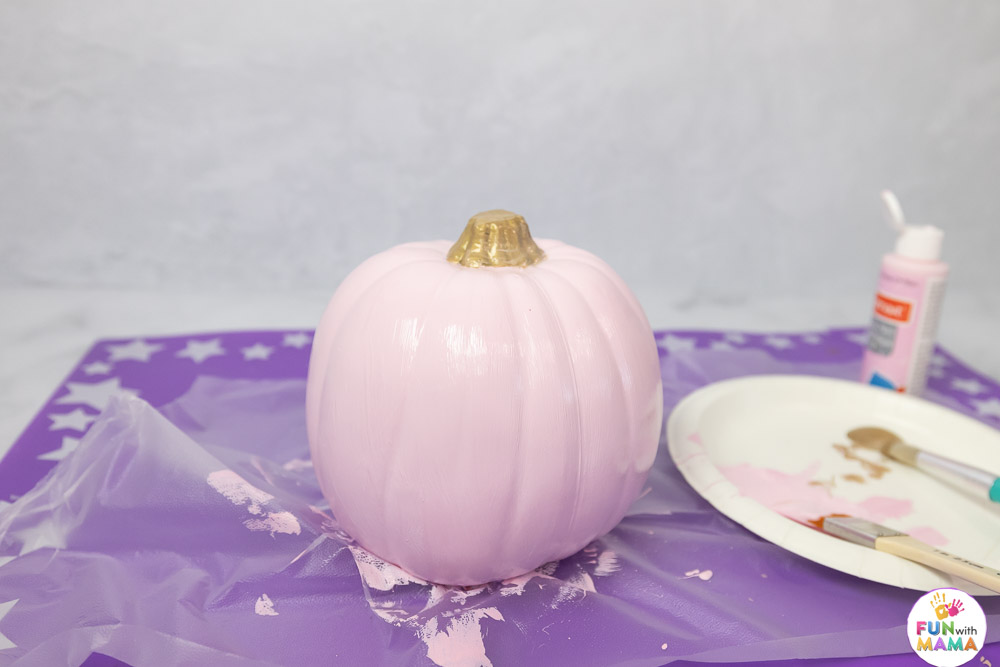
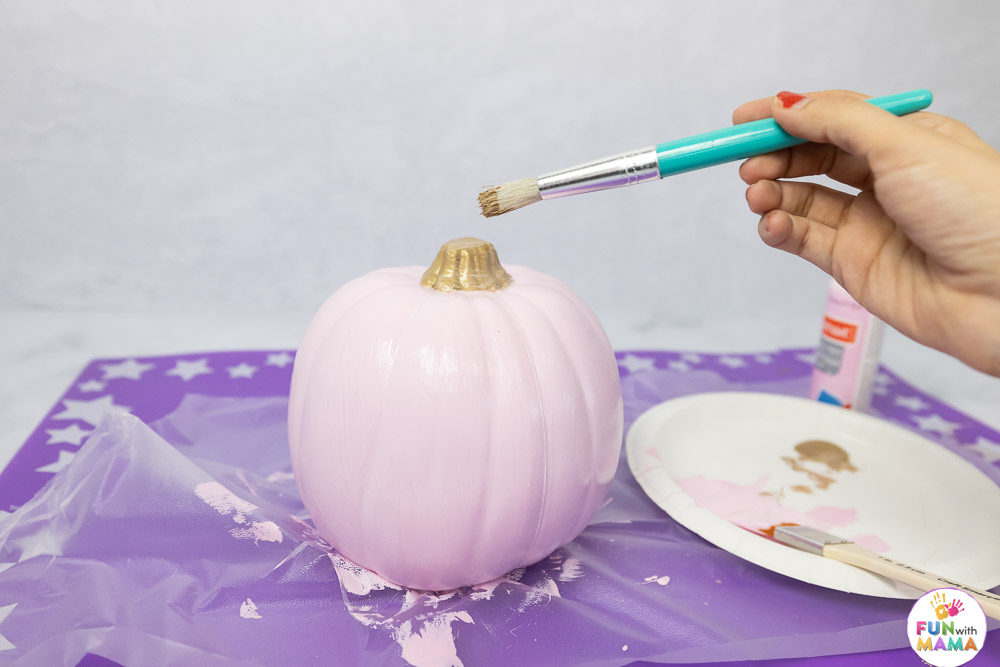
- Apply your selected base coat to the pumpkin body. For the stem, use a contrasting shade like gold to create a distinct look.
- Allow the initial layer to dry fully before deciding if additional coverage is needed. Applying two to three layers typically provides the best opacity.
- With the base color dry, use a pencil to sketch the shapes of your ghost figures directly onto the pumpkin surface.
- Carefully fill in the sketched ghost shapes using white paint and a fine-tipped brush for precision.
- After the white paint has dried, add facial features to the ghosts using black paint or a permanent marker to complete the design.
More photos
Photos hosted by funwithmama.com.





