Painted PumpkinsNo. 3333 · The 2026 edition
DIY Chalk Paint Mini Pumpkins
Turn mini pumpkins into charming decor with this easy chalk paint and stencil technique!
Our own summary of the original — the full post and photos live at handmadecharlotte.com.
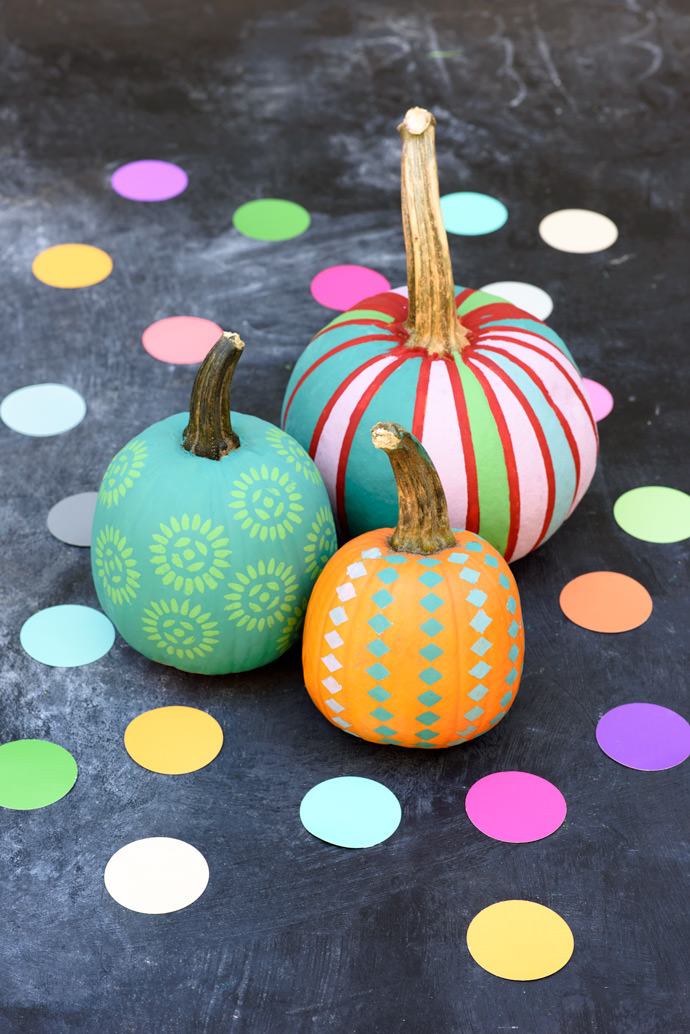
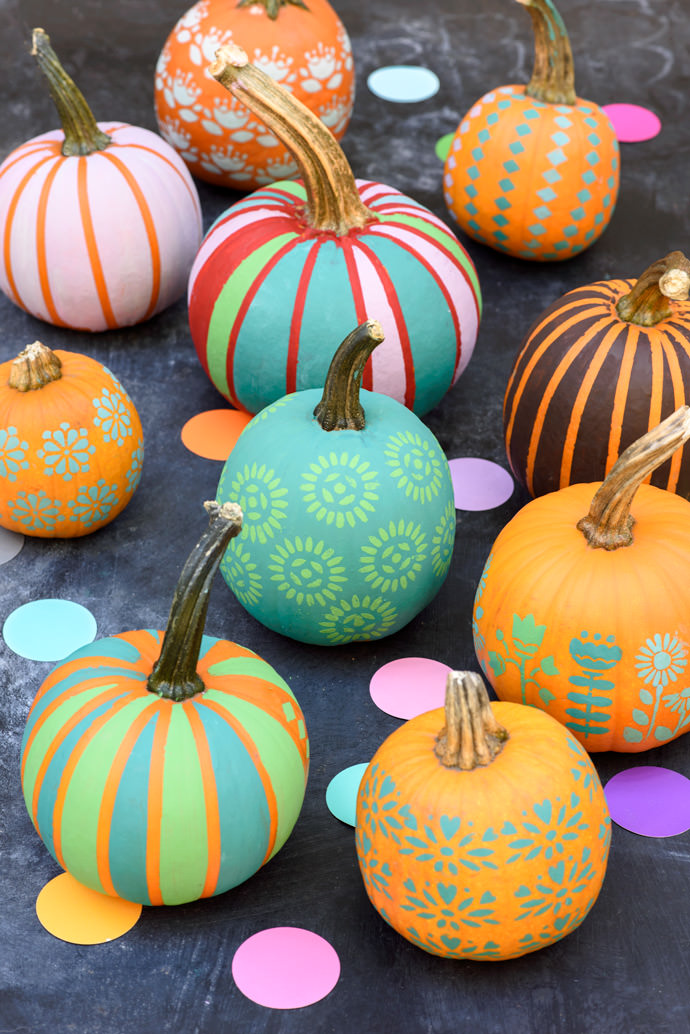
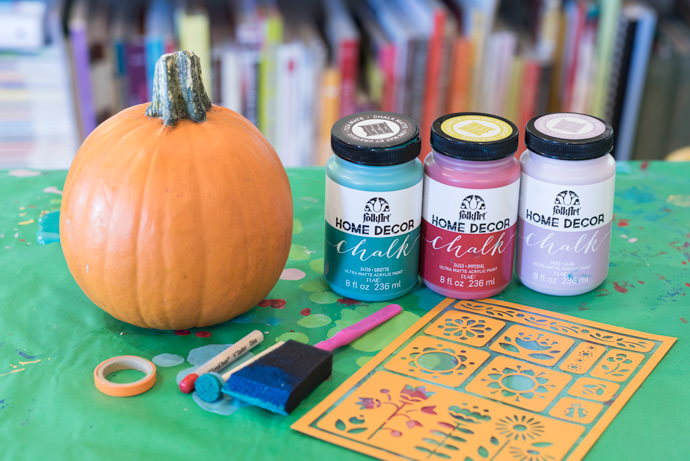
This craft uses FolkArt Home Décor Chalk Paint and stencils to decorate mini pie pumpkins. You'll apply a base coat, then add stenciled patterns or painter's tape stripes for a custom look. The finished pumpkins make perfect fall centerpieces.
You'll need
Directions
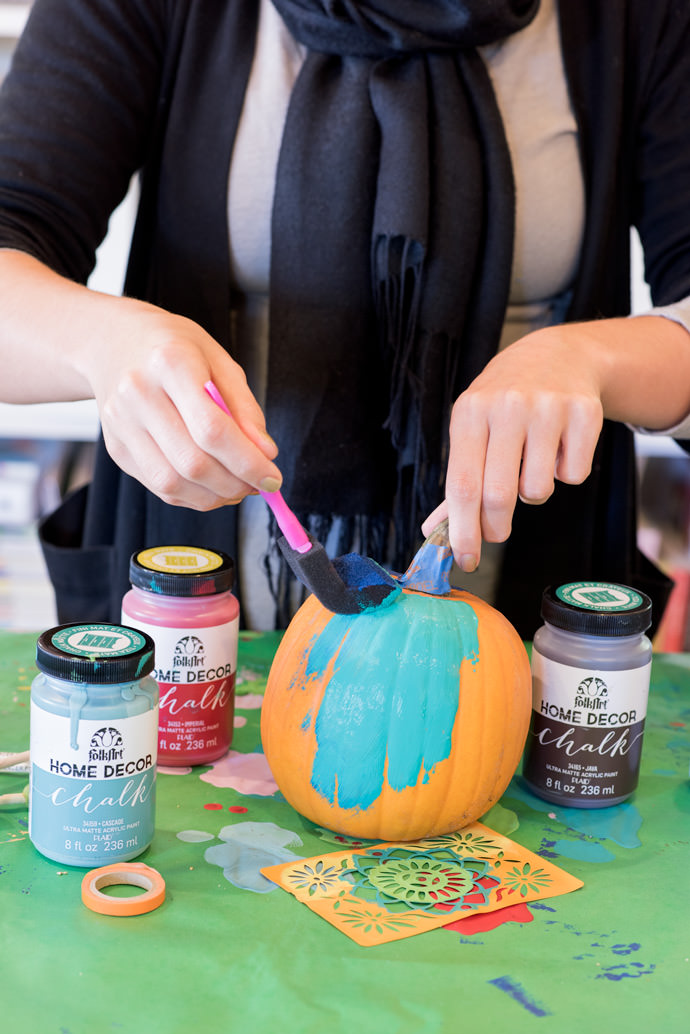
- Start by wiping the pumpkin with a damp sponge and wrapping the stem in painter’s tape. Ensure the pumpkin is completely dry before you begin. After finalizing your design, use a sponge brush to apply a solid coat of chalk paint. You will likely need two coats for full coverage.
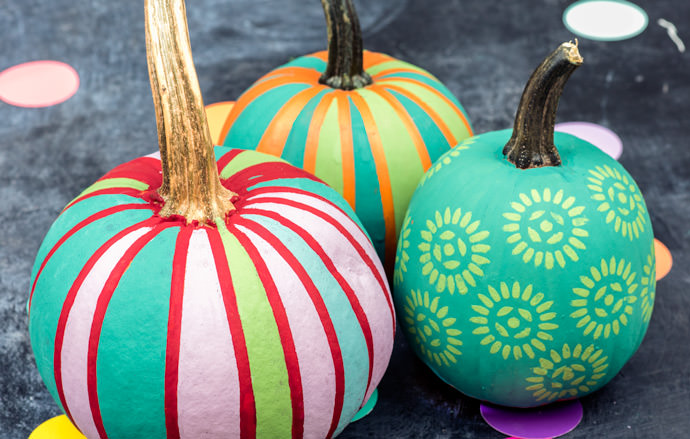
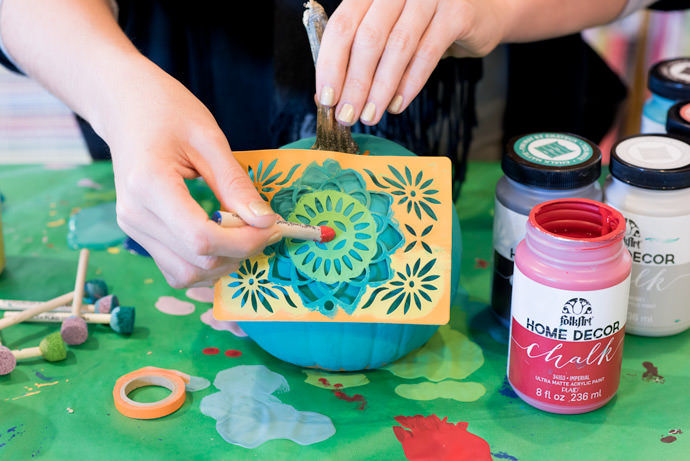
- Once the paint is dry, position your stencil flat against the pumpkin, making sure no edges are lifted. Using a paint dauber, apply paint in small, repeated dabs until the stencil area is fully covered. Let the paint dry before carefully removing the stencil. Repeat this process to complete your pattern.
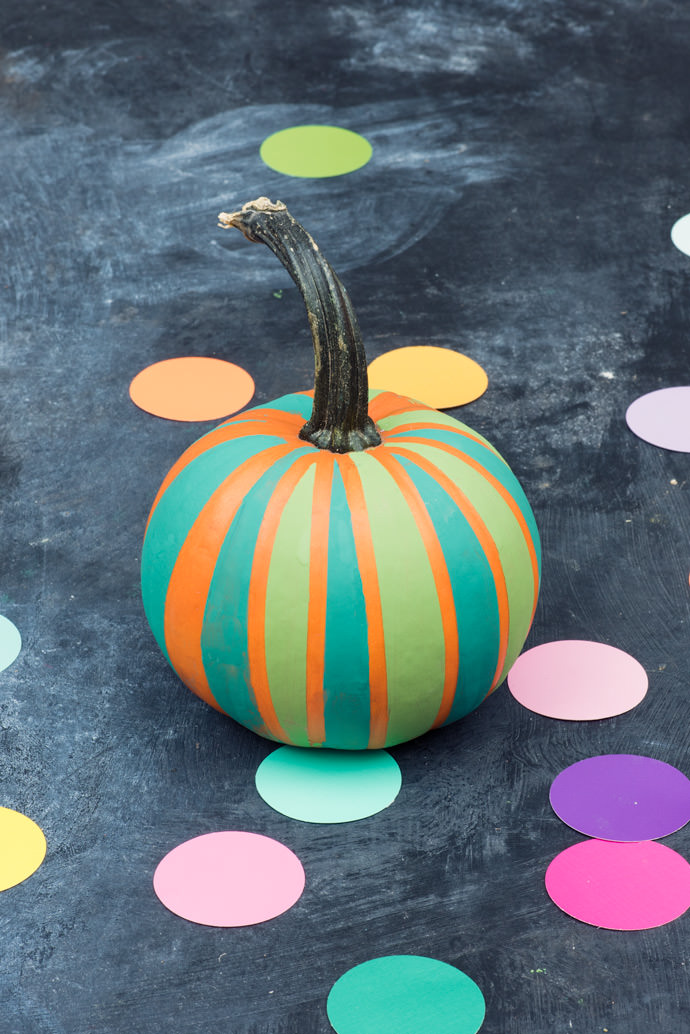
- For a striped pumpkin, run painter’s tape along the sides to create stripes. Apply paint to the uncovered sections with a sponge brush. Allow the paint to dry before peeling off the tape.
More photos
Photos hosted by handmadecharlotte.com.





