Wreaths & GarlandsNo. 5358 · The 2026 edition
DIY Clay Ghost Garland
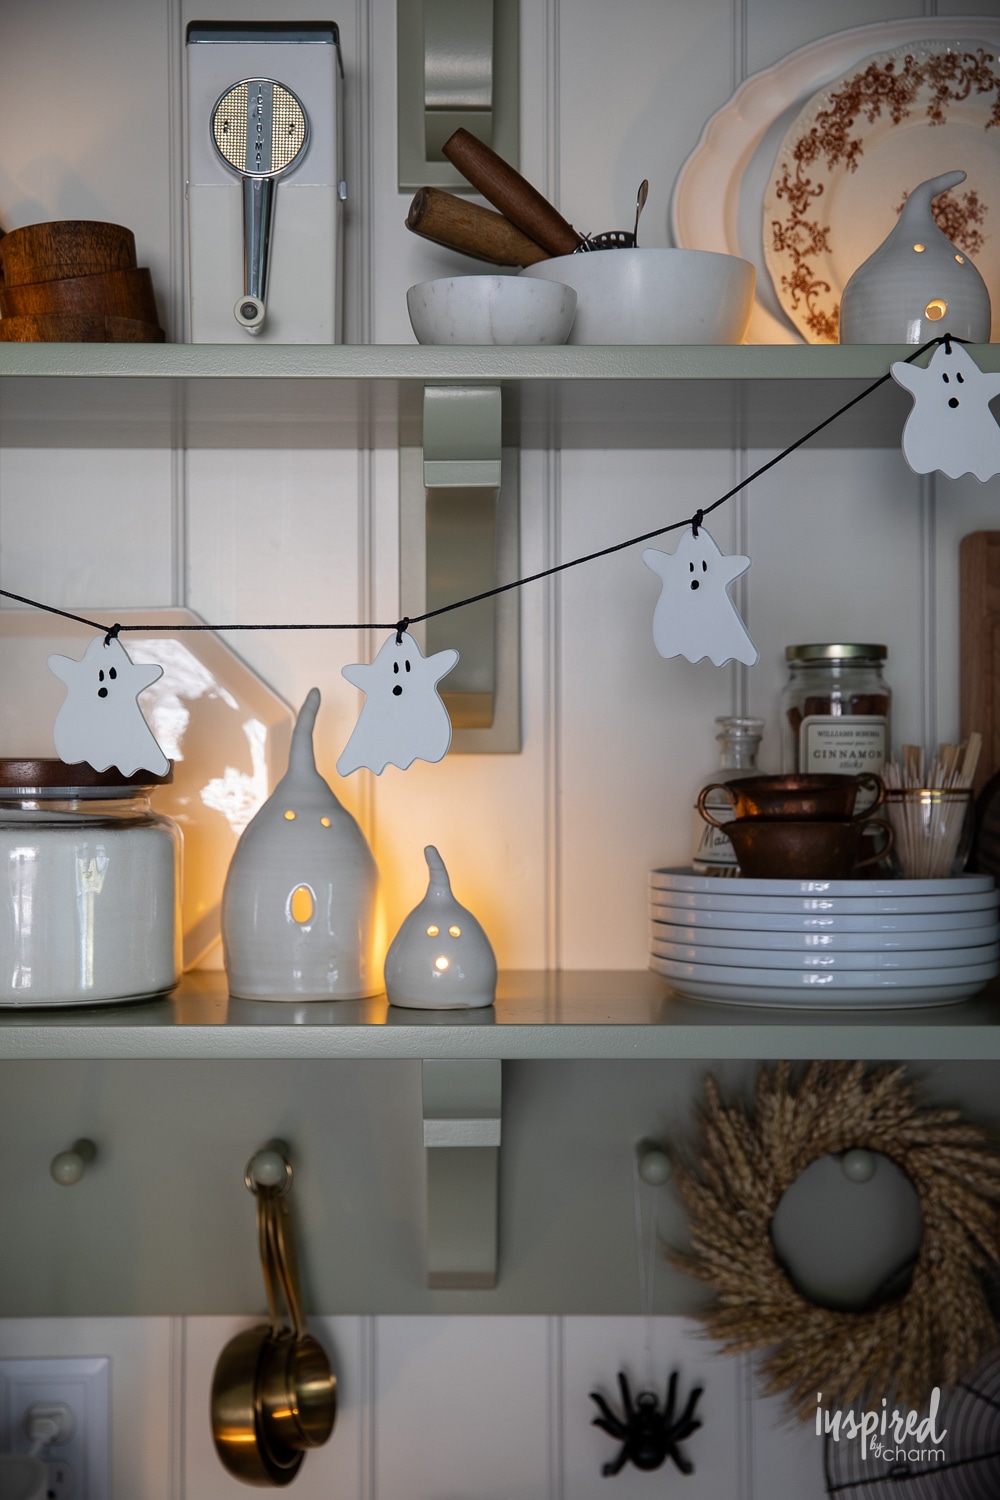
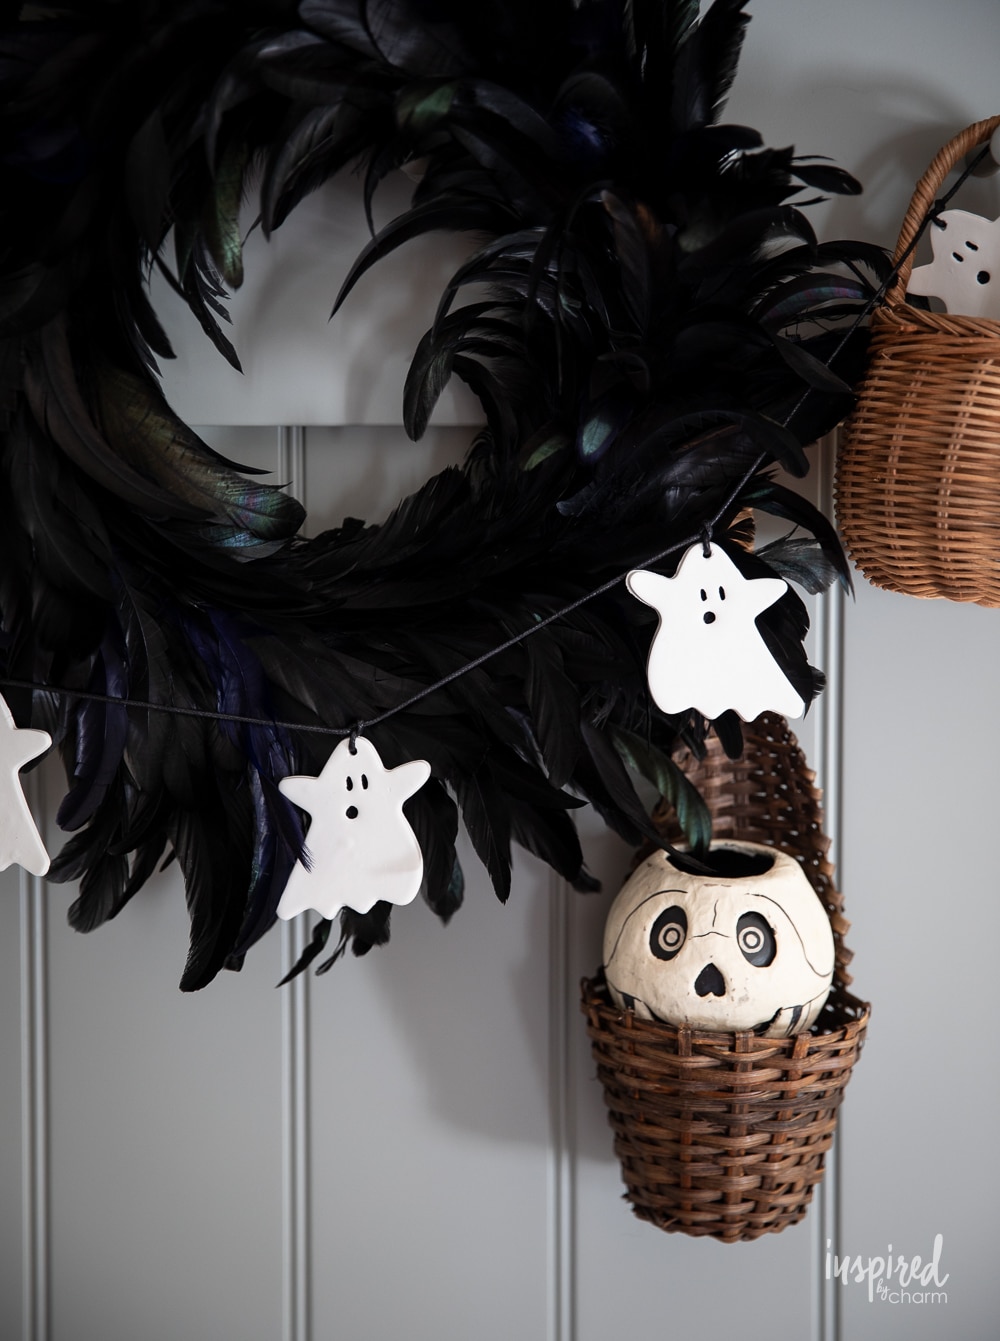
Craft a charming clay ghost garland with simple tools and oven-bake clay—perfect for Halloween decor!
Our own summary of the original — the full post and photos live at inspiredbycharm.com.
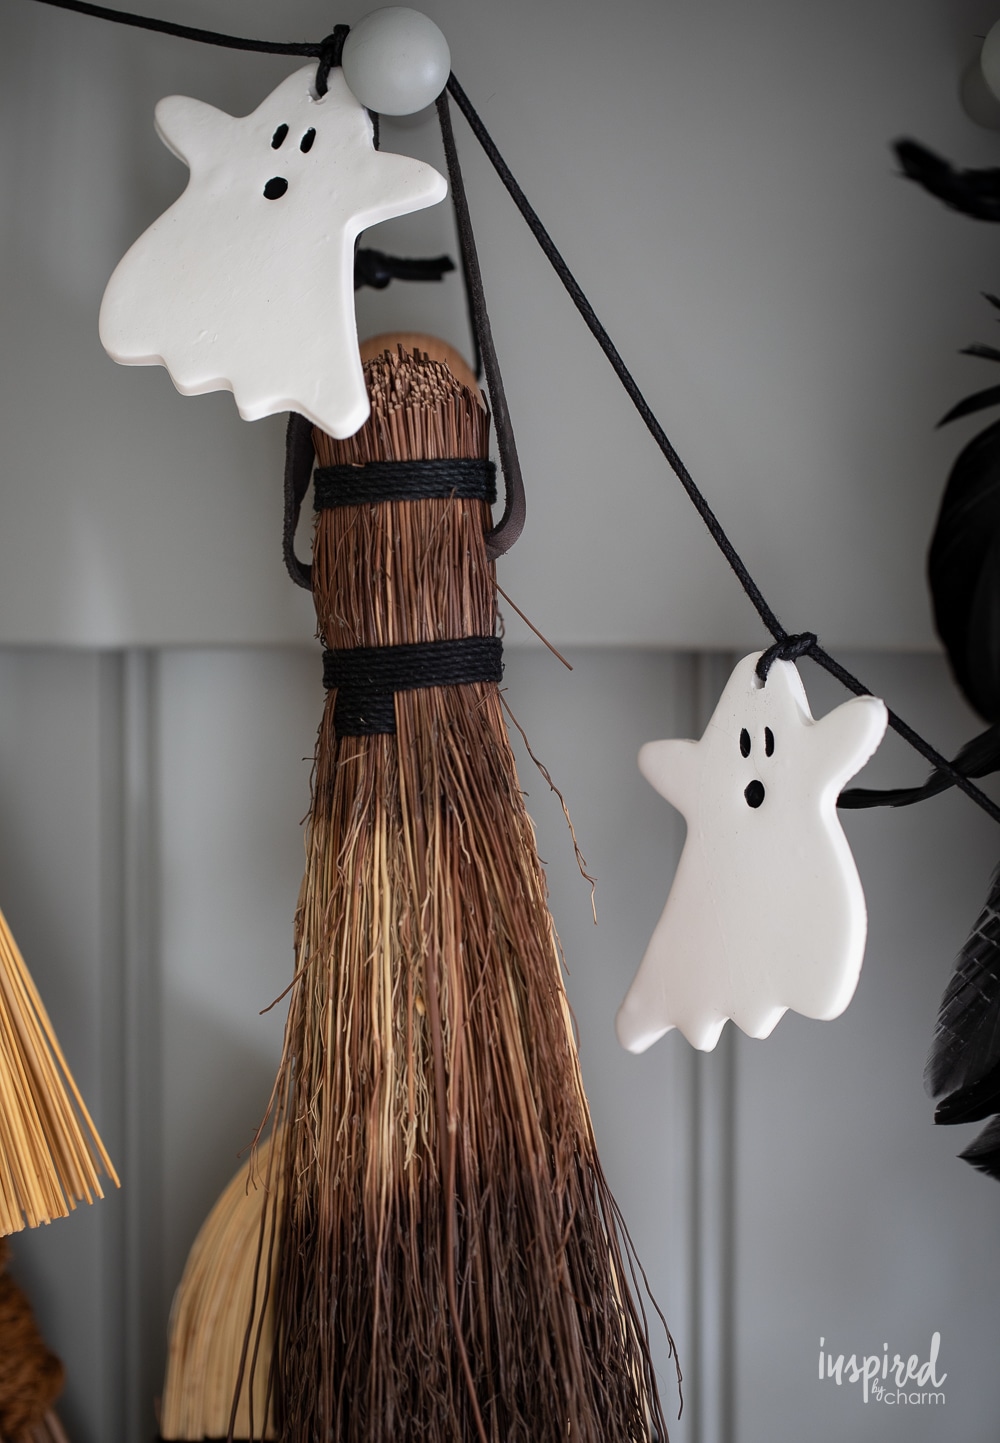
Roll out oven-bake clay, cut out ghost shapes with a cookie cutter, and add eyes, mouth, and a hanging hole. Bake at 275°F for 14-15 minutes, then paint and string them together to create a festive garland.
You'll need
Directions
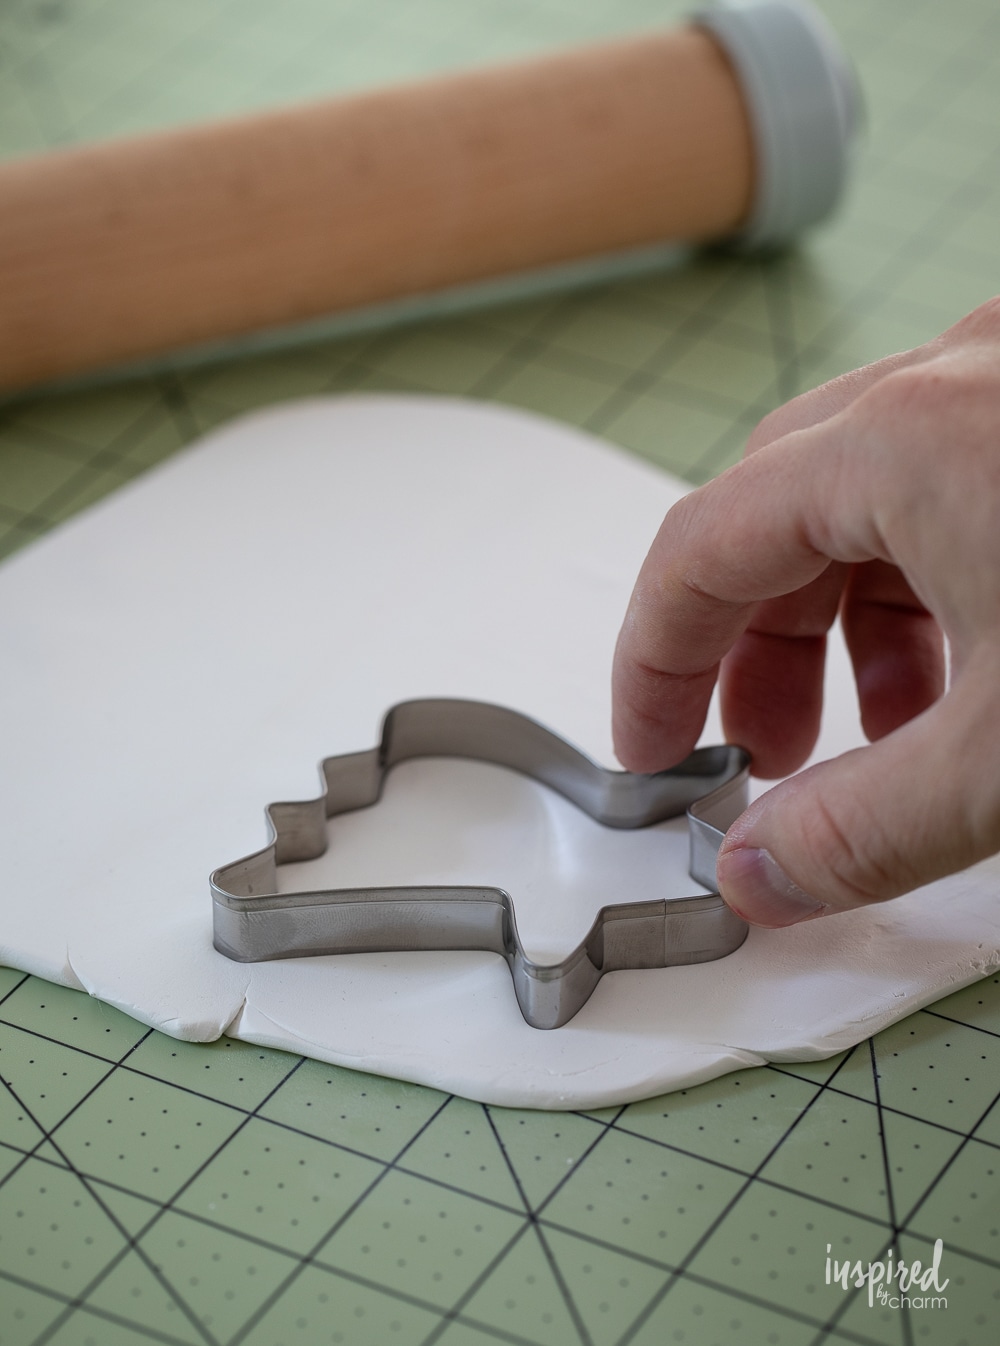
- Roll out your oven-bake clay until it's about ¼ inch thick.
- Cut out ghost shapes using a ghost cookie cutter. For variety, you can flip the cutter to make ghosts facing different directions.
- Place the cutout ghosts on a baking sheet lined with parchment paper.
- Continue with remaining clay; you can gather scraps, reform them into a ball, and reroll as needed.
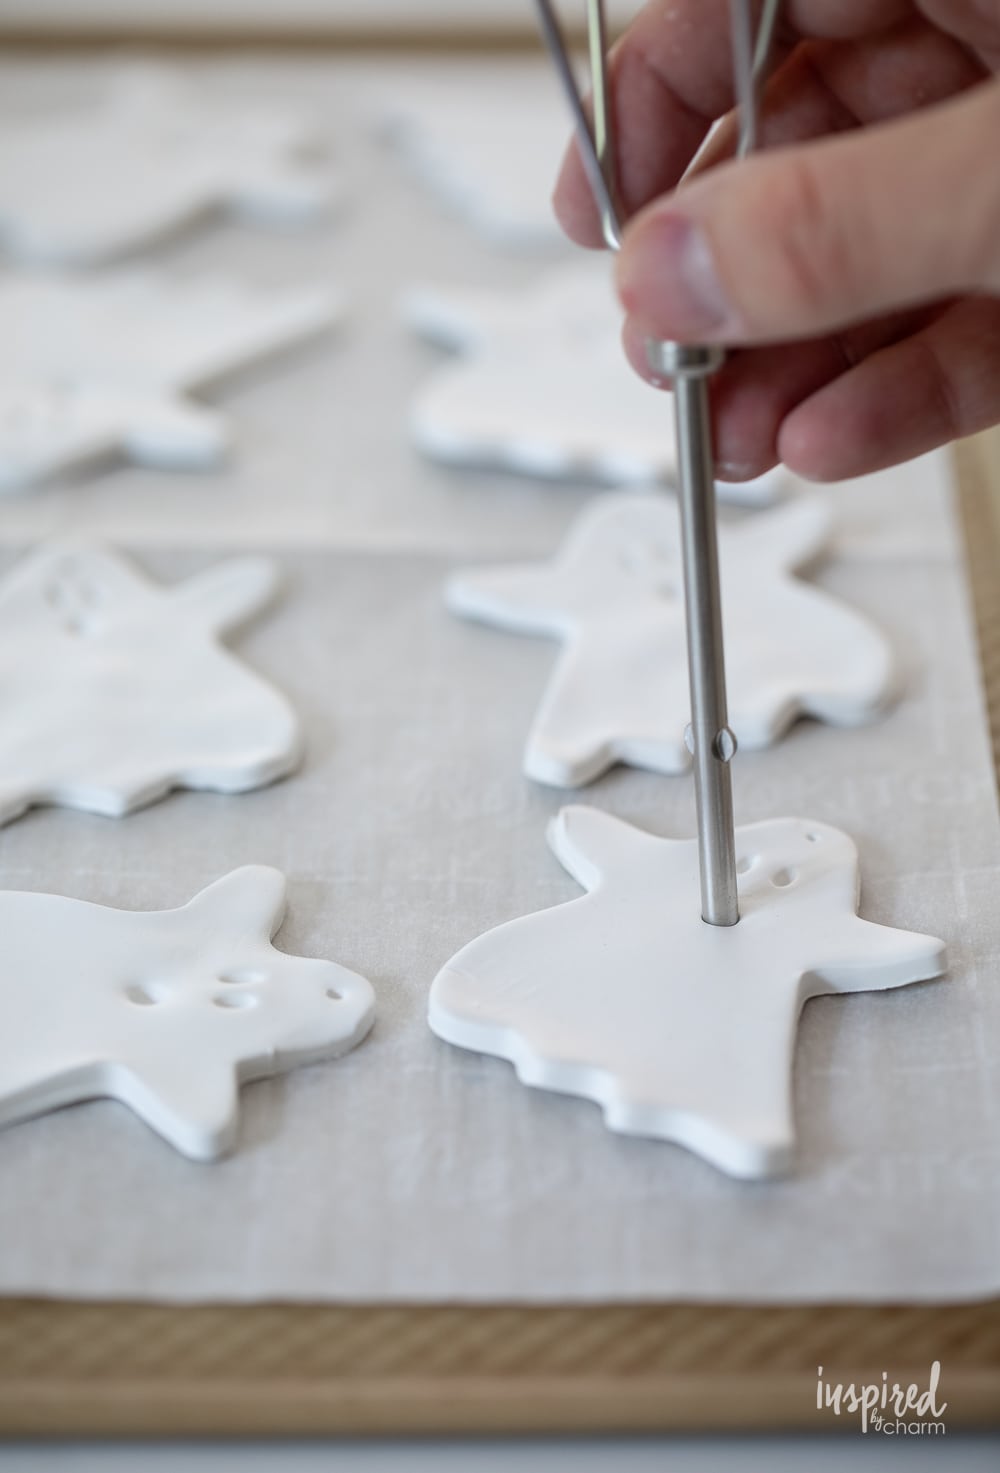
- Using a blunt tool (like the end of a hand mixer beater), press in two eyes and an open mouth. Then poke a hanging hole near the top with a toothpick; you can enlarge it later if desired.
- Bake at 275°F for 14–15 minutes if the clay is ¼ inch thick. Adjust time per package directions if your thickness differs, and watch closely to prevent burning.
- Remove from the oven and let cool completely on a baking rack.
- Once cool, use a fine paintbrush and black acrylic paint to fill in the eye and mouth holes.
- Use a drill with a small bit to enlarge the hanging hole if needed.
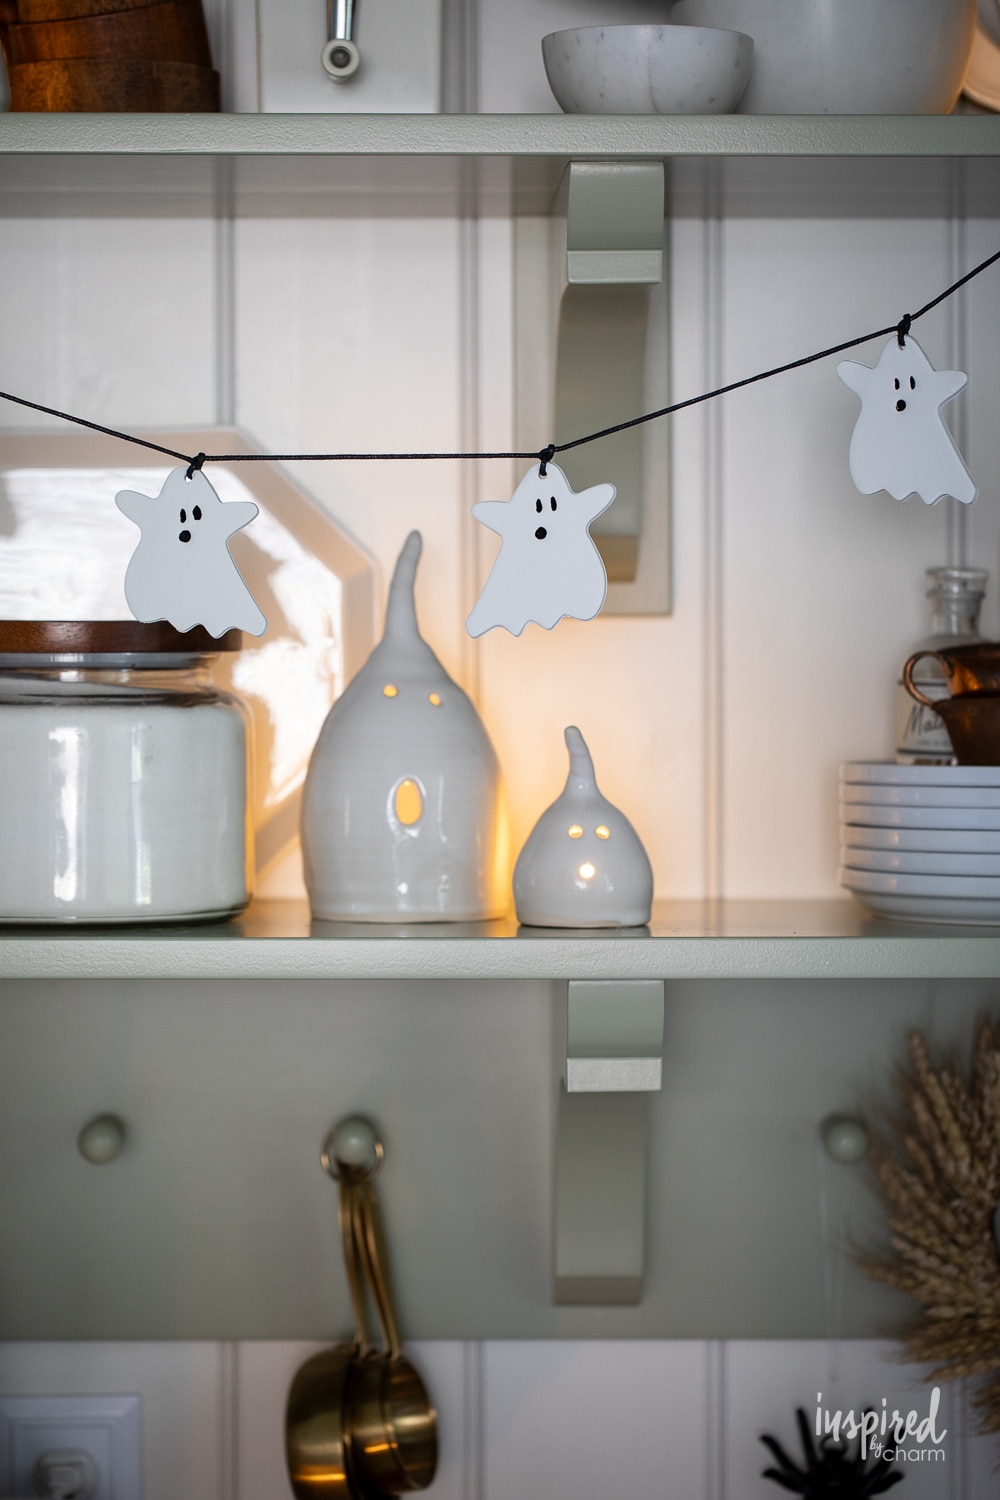
- Thread a ghost onto your cotton cord, then tie a knot just above it to keep it in place. Space the ghosts about six inches apart and repeat for the rest.
- Hang the garland and enjoy your spooky decoration!
More photos

Photos hosted by inspiredbycharm.com.