Painted PumpkinsNo. 7384 · The 2026 edition
DIY Distressed Subway Art Pumpkin
Turn a plain pumpkin into rustic subway art with spray paint, stickers, and sandpaper for a charming distressed look.
Our own summary of the original — the full post and photos live at tatertotsandjello.com.
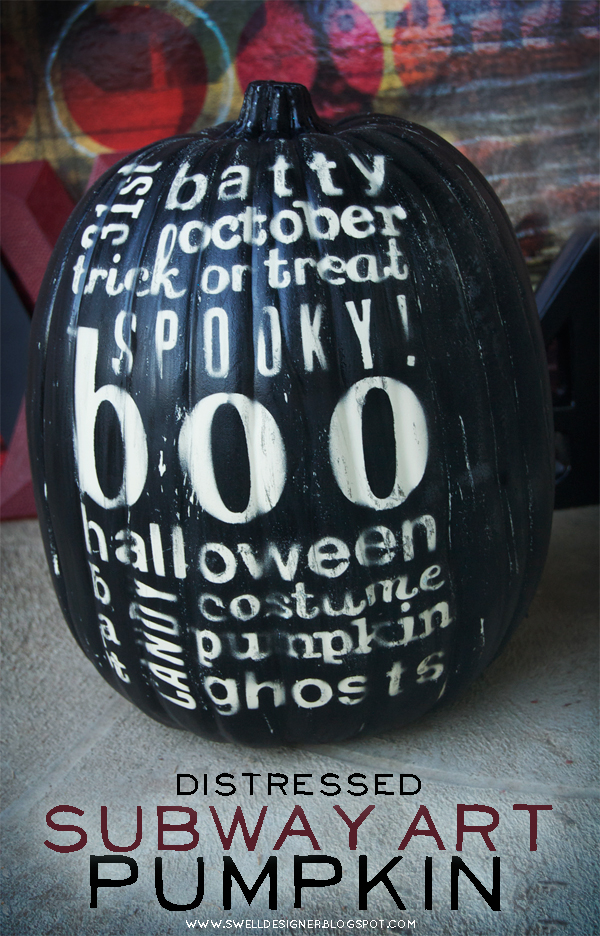
This DIY project transforms a large pumpkin, real or faux, into a piece of subway art. You'll apply stickers in a word-collage style, spray paint the pumpkin black, then remove the stickers and sand the surface for a worn, aged finish. It's a quick craft that adds farmhouse charm to your fall decor.
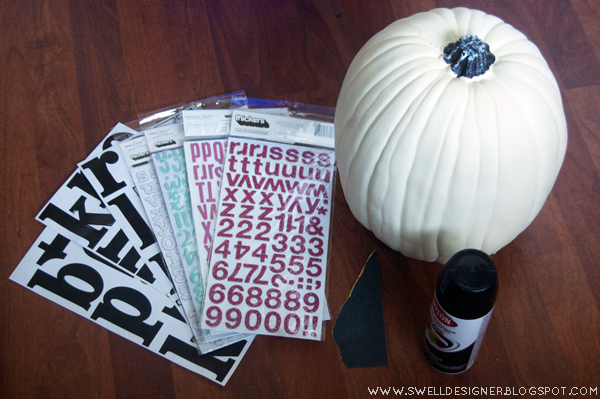
You'll need
Directions
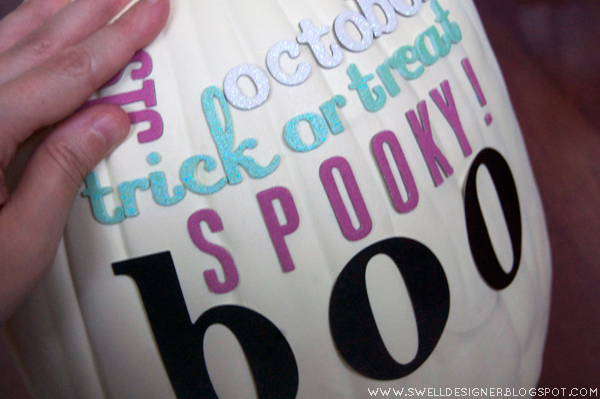
- Peel off your stickers and arrange them on the pumpkin like subway art, spacing the words evenly across the surface. Press each sticker down firmly before moving on to painting.
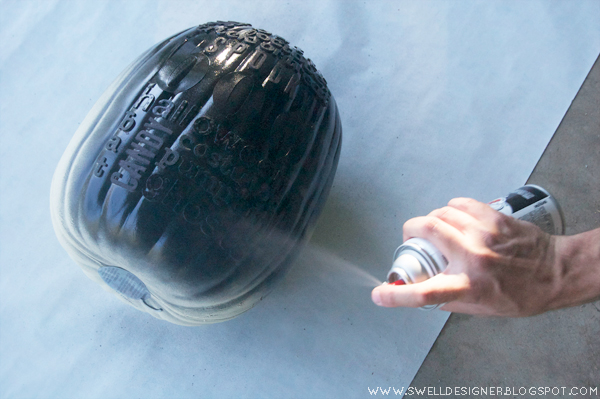
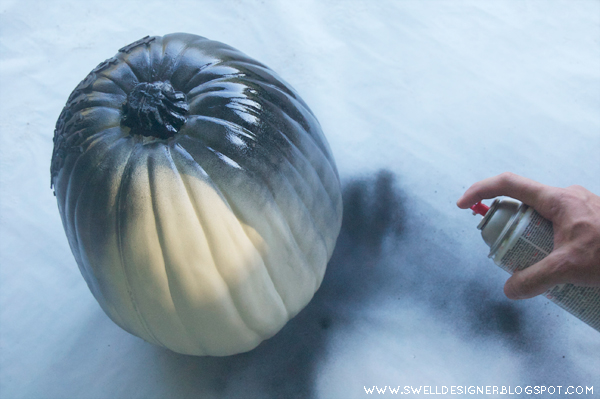
- Set the pumpkin with the sticker side up, then lightly spray a mist of black paint over the entire front for even coverage. This thin coat helps prevent paint from seeping under the stickers. Let it dry for a few minutes; add a second coat if needed.
- Place the pumpkin on its base and spray paint the back and sides thoroughly, making sure to cover all areas.
- Once the paint is completely dry, carefully peel off the stickers to reveal the letters.
- Use fine-grit sandpaper to lightly rub the entire pumpkin, creating a distressed, weathered look. For extra age, sand over the letter areas as well.
More photos

Photos hosted by tatertotsandjello.com.





