Painted PumpkinsNo. 3476 · The 2026 edition
DIY Easy Concrete Pumpkins
Transform cheap craft pumpkins into realistic concrete decorations with this simple mortar painting technique.
Our own summary of the original — the full post and photos live at anightowlblog.com.
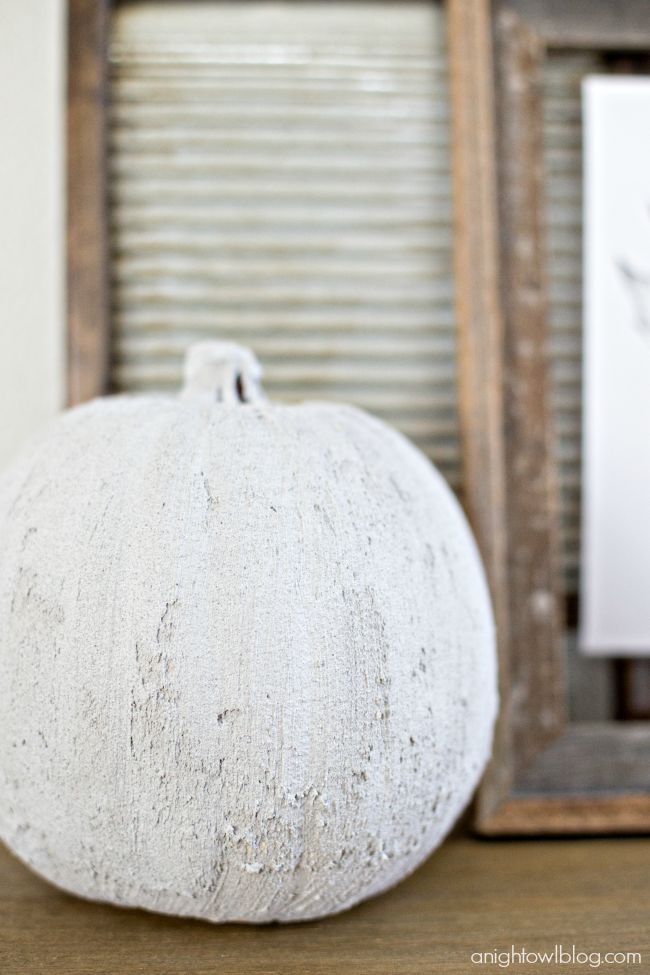
This DIY project uses premixed mortar and a chip brush to create concrete-textured pumpkins. You apply two thin layers, letting each dry, then customize the finish. The result is a convincing stone look that's perfect for Halloween or fall decor.
You'll need
Directions
- Start by opening your ArtMinds Ultimate Premixed Mortar and give it a good stir.
- Using a chip brush, apply a thin coat of mortar to your craft pumpkin for best adhesion. Cover the whole pumpkin except the bottom.
- Allow the first layer to dry; depending on the weather, this may take just one to two hours.
- Once the first coat is dry, apply a second layer of mortar, making sure to fill in any gaps left from the first coat.
- After the second layer is on, you can either smooth out areas or add more texture—it's entirely up to your personal preference.





