Wood ProjectsNo. 7317 · The 2026 edition
DIY Halloween Wall Decor
Transform plywood strips into a rustic Halloween sign with a projected quote and chalk-painted letters.
Our own summary of the original — the full post and photos live at runtoradiance.com.
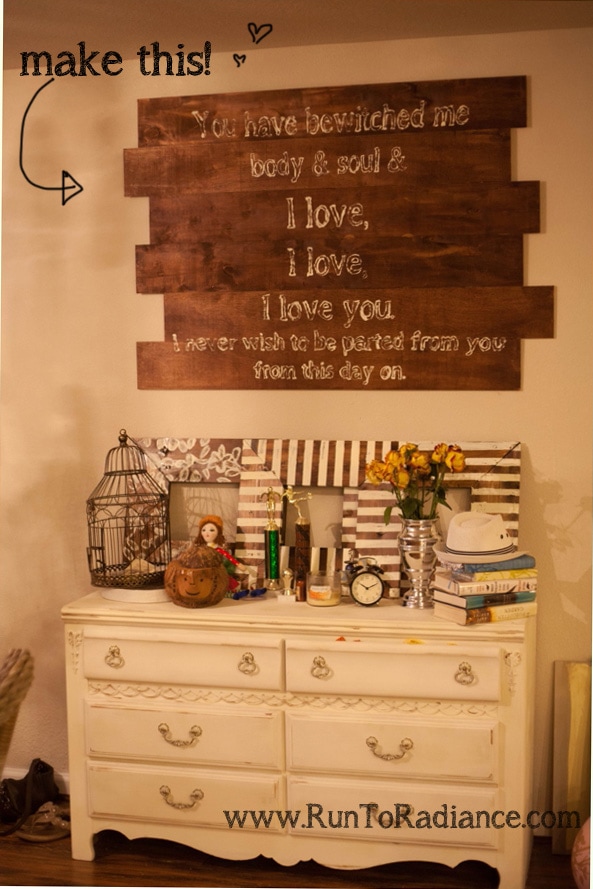
This DIY project creates custom Halloween wall decor from plywood strips. After staining the wood and projecting a quote, you paint the letter outlines with chalk paint. A crossbeam on the back provides a simple hanging ledge.
You'll need
Directions
- First, take measurements of the wall area you intend to decorate. For example, your space may be 4 feet in width and 3 feet in height.
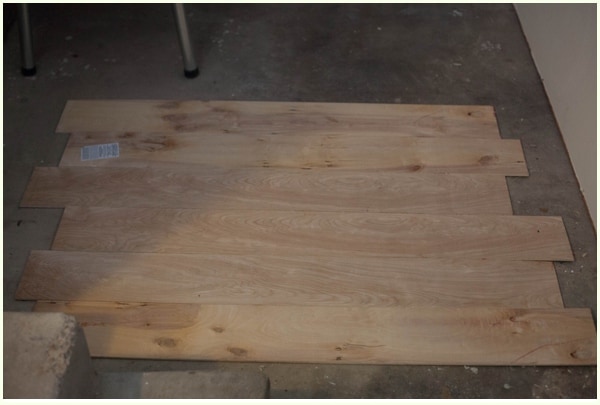
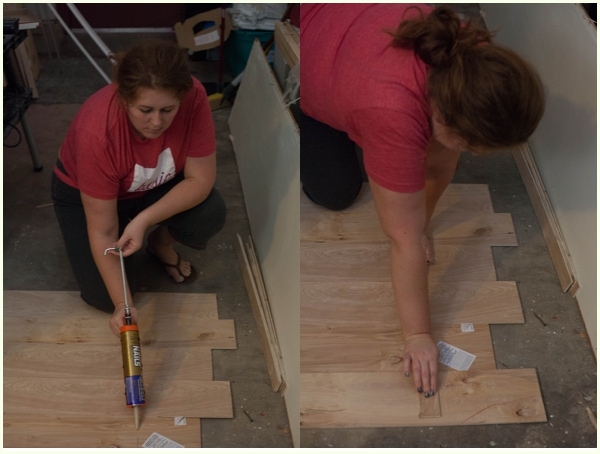
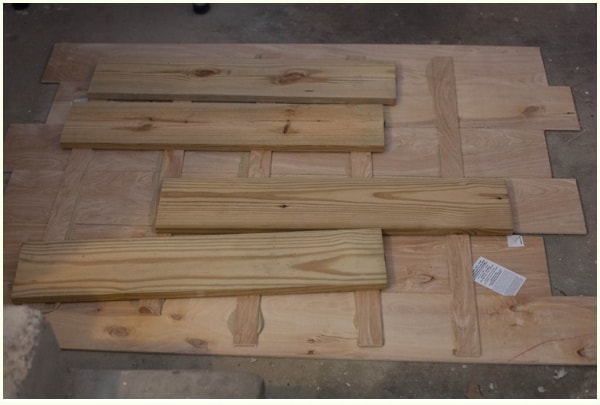
- Assemble the base by arranging the 6-inch-wide plywood strips side by side. Connect them using the 2-inch support strips and liquid nails. Place the rougher side facing the back, and set a heavier piece of wood on top to keep the surface level as the glue dries.
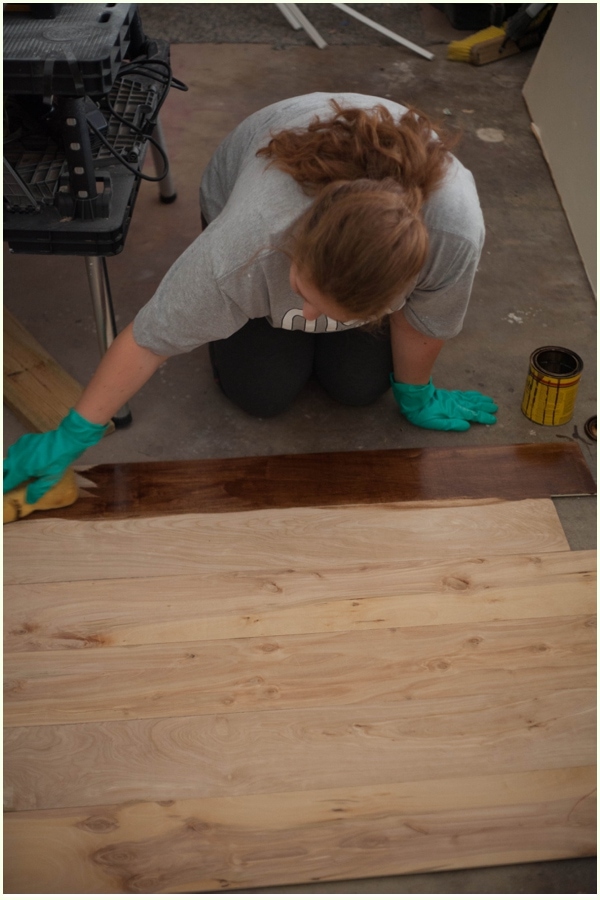
- After the adhesive has set for approximately 2 hours, stain the wood. Apply Minwax wood stain in the shade Honey using a sponge and gloves.
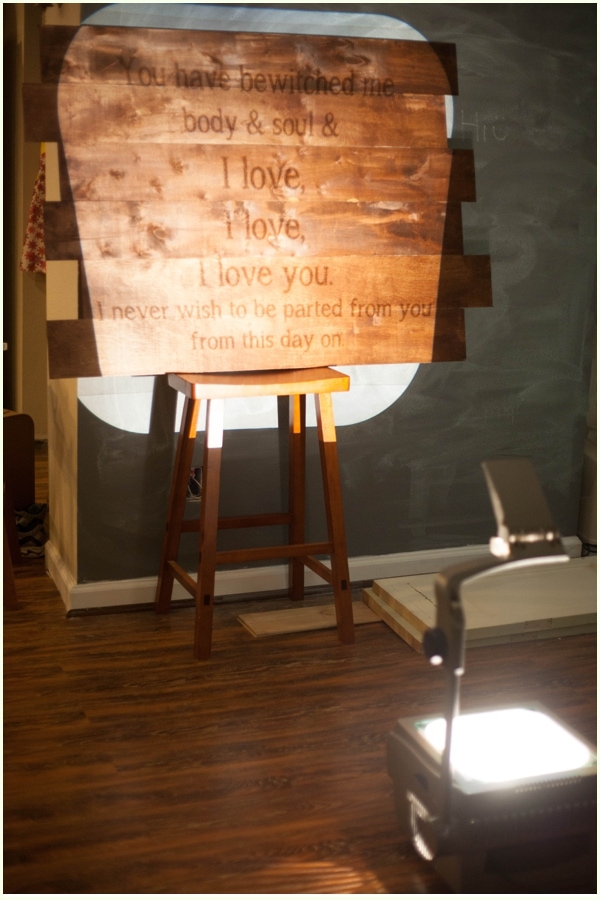
- Create a document in Photoshop with your desired quote and print it onto transparency paper. Position an overhead projector to cast the text onto the sign board, then tape the transparency in place.
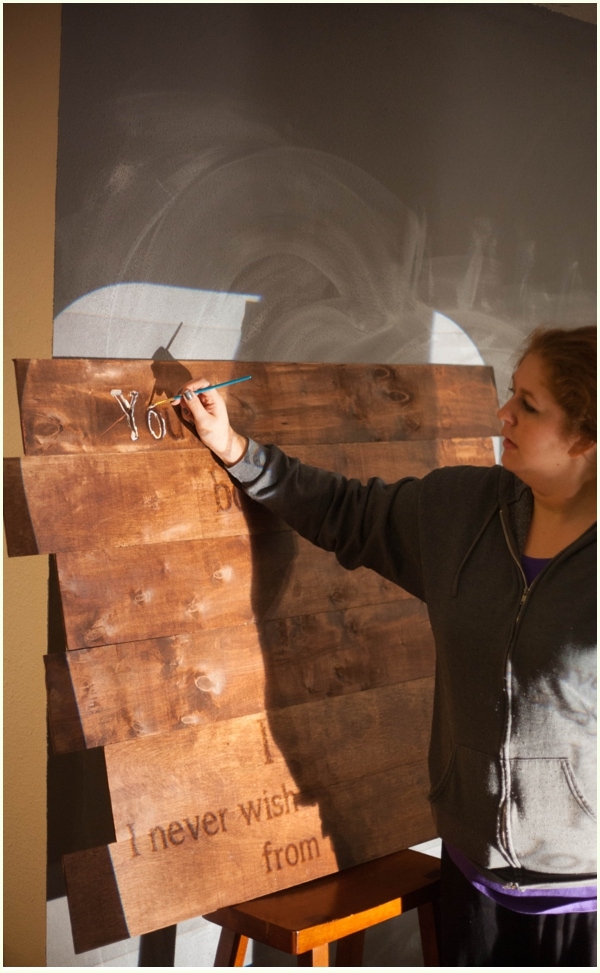
- With a small brush and Annie Sloan brand Chalk Paint in the color Old White, paint the outline of the letters.
- Finally, use liquid nails to affix a crossbeam to the back of the sign. This crossbeam will serve as a ledge for hanging the sign on the wall.
More photos
Photos hosted by runtoradiance.com.